DIY split aquarium conversion

Mantidforum

Help Support Mantidforum:

This site may earn a commission from merchant affiliate links, including eBay, Amazon, and others.

Kasael

Member
Joined
Jun 22, 2017
Messages
10
Reaction score
4
Hi folks. I got a decent size aquarium (12 in x 10 in x 20 in) the other day. I considered turning it on its side for a vertical enclosure, but then I realized... Hey... That's a decent size as is... probably enough for 2 mantises... Well, one $10 dollar trip to the hardware store later, that is exactly what I have.

b9Qnwun.jpg


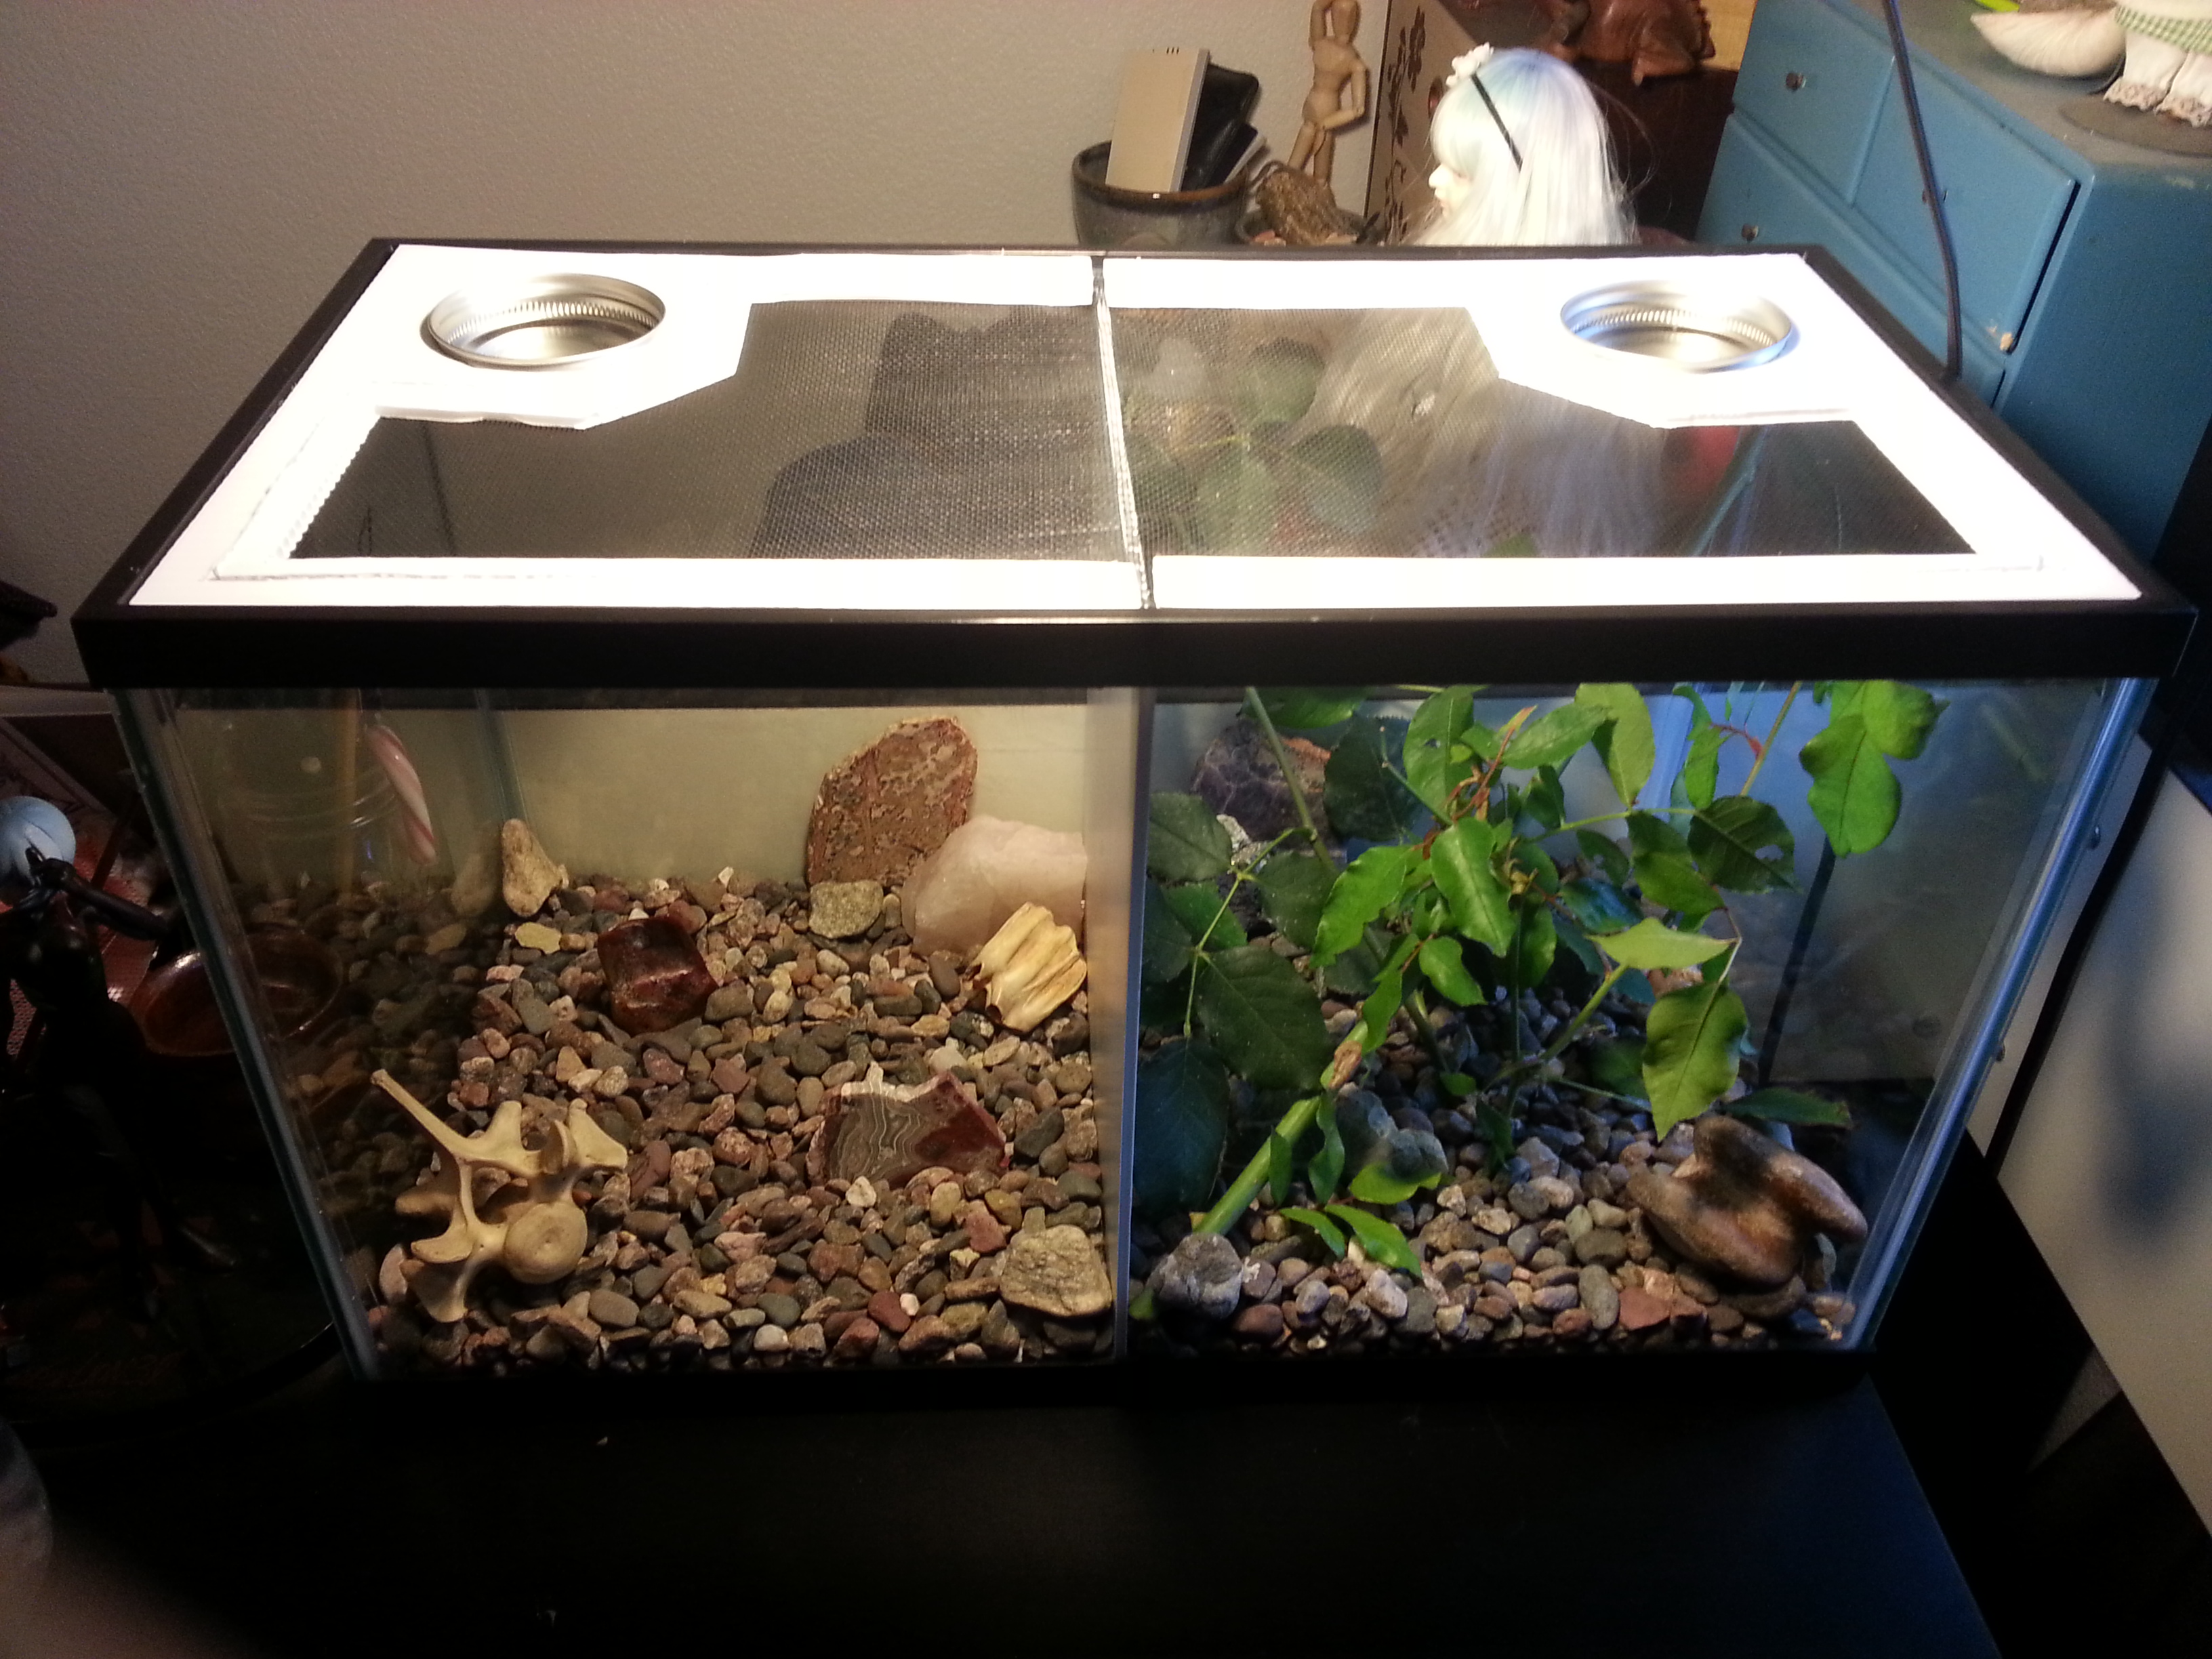
I split it down the middle with a piece of corrugated plastic. Sure would suck if they ate each other.

lEV8REi.jpg


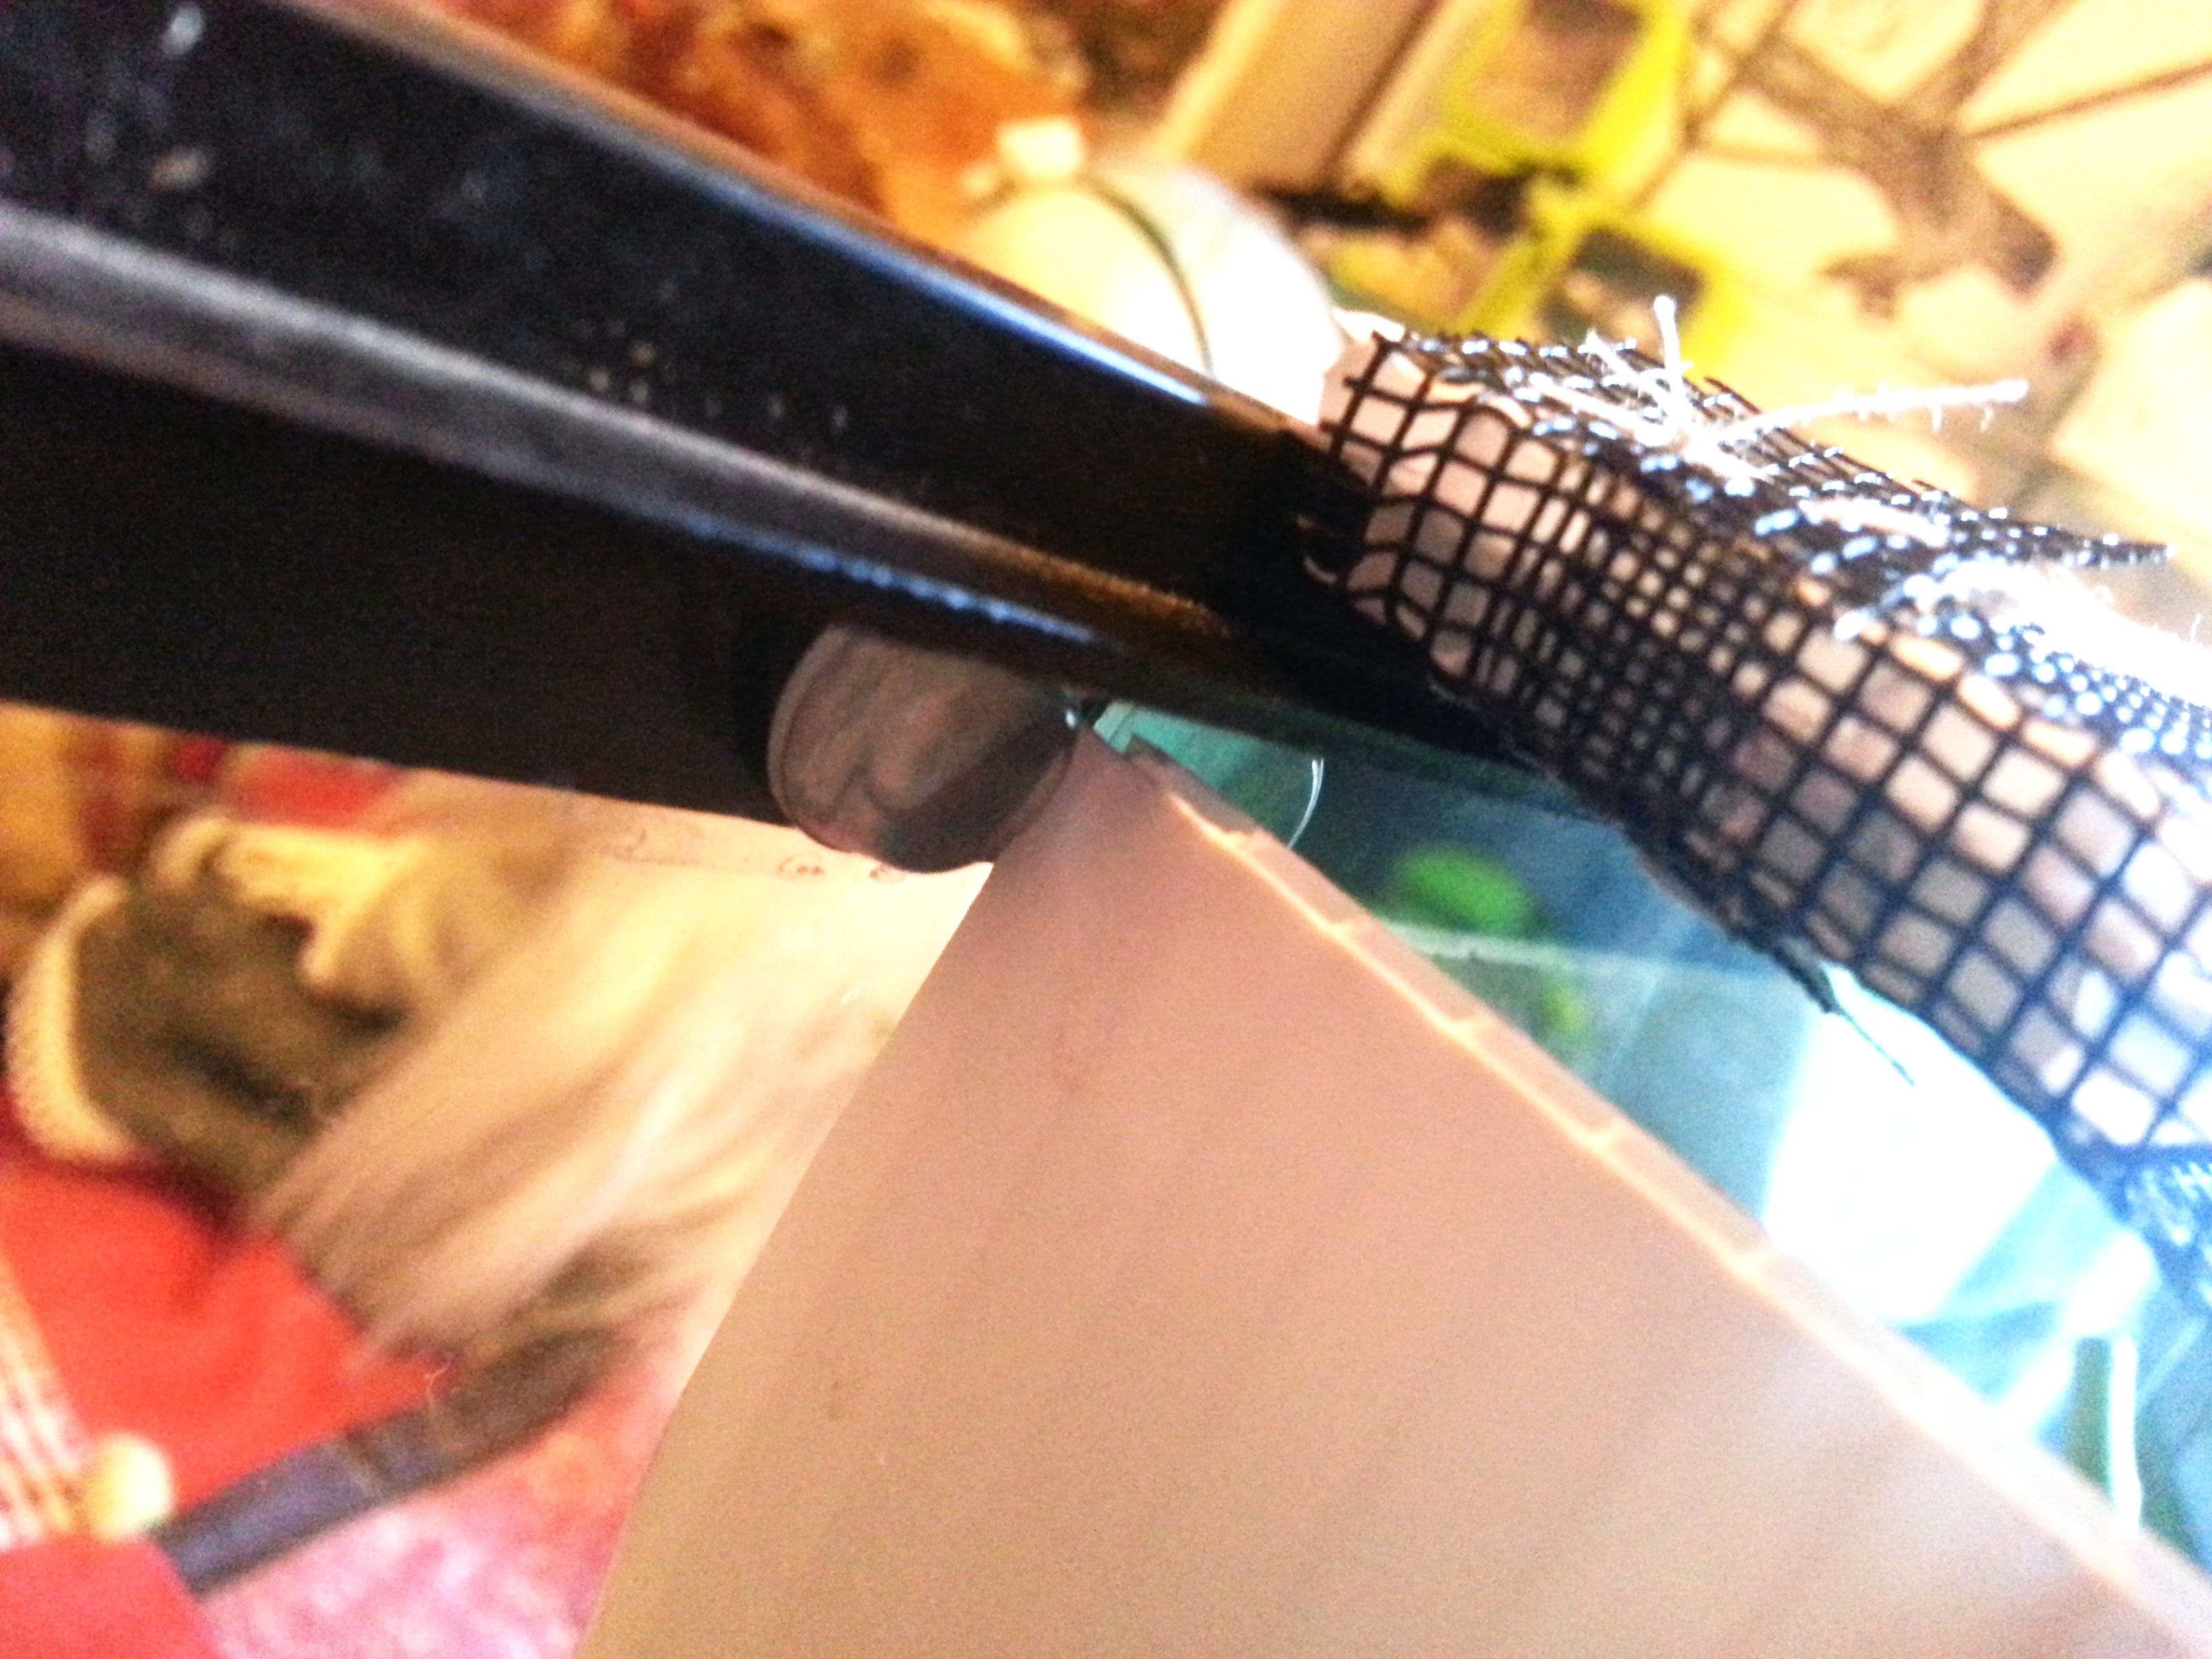
The divider is held in place at the top with some nubs that came with the old enclosure's heating pad, and at the base by the substrate. I avoided anything permanent because I wanted to make it really easy to convert the tank back to its full size. (And we were out of hot glue.)

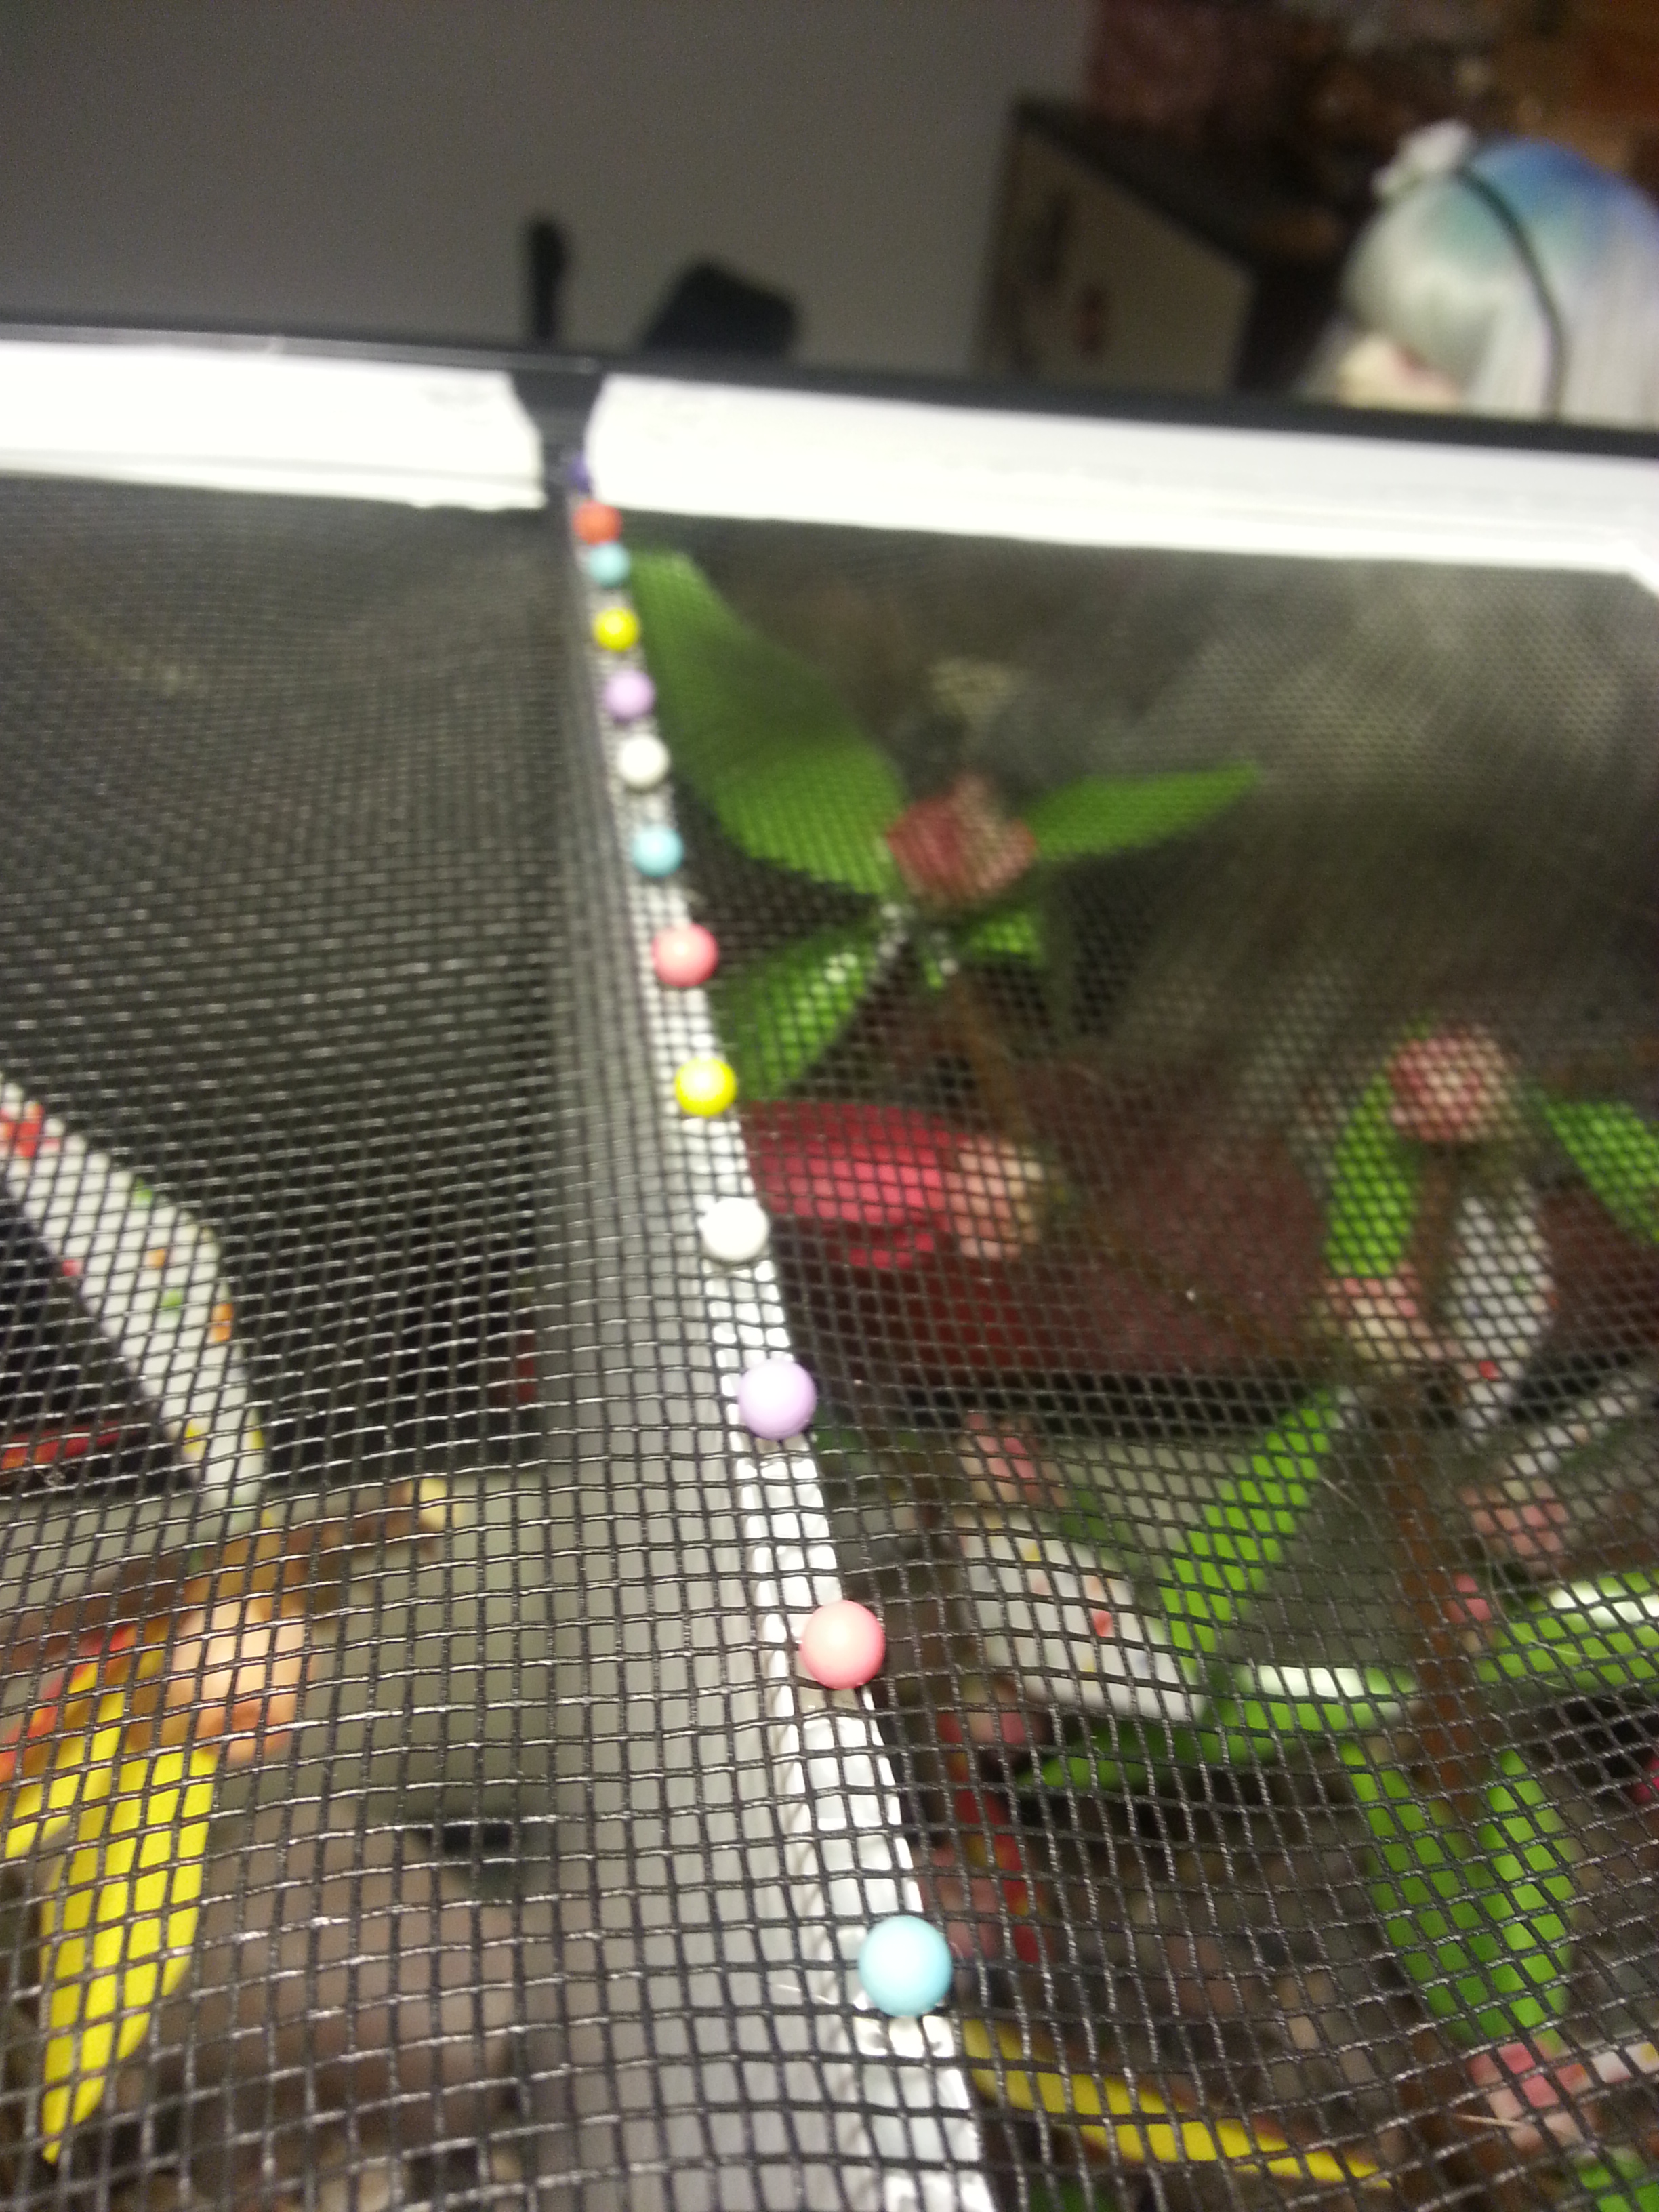
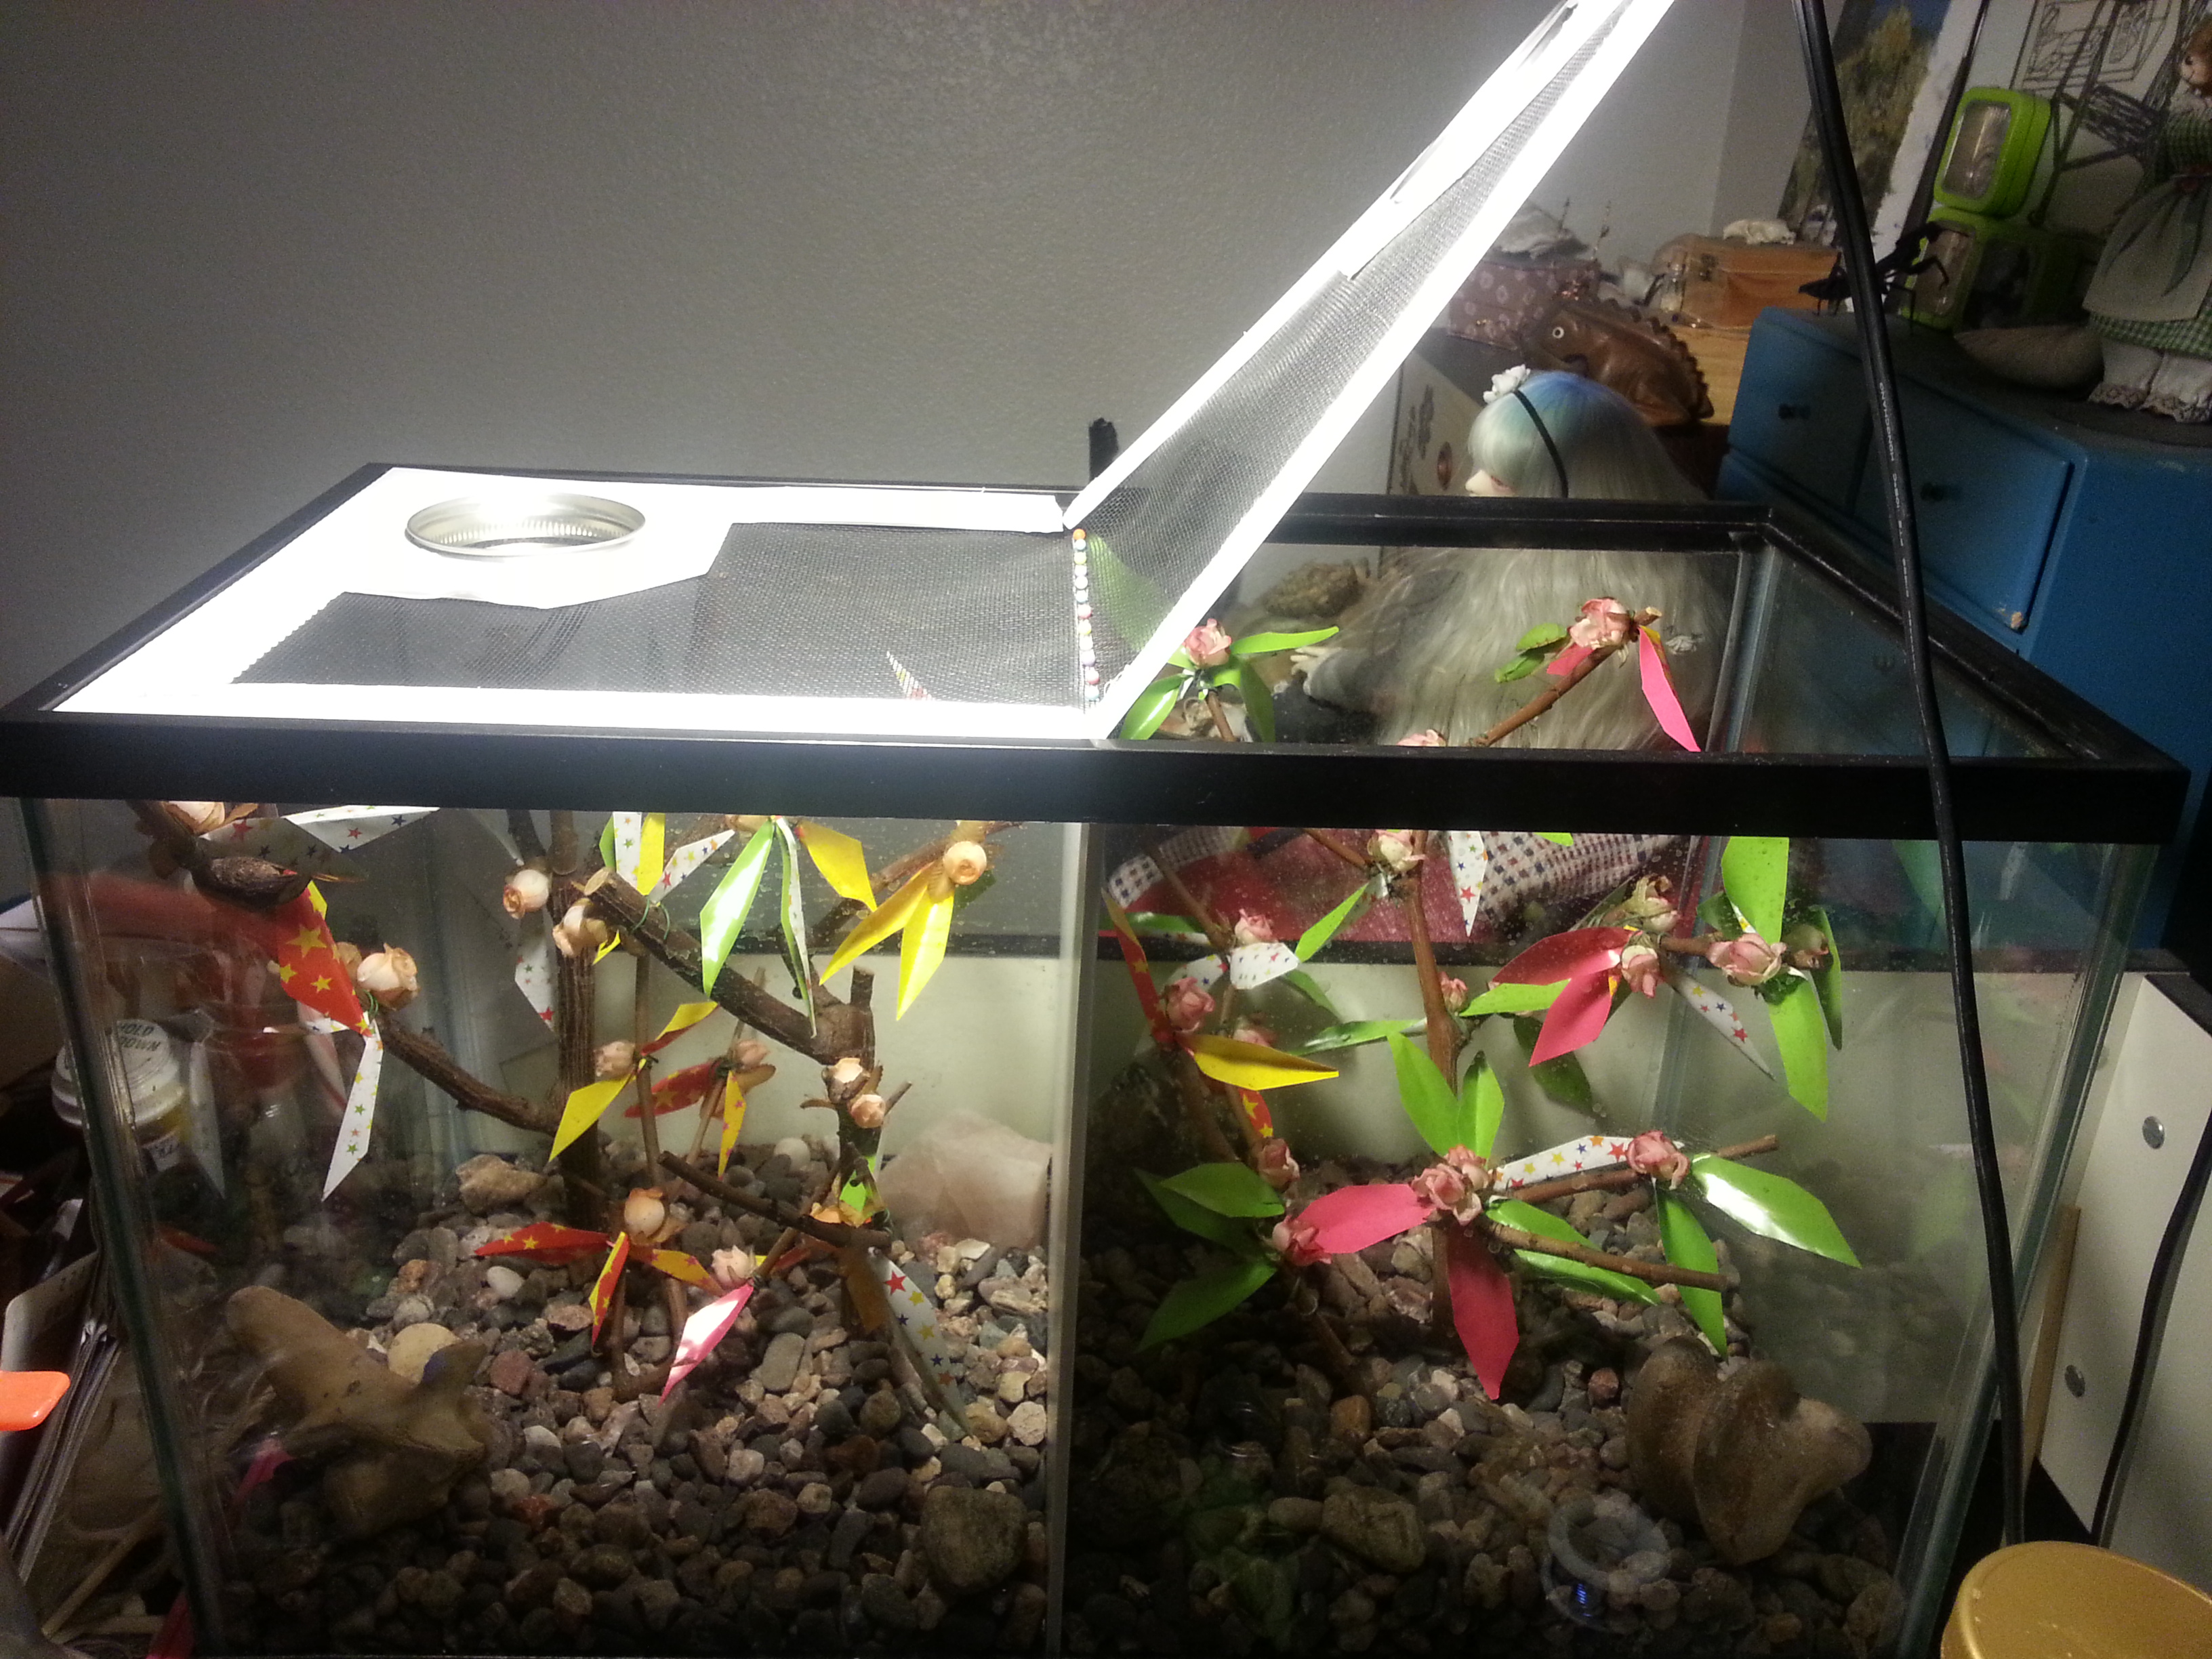
The lid consists of two U shaped frames made of corrugated plastic, attached to one piece of fiberglass mesh. Each half can be folded over individually to access one part of the tank at a time, or the whole lid can be taken off for cleaning. I've never had good experiences with mesh and glue, so I sewed the mesh on instead.

XvjIOLG.jpg


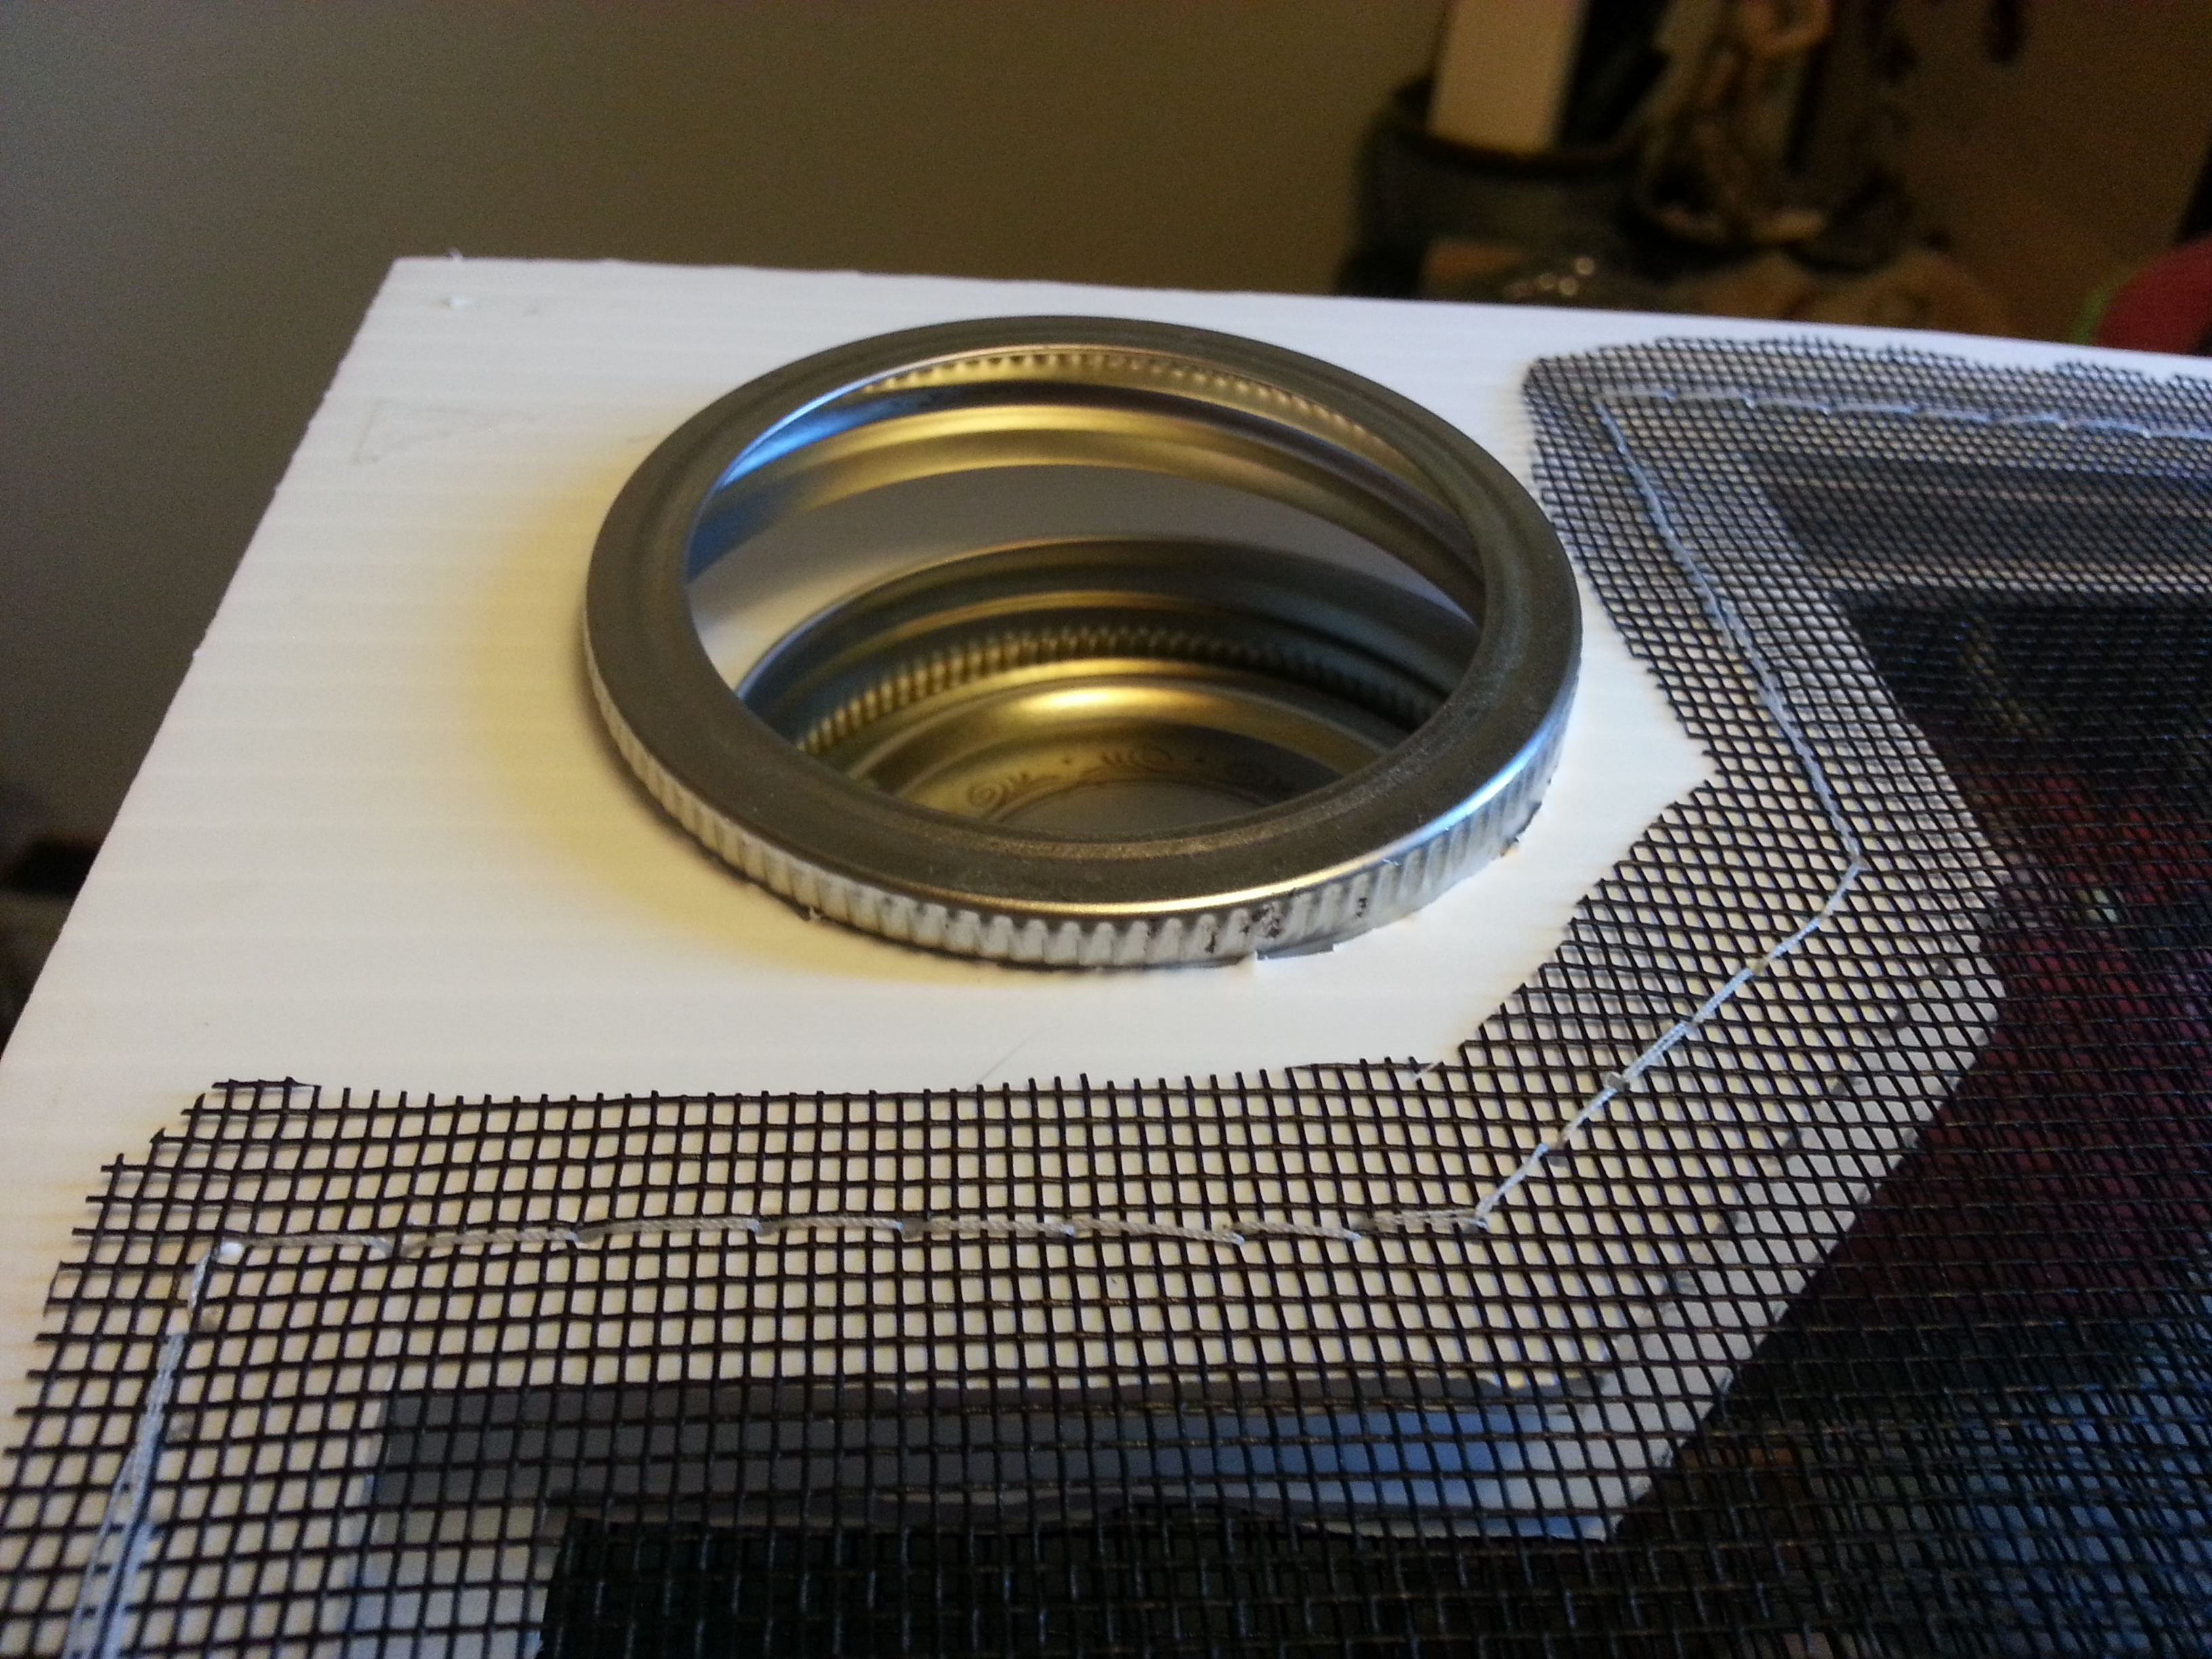
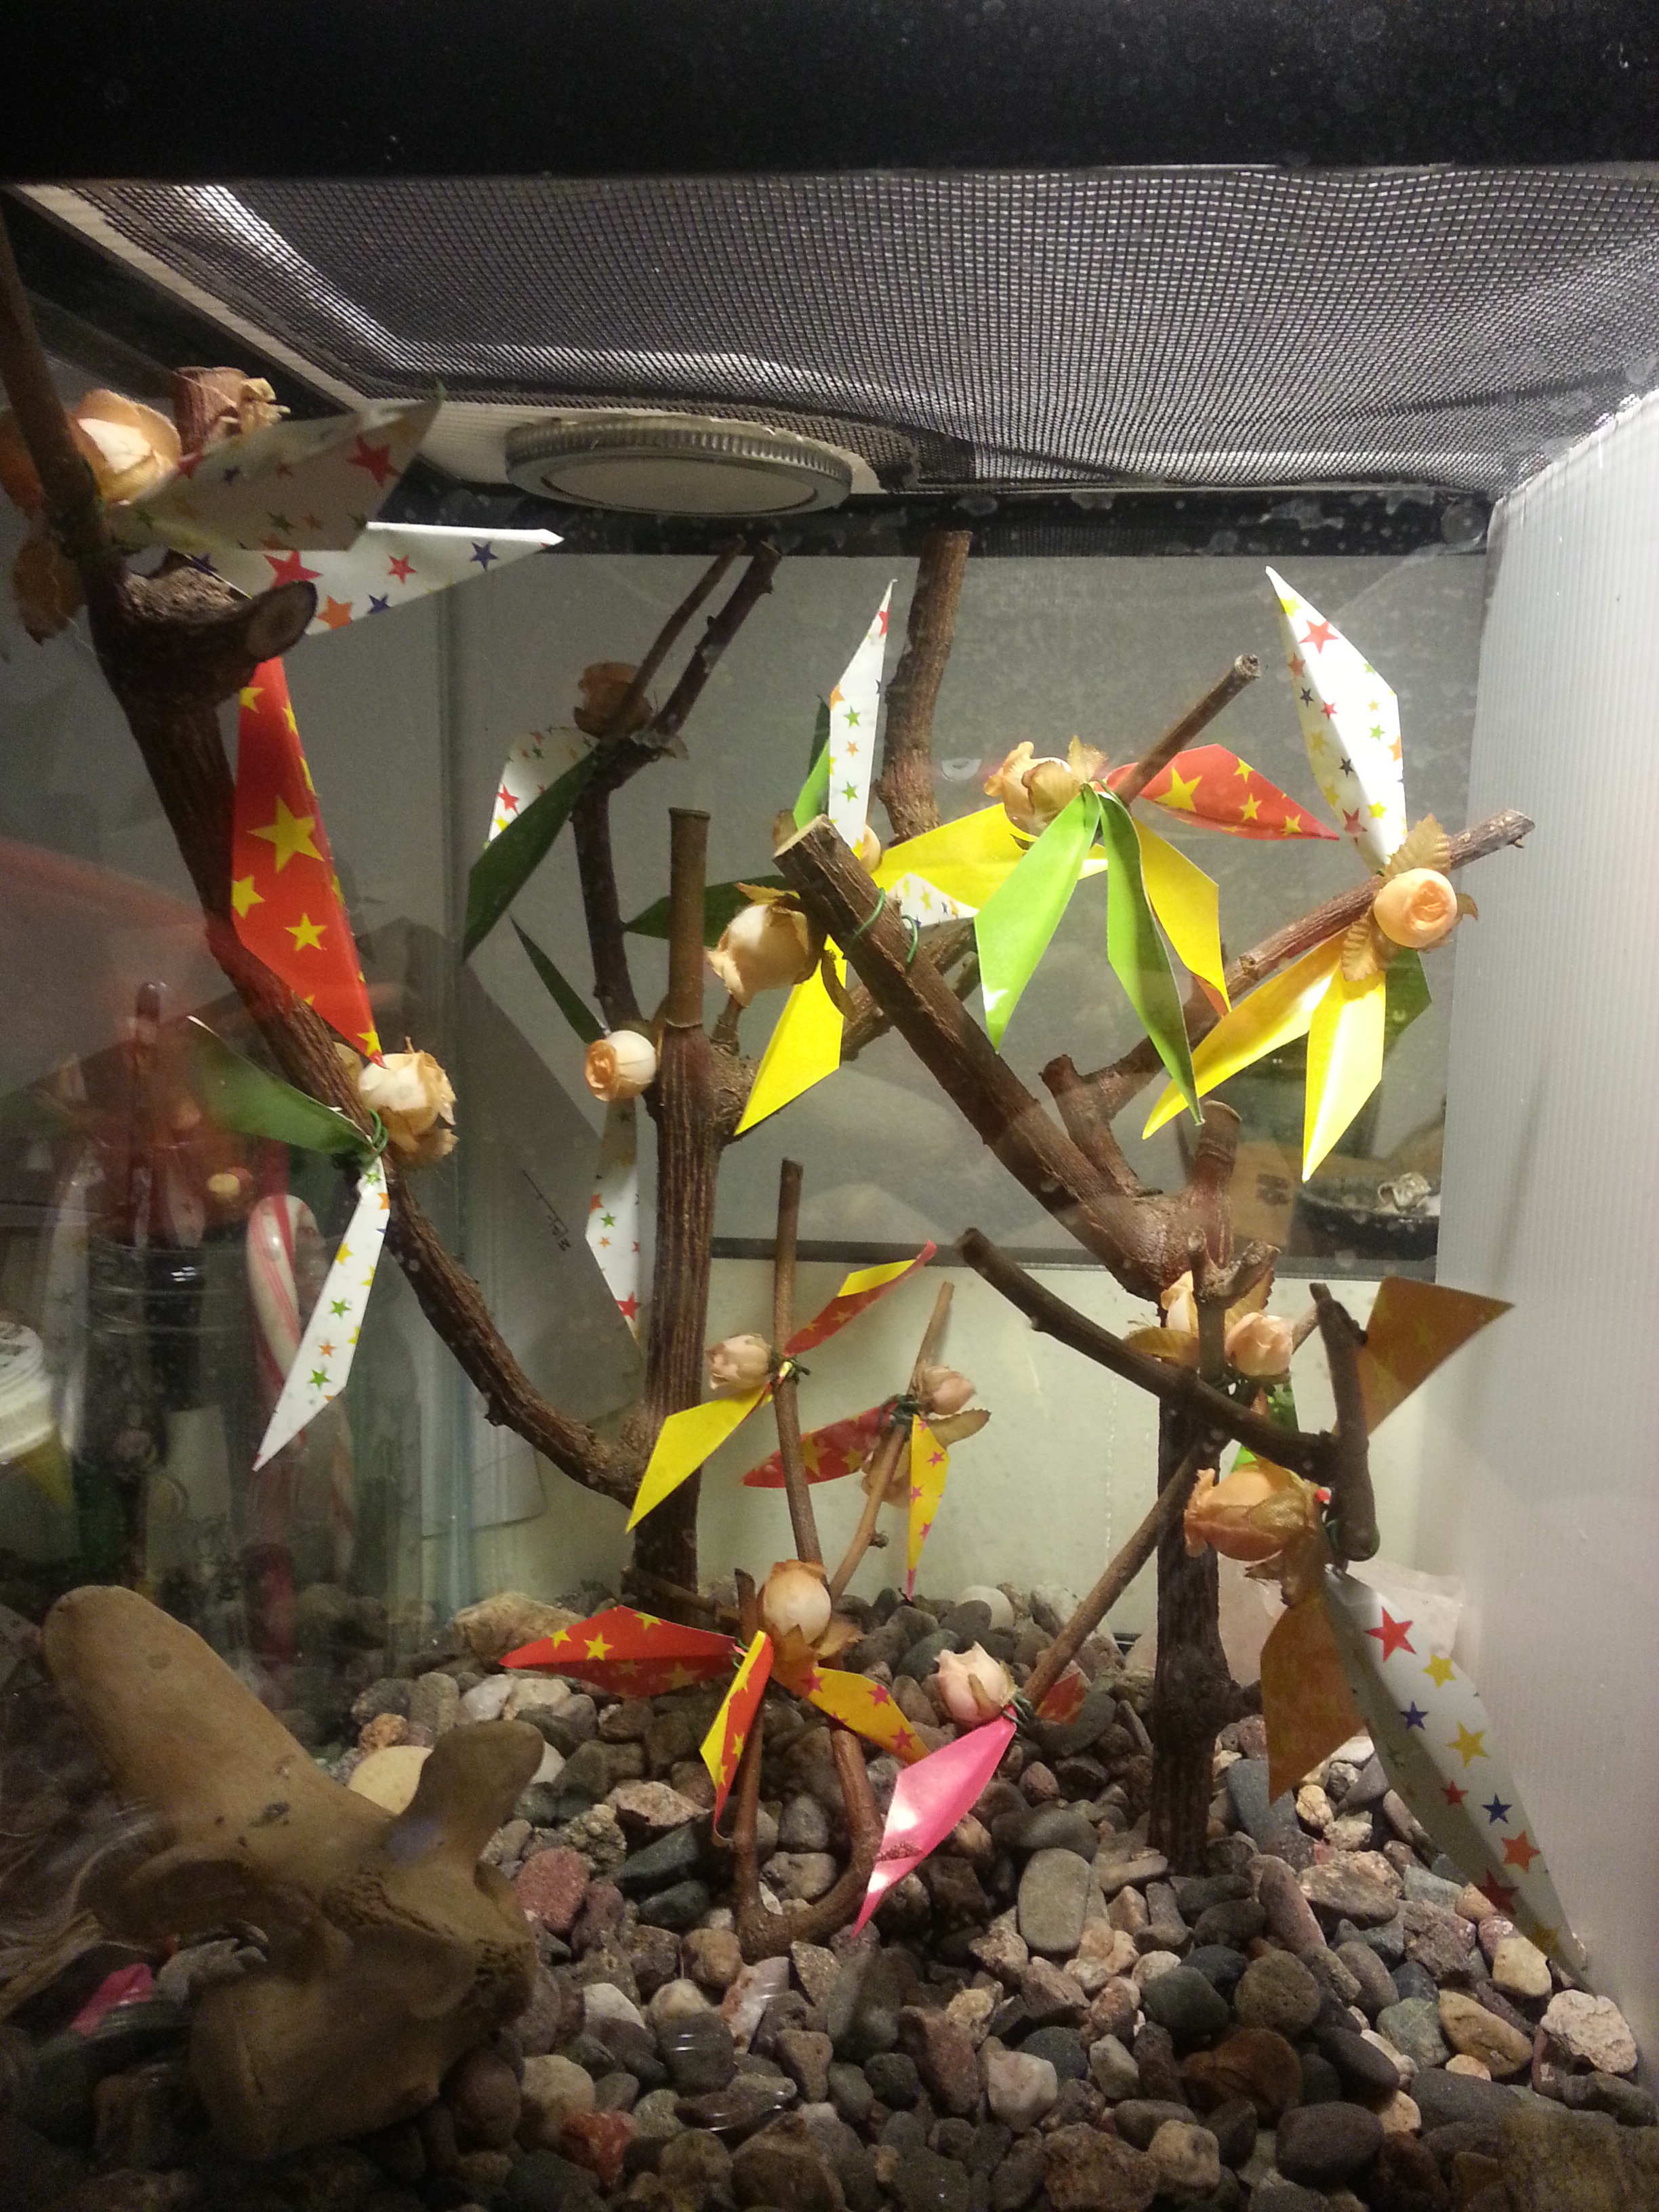
The feeding hole, a mason jar seal pushed into the plastic. When the food hole isn't in use, I throw a jar seal on top.

Sb7rRDs.jpg


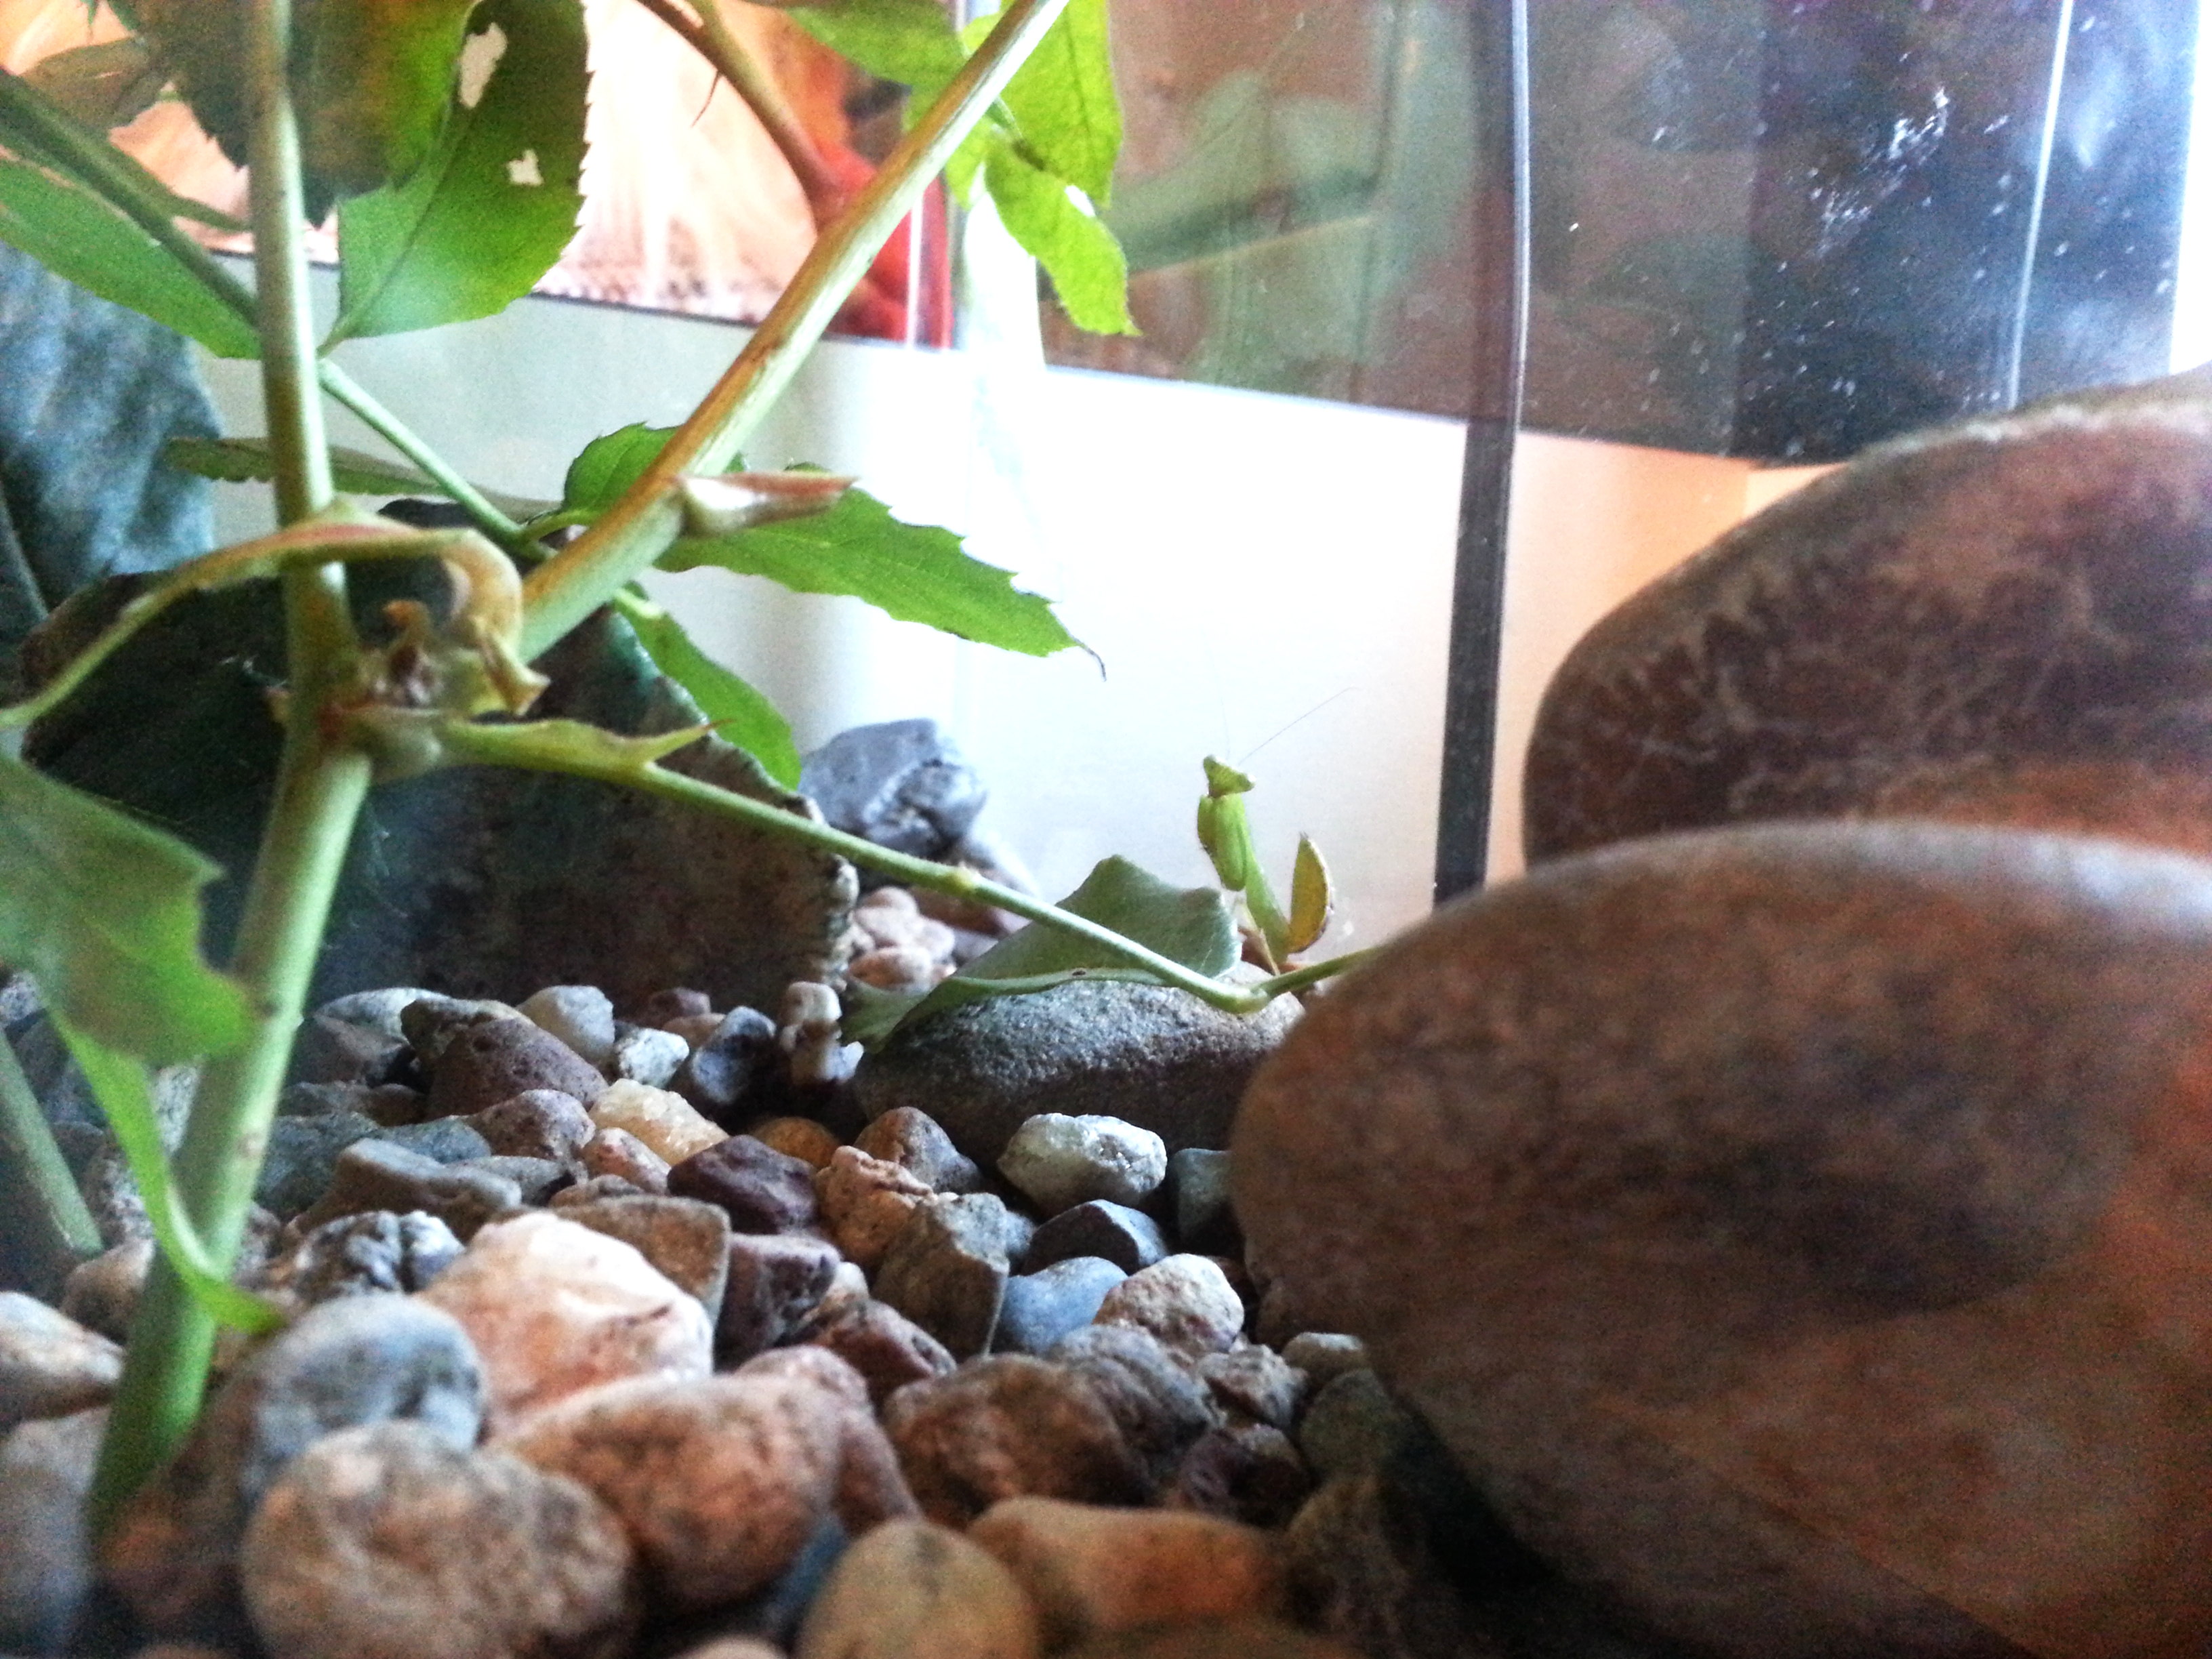
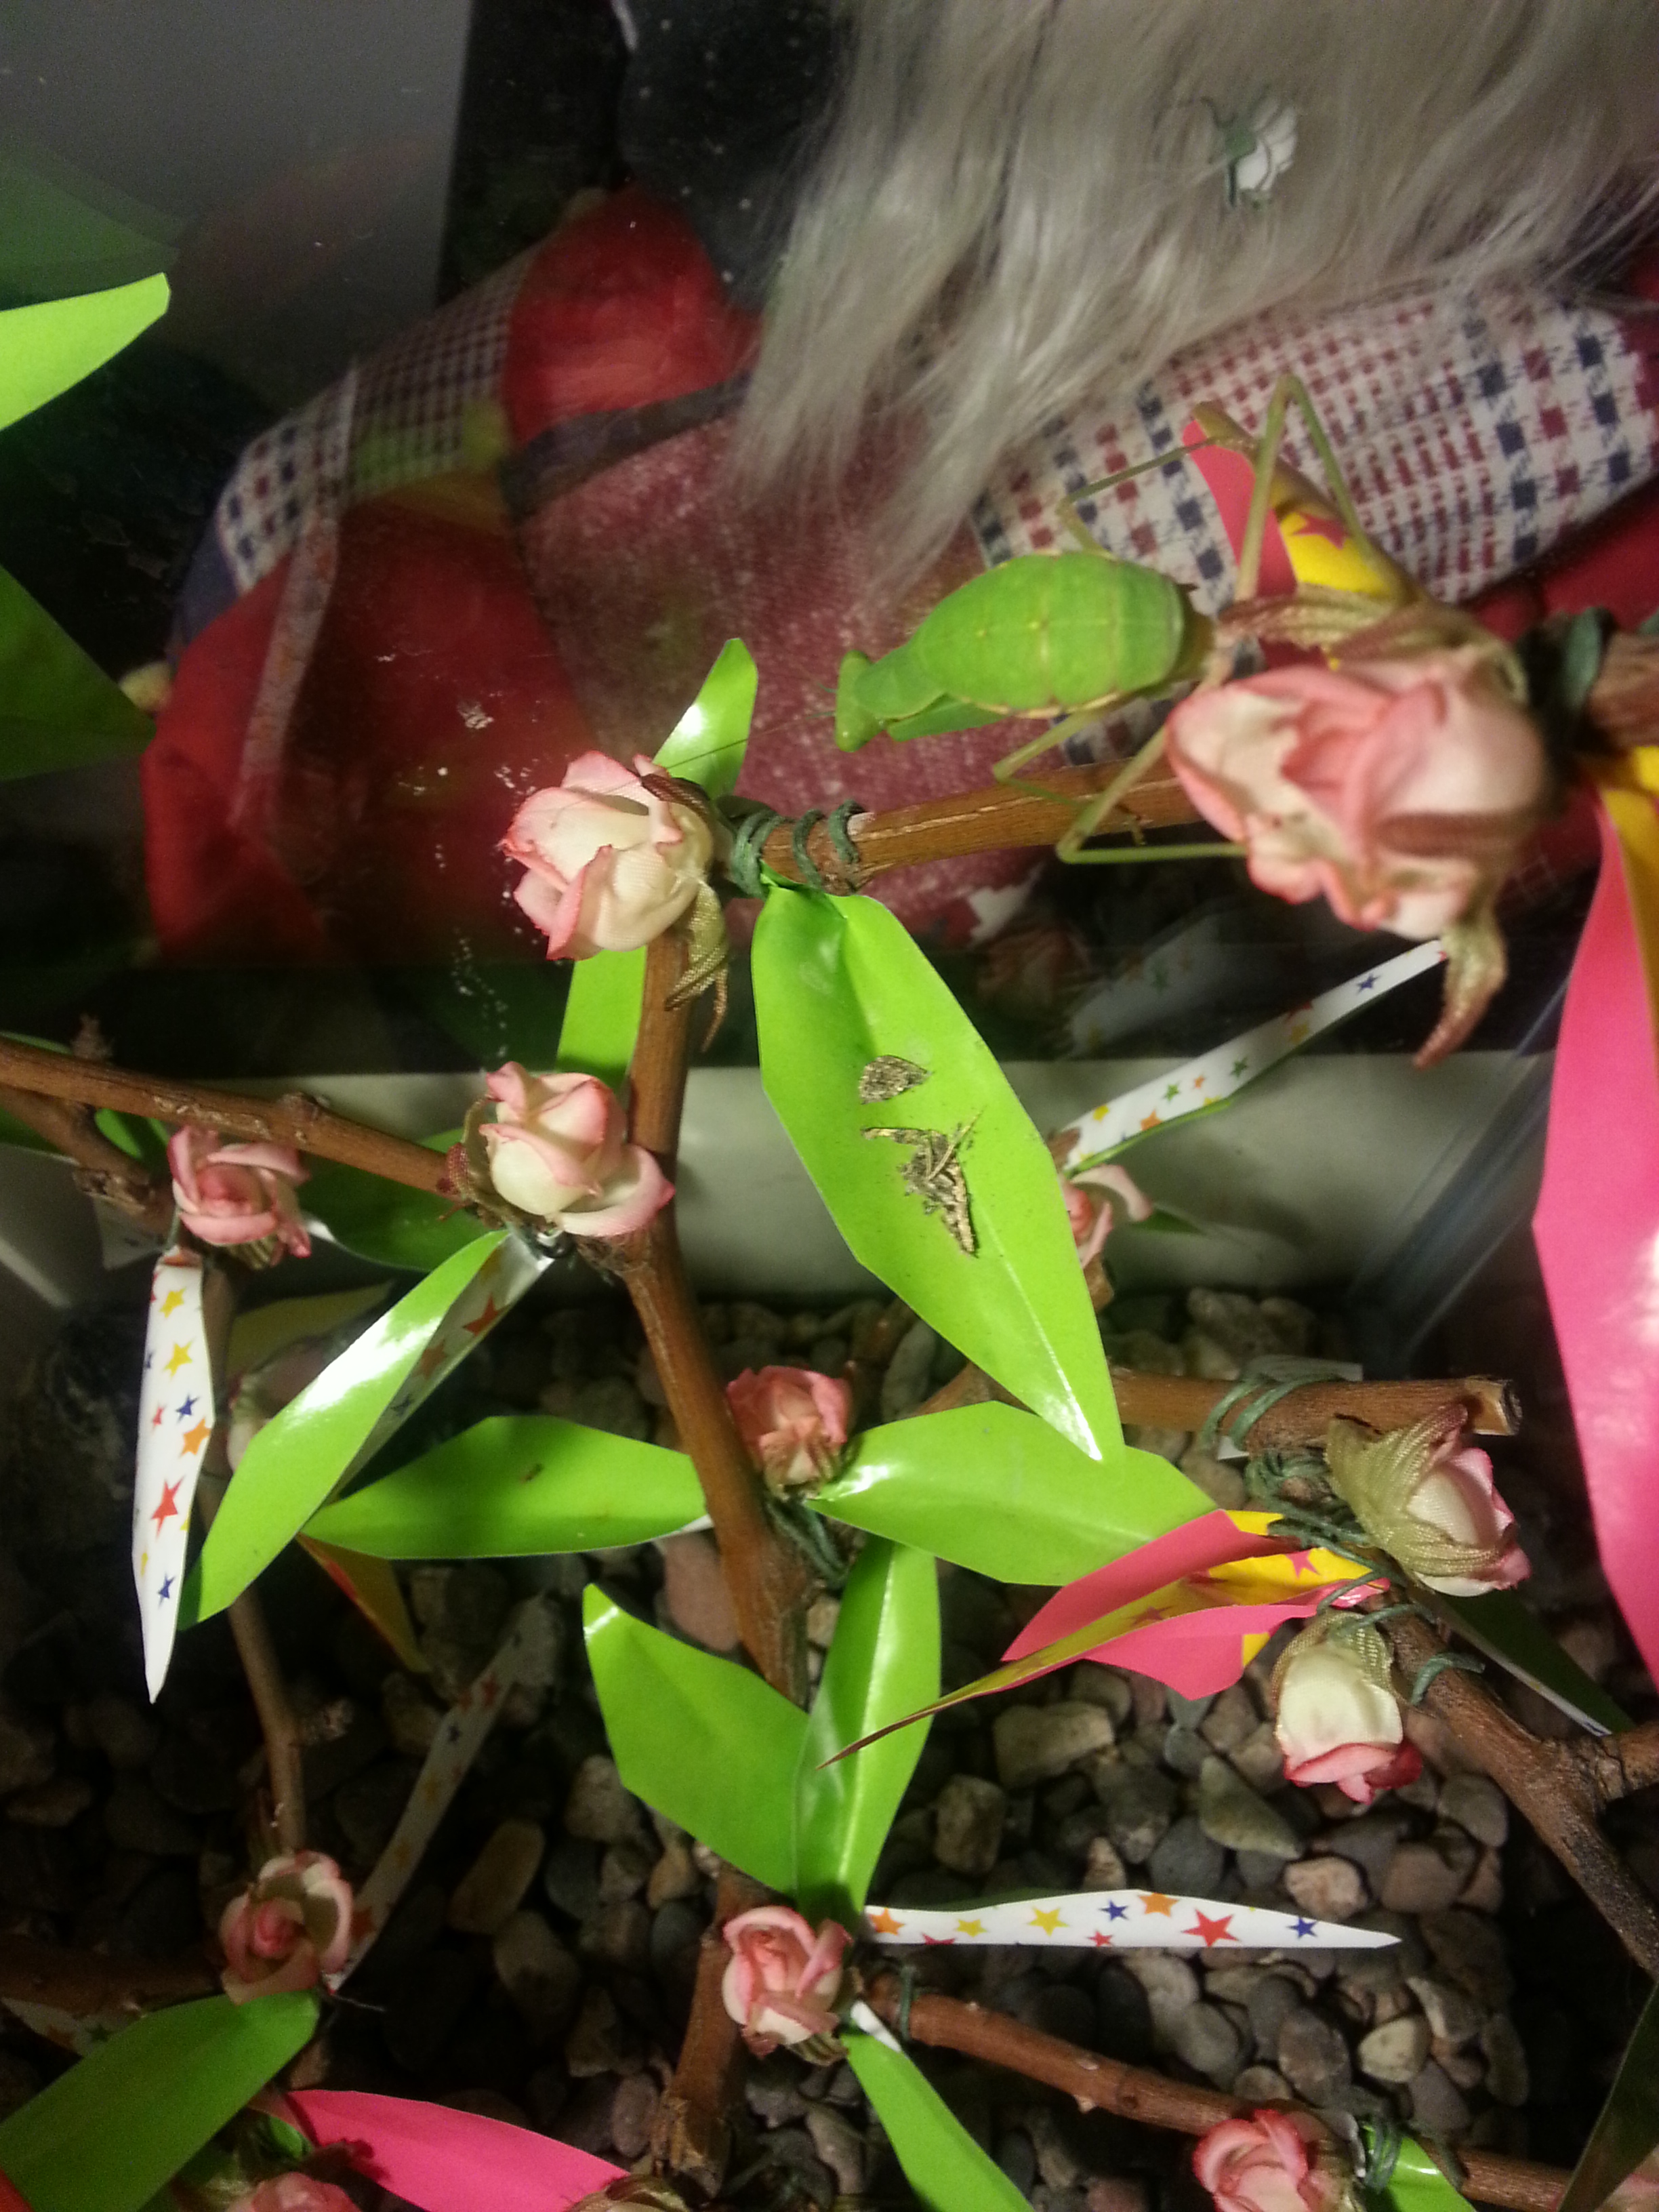
Anyway, here's Truck Reznor, settling down after handily polishing off a hoverfly. No issues finding food in the bigger enclosure, especially if the food has wings.

There's no heating pad yet because it's July and we don't have air conditioning. Mm, toasty!

There are a couple of issues that I may or may not address...

  • There's a couple of small gaps in the divider, at the back and the very top. The chances of a mantis squirting through and going all Donner Party are slim, but I'll be sure to fix it up before I introduce a mantis to the other half.
  • The jar lids on the feeding holes are kind of a pain to lift off, and they clatter when half is opened, so I might attach a handle or switch to something else.
  • I'm using gravel substrate because I like how it looks and it's really easy to clean and reuse, but I don't see it listed on guides very often. Is there anything wrong with gravel?
  • I may look into finding some fake plants.
  • I'm new to mantis keeping and I might have missed something. If you see any problems, do let me know.


Thanks for reading, and I'd love any feedback.

 
Last edited by a moderator:
@Kasael Looks good, and interesting idea on sewing the screen mesh on. :D

As with nearly all dividers though it can lead to problems as your aware of at least. It appears there is a big gap from the top of the divider and the lid though of 1/2" or so that even a adult can squeeze through (let along nymphs).

I'm curious of how the mesh looks on the back, could you show a photo? It looks like you used a sewing machine too as the spacing on the stitching is too exact. :)

 
@CosbyArt Ok, I'll be sure to seal that up nice and tight before I put another mantid on the other side.

Here's the mesh back. The fringe is a bit messy but...

9jJray0.jpg


It was sewn by hand, no idea how to configure the machine for this. Pushing a needle through plastic is absolute heck on the fingers, so first I poked regular holes in the plastic with an awl, which also helped keep stitch length even.

 
@Kasael The back looks great to me, you would hate see most of my hot glue works for sure then. :D The stitching is impressive especially considered you did it by hand, some real dedication there, and looks secure (I'll have to try it myself sometime).

Machines are different for sure on materials they can handle and what presser foot/settings to use. I know on my current machine I'd just go at it with a standard setup, at worse I would bend a $0.50 needle. ;) I picked up a Brother's LX2763 recently at Walmart and have been impressed with it, my old 1971 model Singer Fashion Mate 252 needs a burial.

 
Looks awesome.  I have a 12"x12"x18" terrarium with an adult Chinese in it right now that I've thought about splitting in half for two of my ghost nymphs once the Chinese dies and the ghosts are big enough but wasn't really sure of the best way to do it.  If I end up going that route, I will keep this design in mind for the divider, thanks!

 
@CosbyArt Yeah, it took about 2 hours, and I have kind of shaky hands. If you've done any kind of hand sewing before it shouldn't be a problem though.

@Ocelotbren I thought ghosts could be kept communally without much cannibalism?

Regardless, if it helps any for completing your setup, I'll be sealing up the top by putting some dabs of hot glue in the corrugation holes and then poking pins through the screen, pushing them into the dried glue. Just need to find some hot glue...

Also, you may want to cut your divider so that it reaches to the very top of the aquarium rim, using more screen in the center accordingly. My divider is a simple rectangle that sits beneath the rim, and because there's so little screen in the center, it's harder to lift up the lids individually.

 
@Kasael Yeah ghosts can be kept together but since it's not without risk, I decided to play it safe.  I have four, mainly because I hoped to have at least one of each gender and was also accounting for potential deaths as they grow, and that's without cannibalism haha.  If I had gotten more, I probably would have tried communal though.  And thanks for the tip about the divider as well!

 
another way to extend the dividers and hold them in place at the top is to take a hacksaw and cut a notch into the lip running around the top of the aquarium (assuming it has one, most do but not all)  Just make the notch the same width as the divider and slide it down from the top.  No need for the tabs, although I like that idea, and the dividers are instantly removable.  You can make the divider stick up a bit higher than the lids and no gaps.

Another tip when sandwiching corrugated plastic (I love the stuff as long as heat lamps aren't involved) put the two layers at a perpendicular angle and it will pretty much eliminate any sagging problems you could potentially have. 

I'm not a big fan of hot glue for aesthetic reason either (I've seen your hot glue projects CA  :D :D   :D )  I'd much rather use aquarium silcone sealant.  It takes longer but I've found I can get by with a lot less to do the same job as long as I can keep the two surfaces attached long enough for the silicone to set up.  

I love your idea for the lids though and I'm going to use it on my next build.  

Edit, my mistake.  I thought you used 2 pieces of corrugated plastic with the mesh in between

 
Thanks for the support! Here is a brief update, now that I've finished the hinge and decorations (and added my other mantis, Creobroter gemmatus - actually a misorder but luckily not too hard to care for).

U1ge8ZU.jpg


As planned on doing, I put some hot glue in the corrugation holes and pushed ordinary sewing pins into the dried glue, tacking down the mesh.

d53PhUg.jpg


I needed to trim the inner ends of each lid half in order to get them to fold up easily. There's about a quarter of an inch gap; larger would allow more folding, but they can go about 110 degrees and that's plenty.

RBuF0Mw.jpg


Both halves are decorated with dead rose branches; the "leaves" are water-resistant paper (from a Japanese import store, intended for use in making paper chains) held on by silk flowers with floral wire stems. For some reason I had this all lying around. I like the left half better; the two main branches (the ones sticking straight up) were hot glued to a corrugated plastic base, which is hidden by the gravel.

eMuh8v9.jpg


The right half has the same treatment, but the main branches are simply braced against the sides of the enclosure. I think you can tell what Truck had for dinner...

W5s1YAo.jpg


They tend to prefer hanging out near the top anyway, since that's where prey goes. Still, there's plenty of places to hide, climb, or molt.

Problems so far that maybe other people could avoid:

  • The lid is kind of floppy, especially with a heavy mason jar screwed into the feeding hole. 2 layers of corrugated plastic would definitely help.
  • Terrestrial beetles can easily dive into the gravel, and catching them again is a nightmare because the halves aren't totally sealed off at the bottom. The solution is simple: don't feed terrestrial beetles. At least not in the enclosure.
  • The "leaves" could be somewhat more water resistant; I'll find some kind of plastic for next time.
Otherwise it's been working out great.

 
Last edited by a moderator:

Latest posts

Top