My ooth hatching set-up

Mantidforum

Help Support Mantidforum:

This site may earn a commission from merchant affiliate links, including eBay, Amazon, and others.

Psychobunny

Well-known member
Joined
Aug 25, 2011
Messages
756
Reaction score
18
Location
MD USA
Here are a few pics of my ooth hatching method.

The ooth is glued to a piece of wood instead of directly on the screen because it is almost

imposibel to get the glue off.

I put a layer of damp sphagnum moss at the bottom, and loosly fill the jar with raffia to provide

lots of surface area and places to hide.

I put the ooth hatching chamber on a Bean Farm under tank heater which I control with a lamp

dimmer and keep the temp at about 85F.

I monitor the temp using a infrared thermometer with adjustible emissivity (a must feature if you want

accurate temp readings on reflective surfaces).

And of course, I give them a little mist of distilled water daily:

ooth hatch01.jpg

ooth hatch02.jpg

ooth hatch 03.jpg

IR therrm.jpg

 
I'm pretty sure I glued it right.

I could see where it was attached to screen, so that is where a glued it.

I will take a closer up pic of it.

 
I forget what it looked like. Sometimes they get laid between multiple surfaces. I just saw the back part (for sure) where it was attached to a stick and dont remember what other surface areas were attached to other things. If you glued the side that was "screeny" you should be good.

 
It was attached to a stick?

I thought you said it was attached to screen!!!

Then I have to turn it over and re-glue it!!!

Should I glue the side with the long deep grove (looks like a stick was there!!!???

 
I forget what it looked like. Sometimes they get laid between multiple surfaces. I just saw the back part (for sure) where it was attached to a stick and dont remember what other surface areas were attached to other things. If you glued the side that was "screeny" you should be good.
There is a long groove on it that looks like a twig could have been there!!

I am confused now, so I just removed it (it was only a drop of hot glue anyway) and am not

going to glue it at all!!

I am just going to lay it on some little twigs.

I wish I could post a pic, I tried and it would not let me even though I deleted some old pics and

should have the space!!

 
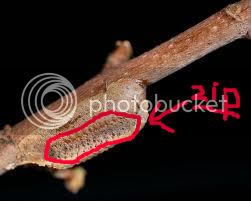
a zipper is where the nymphs emerge. it kind of looks like a zipper running from one side of the ooth to the other. don't lay it on some twigs just hang it! the nymphs use gravity to emerge. hope this helps!

 
Last edited by a moderator:
a zipper is where the nymphs emerge. it kind of looks like a zipper running from one side of the ooth to the other. don't lay it on some twigs just hang it! the nymphs use gravity to emerge. hope this helps!
How am going to hang it??

 
how about try to put a stick back in the slot it was layed on then glue the stick to the top and you cant go wrong,

 
when glueing the ooth to the top make sure the zipper (the part on top that will be raised up a little higher than the rest of the ootheca,) is facing down and is not glued. The zipper is where the nymphs will emerge. Just a little thing to remember.

carolinaooth-1.jpg
(this is a carolina ooth)

 
Nice setup, but yeah, be careful which side is facing down.

Consider that jar a temporary home unless you are hatching something like a Ghost ooth that will only give you 15-20 nymphs. I suggest no more than 20 small nymphs in a container that size or they will turn on each other.

Don't pack the raffia so densely. Leave more space between the strands or they will just sit on top of it. In this instance less is more.

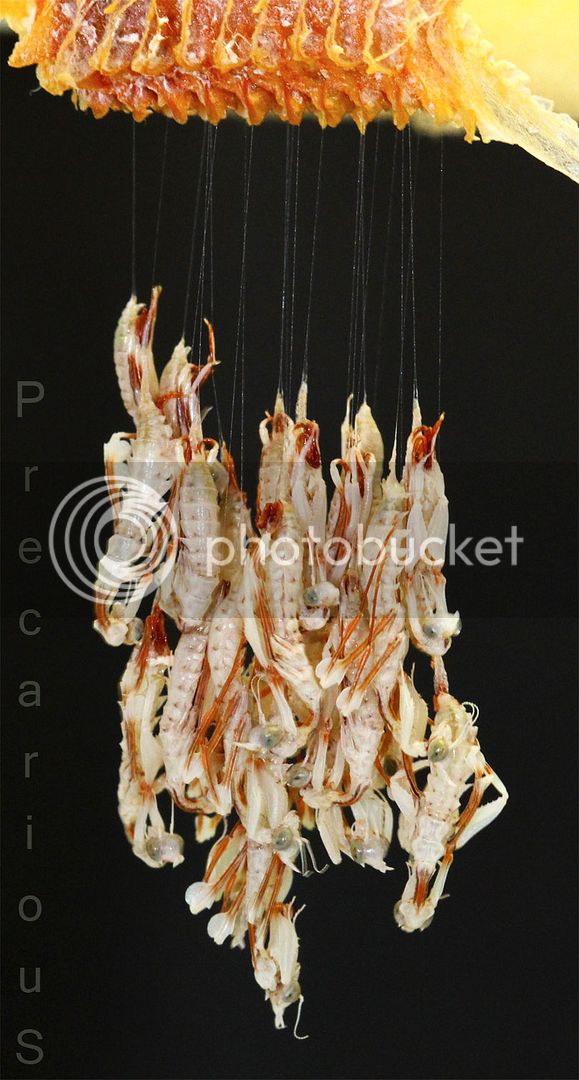
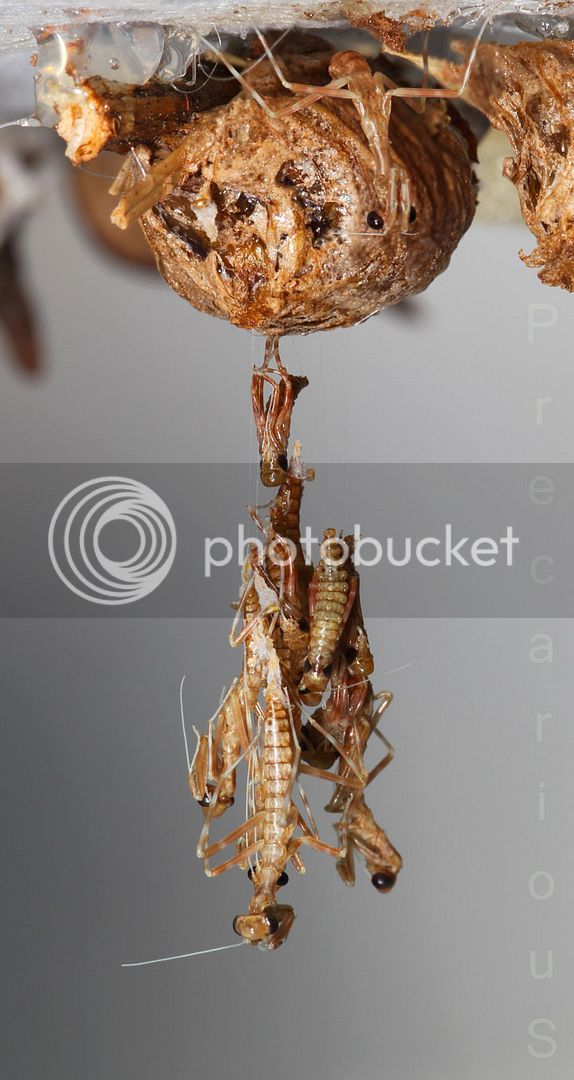
Also, leave more space up top between the surface of the ooth and the raffia. Some nymphs hang from a thread 2" long or more so leave at least that much space.

Examples:

Gongylus gongylodes

Violin_2922-sm.jpg


Oxyopsis gracilis

OxyH07_7705-sm.jpg


Some oothecae that I have seen in photos don't have an obvious zipper ,and some have more than one part that looks like a zipper. I don't think I would know what to do with that G. gongylodes if I never saw where the nymphs were hanging from. :mellow:

@ShieldMantid The S. carolina ootheca in the photo is oriented correctly, but the nymphs will emerge from the strip of material that is lighter in color and softer to the touch. I suppose it is built with that soft strip so that nymphs will have an easier time pushing out. I wish all oothecae were as easy to orient as Carolinas. :lol:

 
Okay, I did all that.

I do have lots of containers too, and the raffia is loose and well below the ooth.

Should I mist the ooth directly or just the container?

I do believe I had glued it upside down, but when I removed it, I did not harm the ootheca.

Only a drop of hot glue was used, so it came right off.

I do not now how long it takes for lineola ooth's to hatch!!

I have heard one to three months!!??

Do you think I killed this one? :(

 
Some oothecae that I have seen in photos don't have an obvious zipper ,and some have more than one part that looks like a zipper. I don't think I would know what to do with that G. gongylodes if I never saw where the nymphs were hanging from. :mellow:

@ShieldMantid The S. carolina ootheca in the photo is oriented correctly, but the nymphs will emerge from the strip of material that is lighter in color and softer to the touch. I suppose it is built with that soft strip so that nymphs will have an easier time pushing out. I wish all oothecae were as easy to orient as Carolinas. :lol:
I dont see anything on this ooth that looks like a zipper.

 
I dont see anything on this ooth that looks like a zipper.
It may be a button fly ooth. Not as popular as zippers but they're still out there.

Look for something like this:

ergo-painter-pants-zipper.jpg


But seriously, folks...

I mist many of my ooths directly each morning but it depends on the species. I would not mist this one directly because even if a small portion of the surface is removed (when removing glue) they become vulnerable to fungal growth.


Latest posts

Top