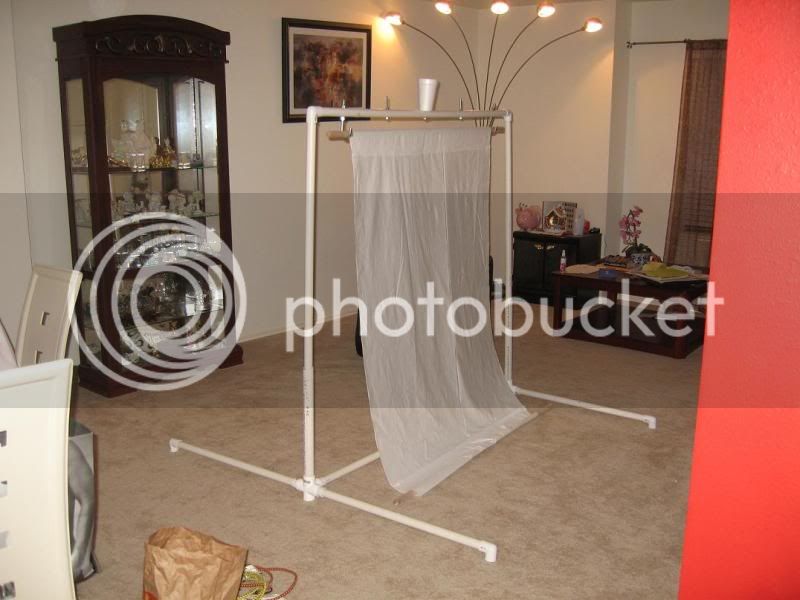
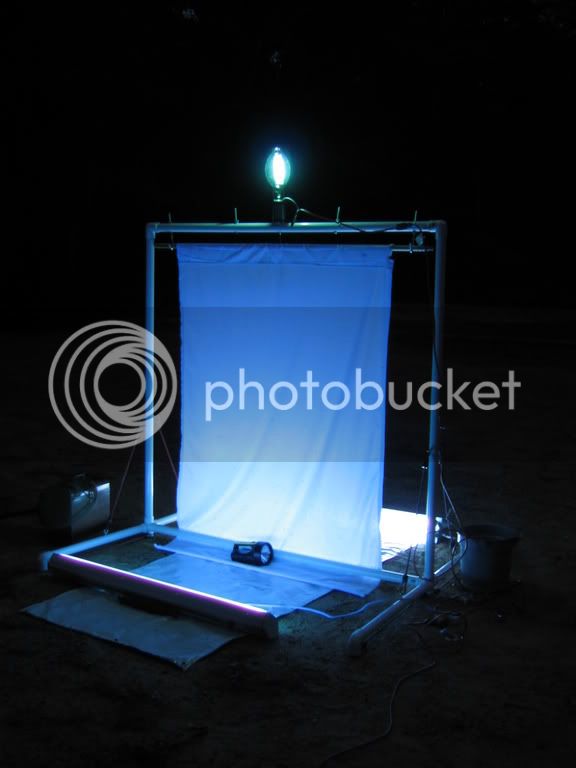
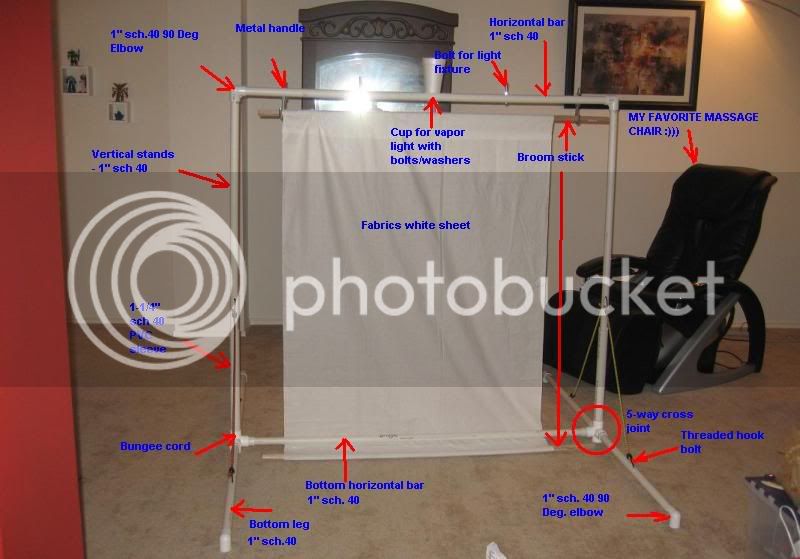
Few members interested in how to build a light trap so here is the way I have done it. There was a detailed description for each part of the structure in my own blog (written up about 2 weeks ago) so i am not going into detail.
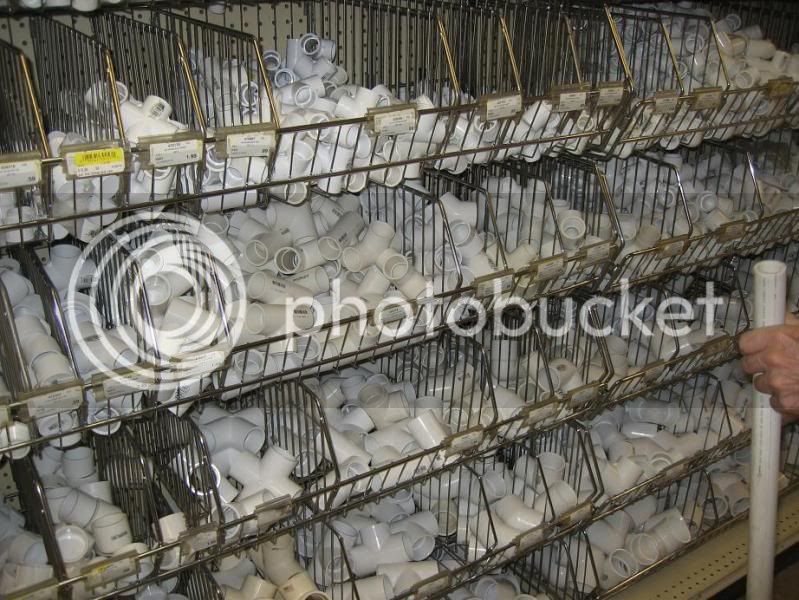
Bought most of the set up from a hardware shop. You can basically get every part of the structure from Home Depo or Lowes if you livev in the USA.
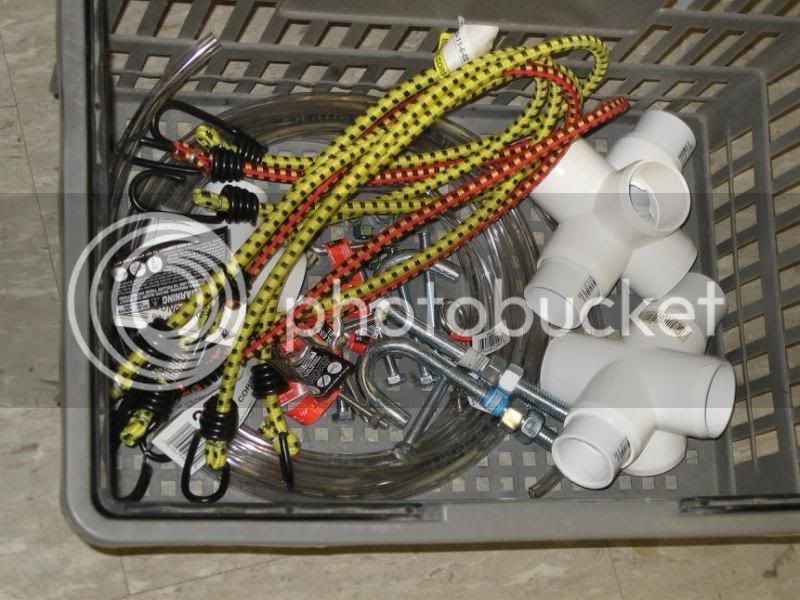
Basic structure part
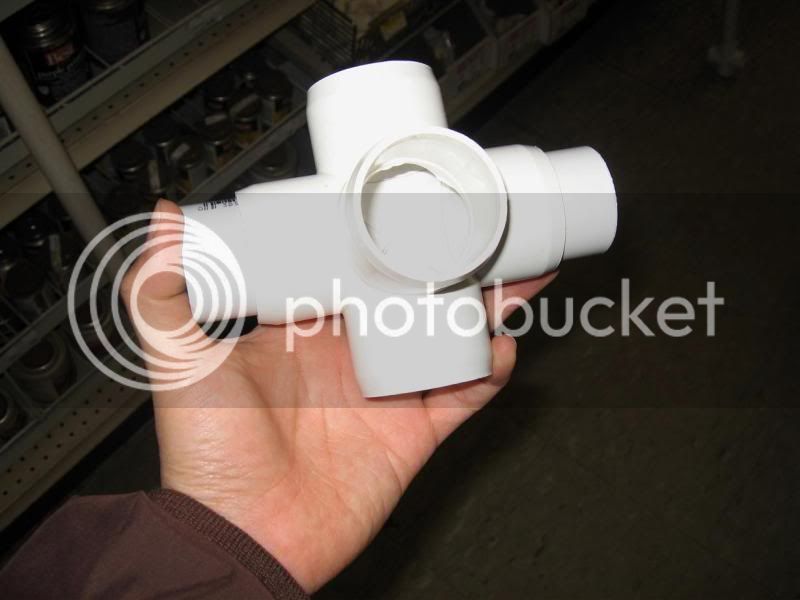
- 2 x 1-¼” 5-way cross
- 3 x 1” x 10’ sch.40 PVC pipe
- 6 x 1” sch.40 90D elbows
- 2 x 1-¼” x 3’ PVC sch.40
- 6 x 1” PVC sch.40 coupling
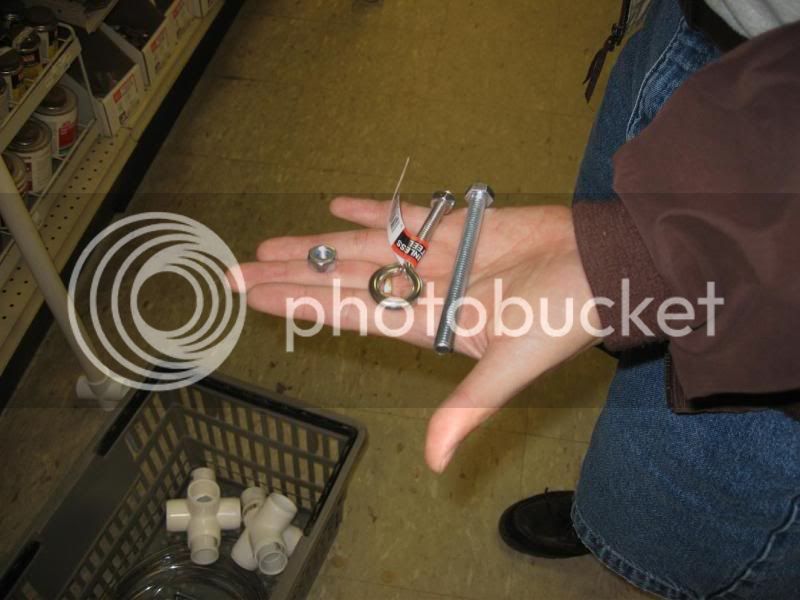
- 2 x threaded hex bolts and nuts
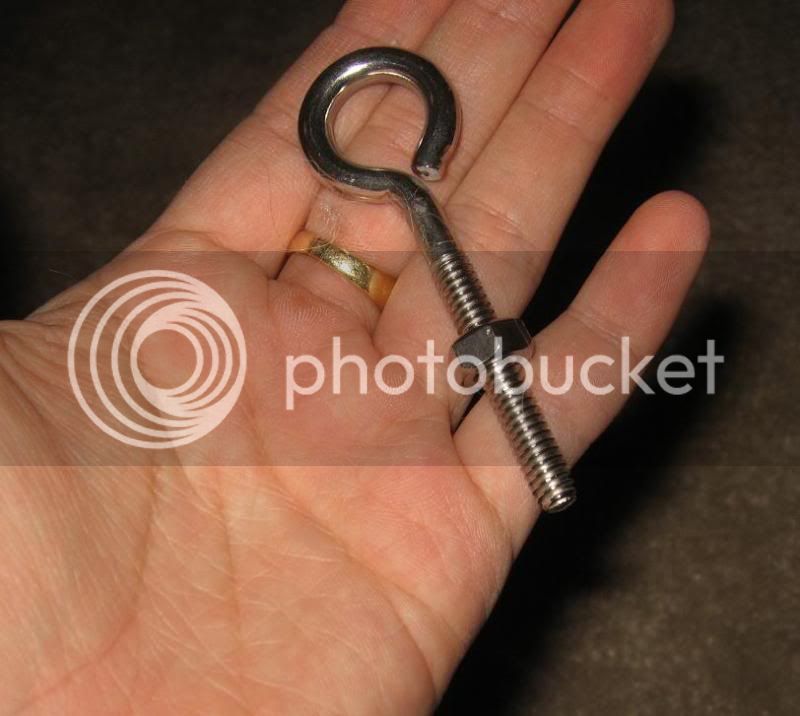
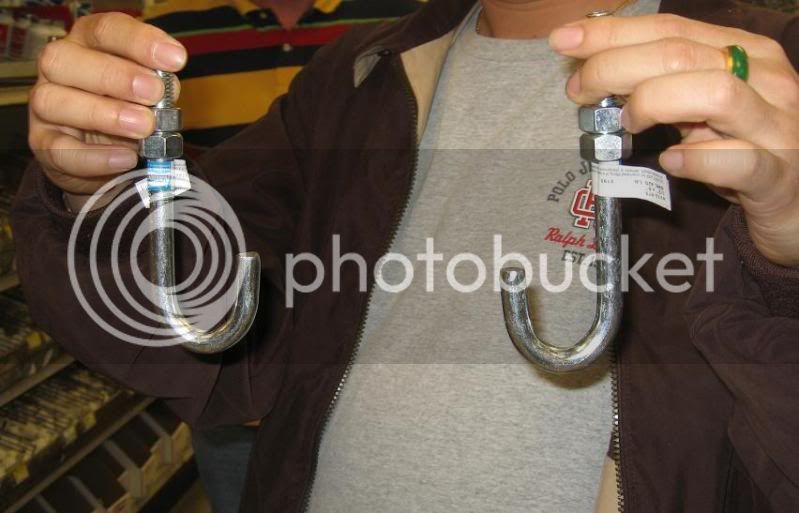
- 2 x threaded metal handle (Hook) + nuts
- 4 x hook bolts and nuts
- 6 x bungee cords (around 24"-30” long)
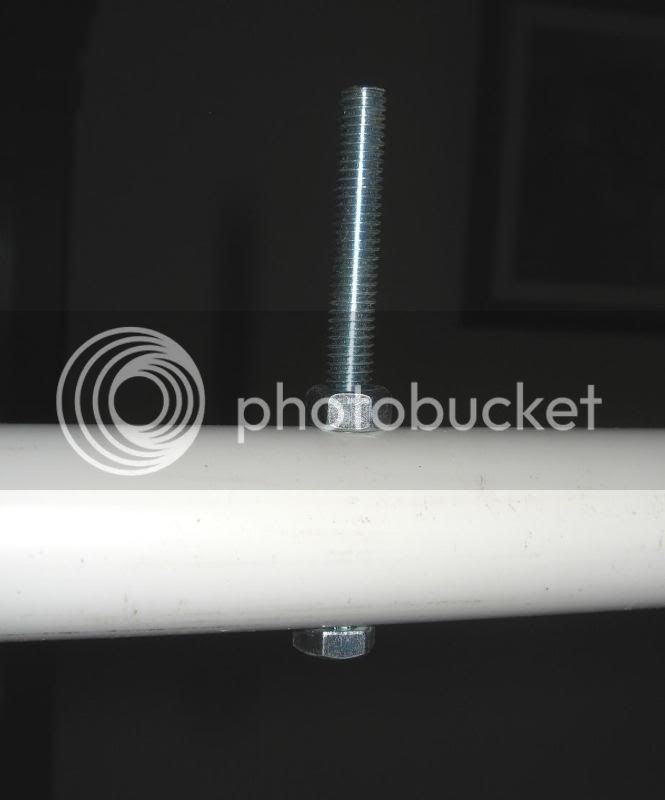
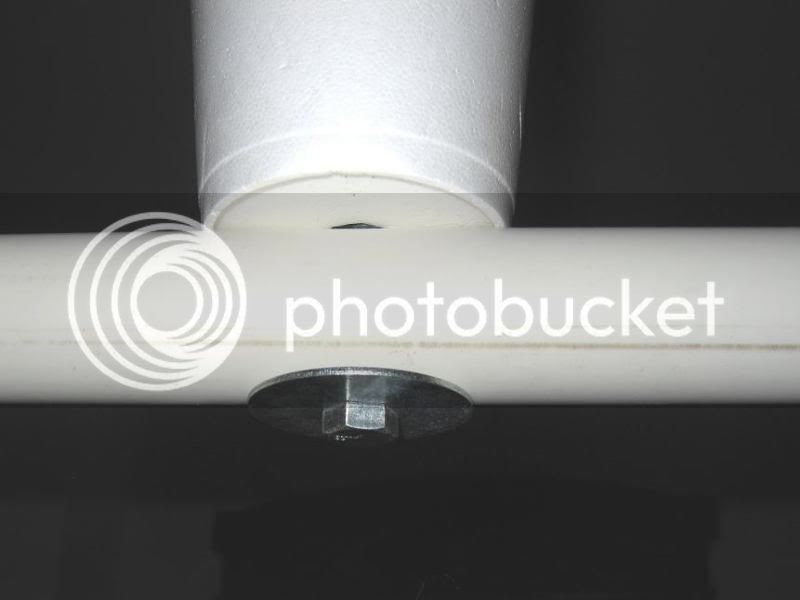
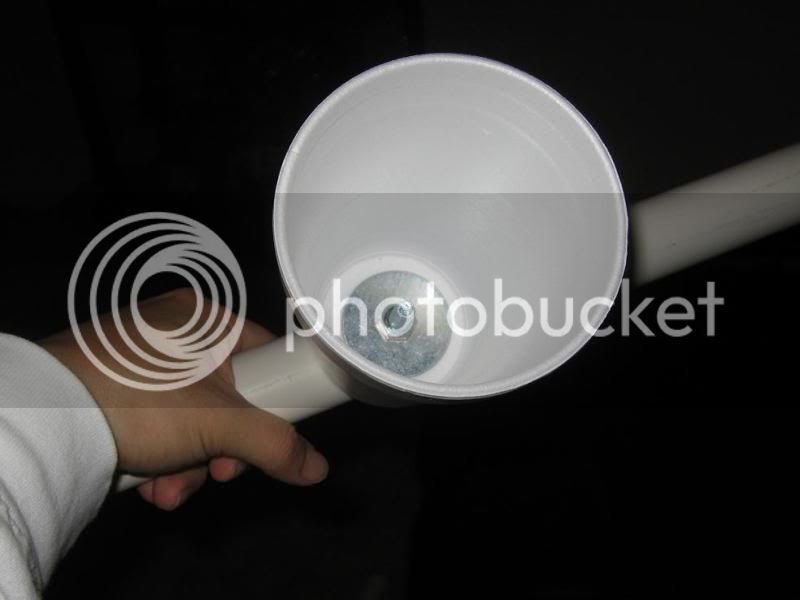
- 1 x hex bolt + 2 flat washers + bolt + metal cup
- 2 x wooden broom
- 2 x 5’ x 5’ white color fabrics
Electrical part
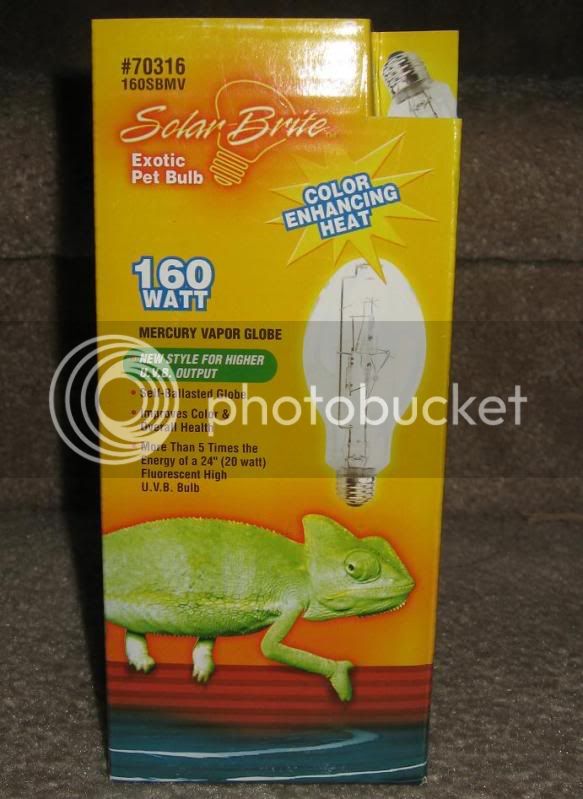
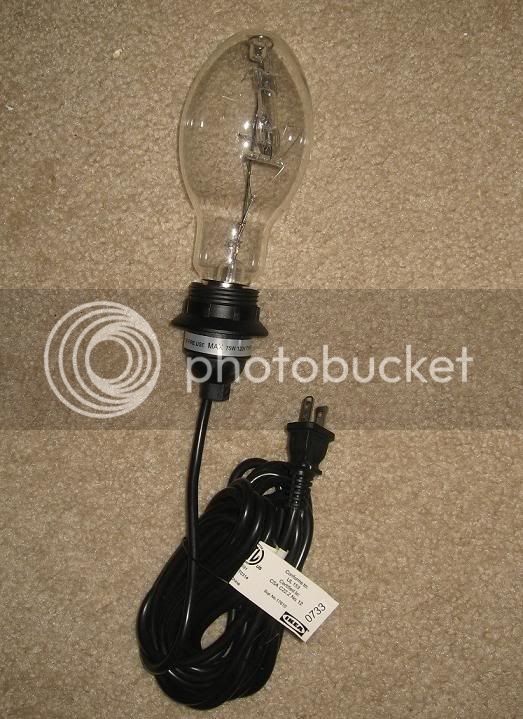
- Mercury vapor
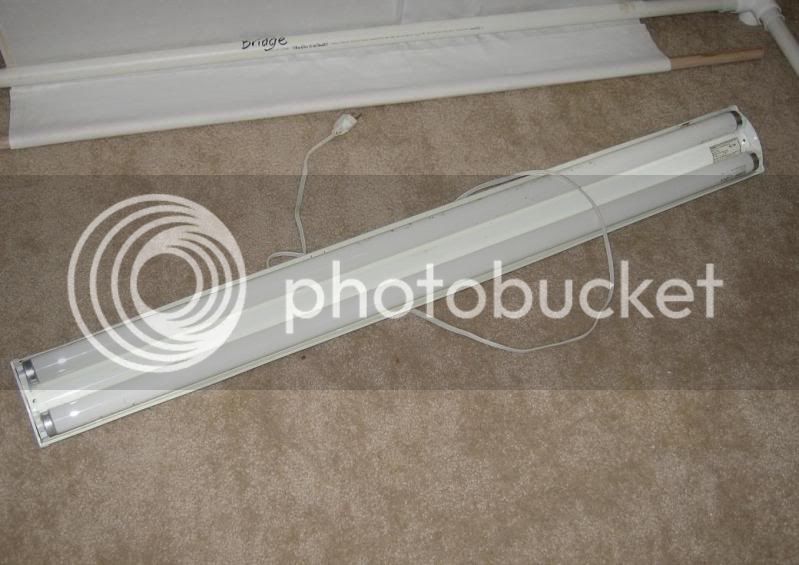
- white blacklight + light fixture
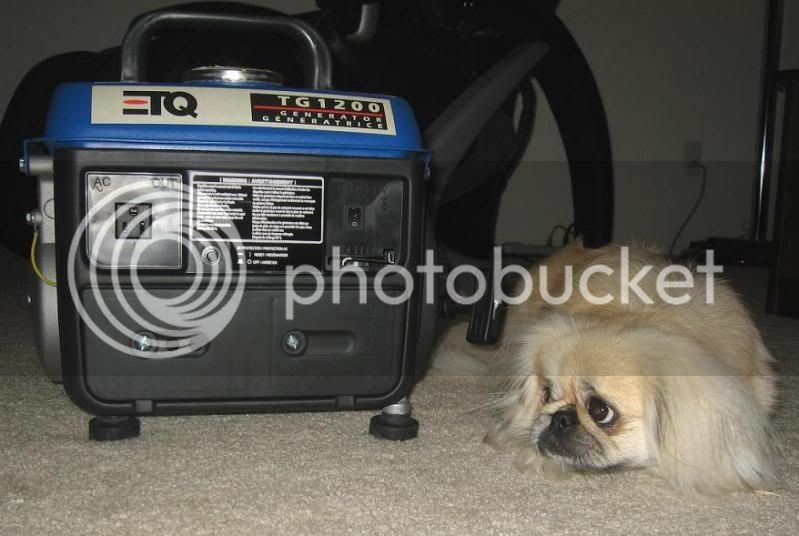
- generator
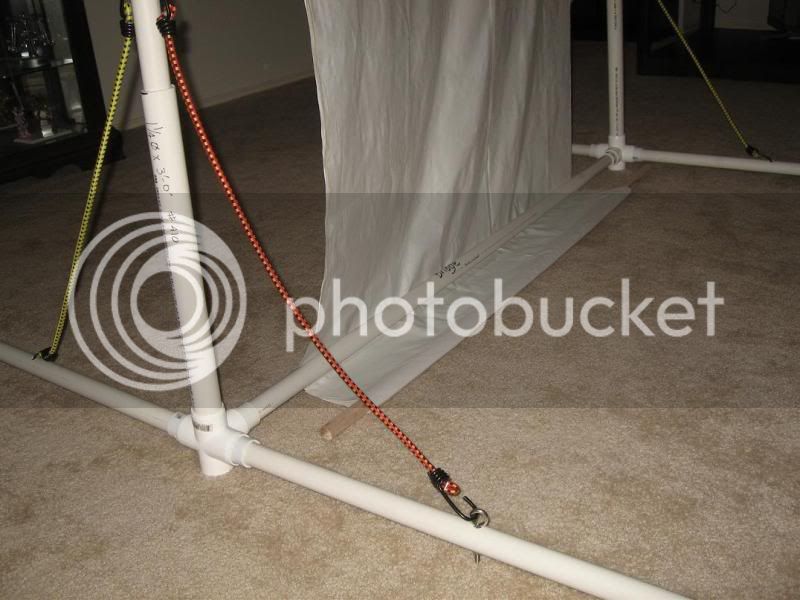
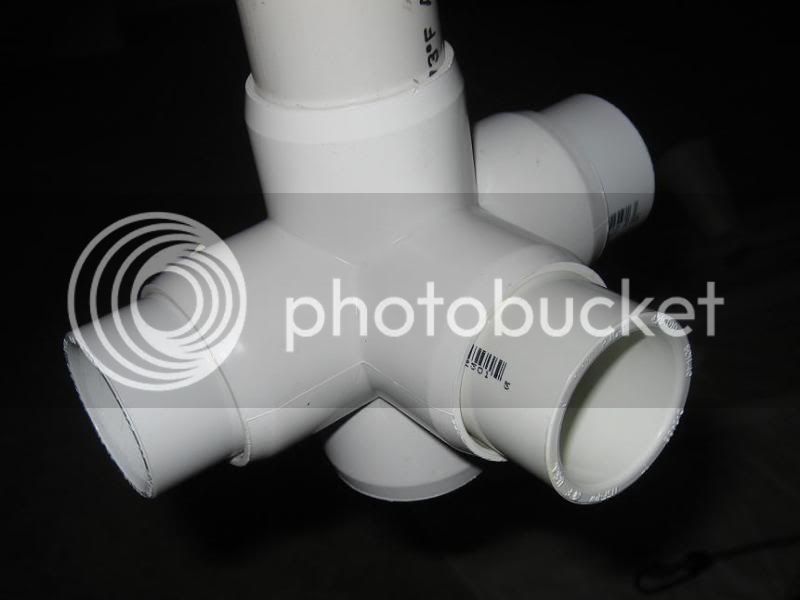
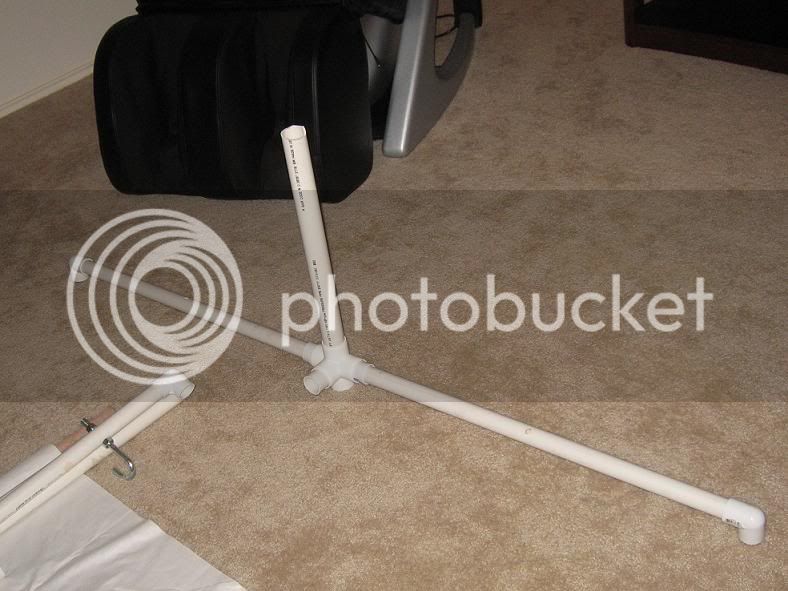
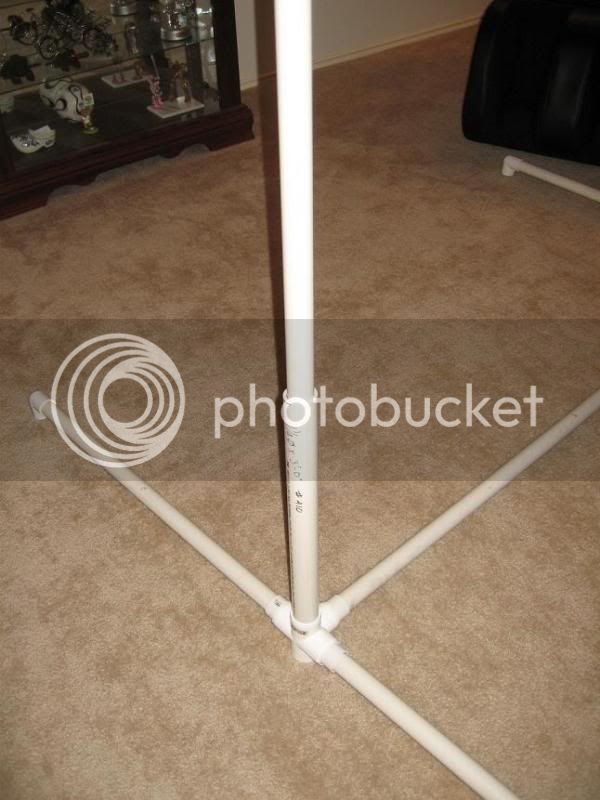
Step 1: 1-¼” 5-way cross with three 1” PVC sch.40 coupling
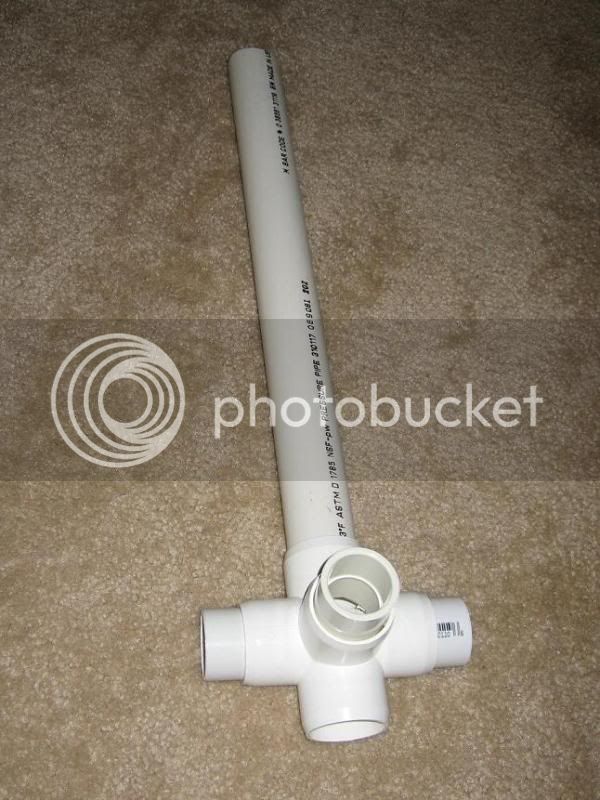
Step 2: Connect 1-¼” x 3’ PVC sch.40 to the part in Step 1
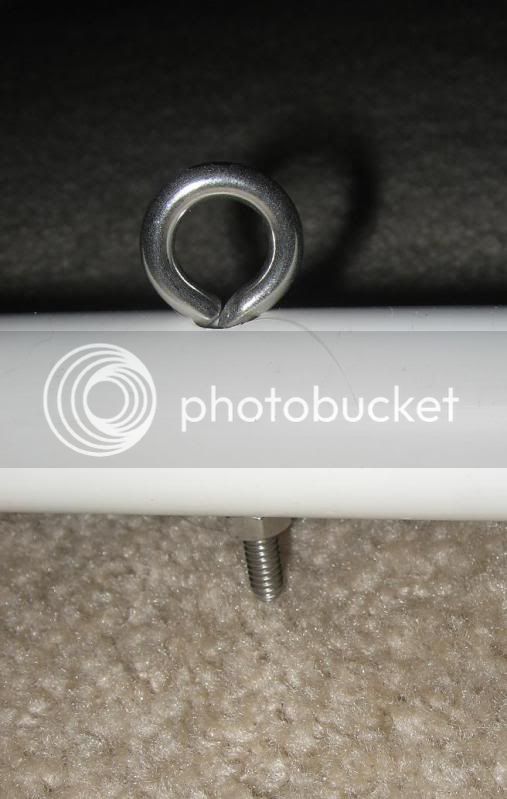
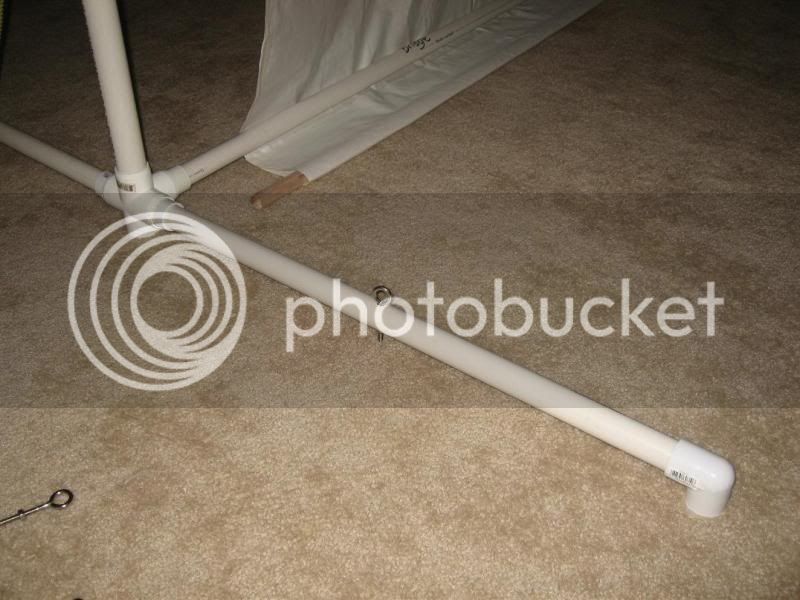
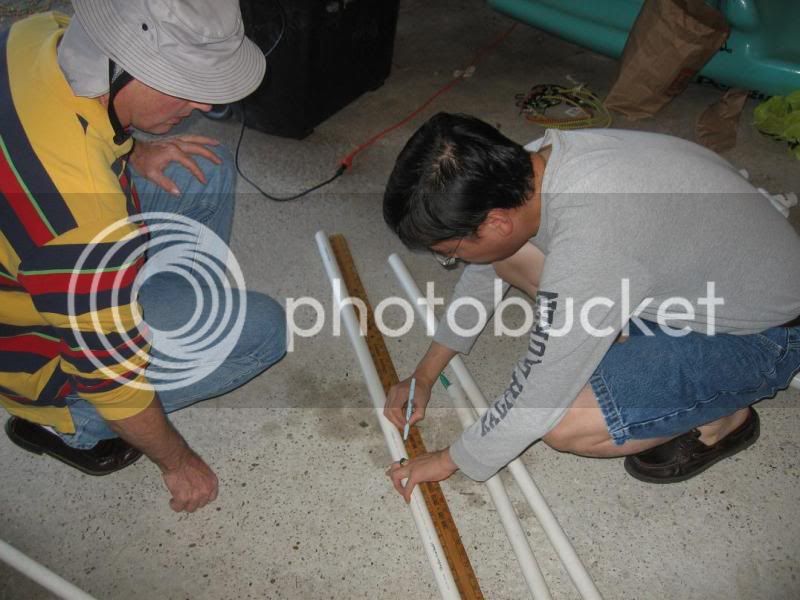
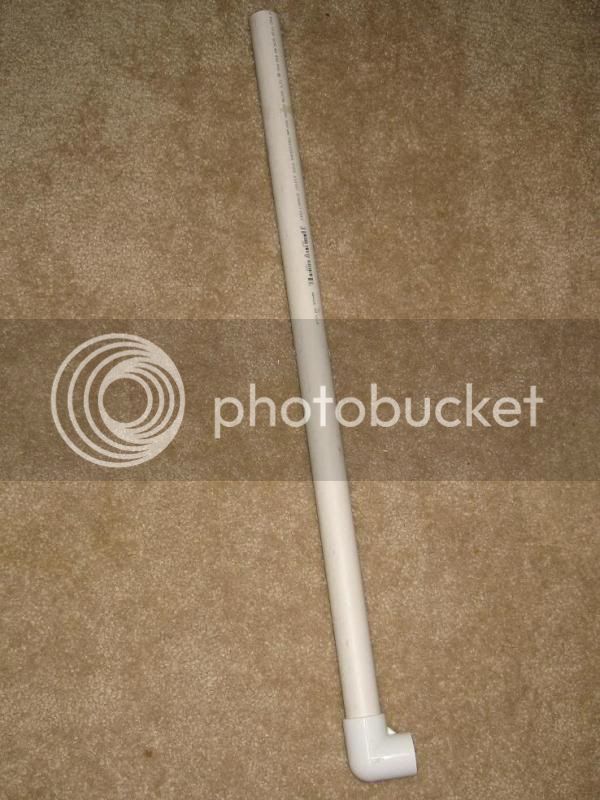
Step 3: Cut all three 1” x 10’ sch.40 PVC pipe into half (you can request the hardware store to do it for a small fee), then cut another two 5' pieces into half (So you get four x 2.5' PVC 1" pipe). Drill a hole in the centr of each 2.5' pipe. Connect each 1” sch.40 90D elbows to the 2.5' pipe which formed one of the four legs.
Step 4: Connect two of the legs assembled in Step 3 to the the part from Step 2.
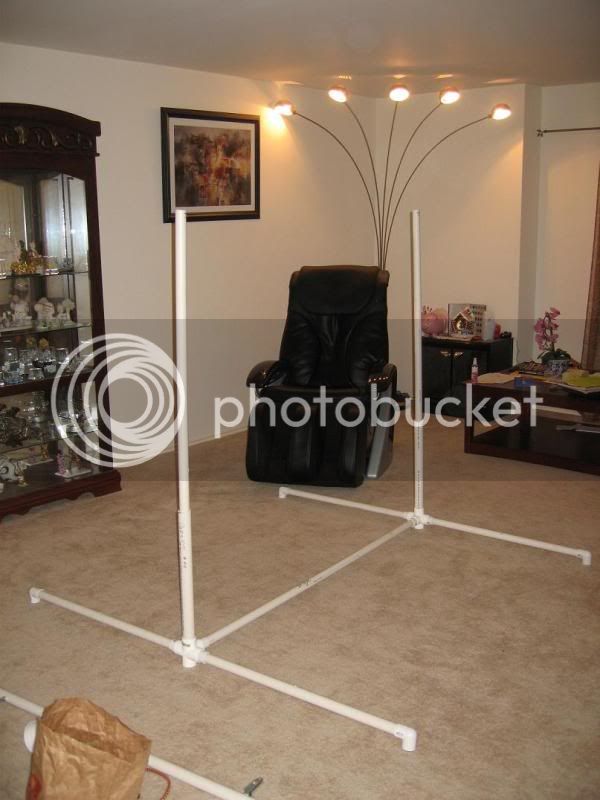
Step 5: Repeat Step 4 again to duplicate all four legs
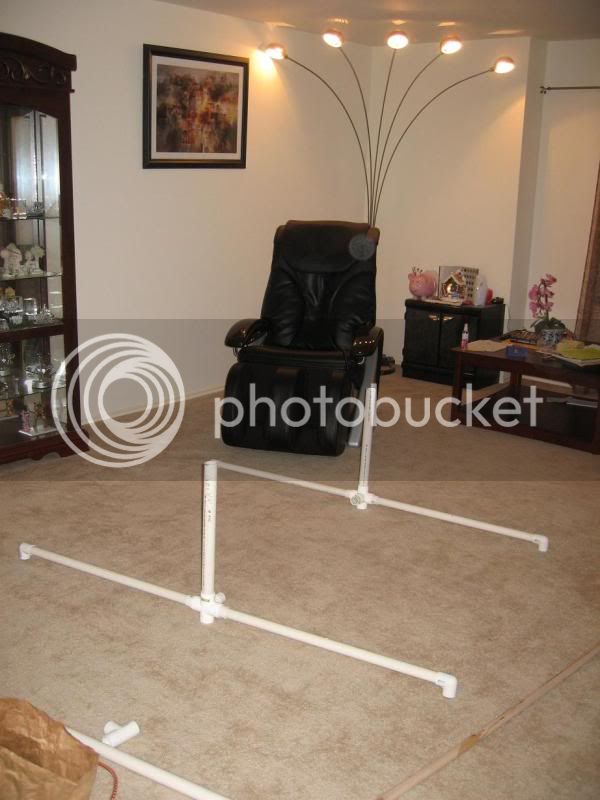
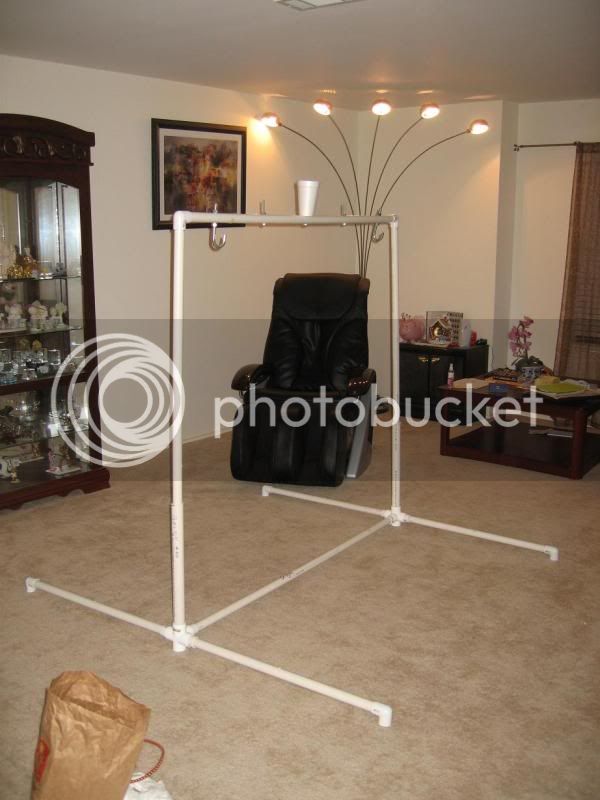
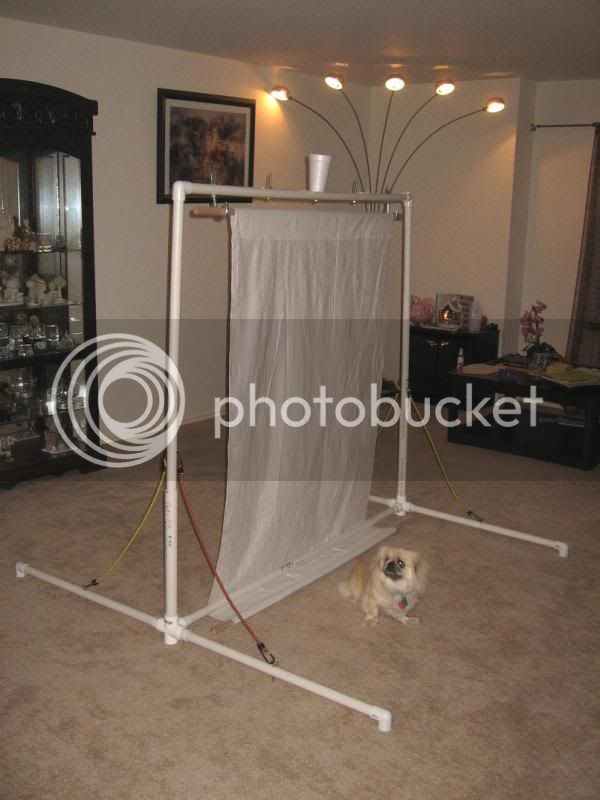
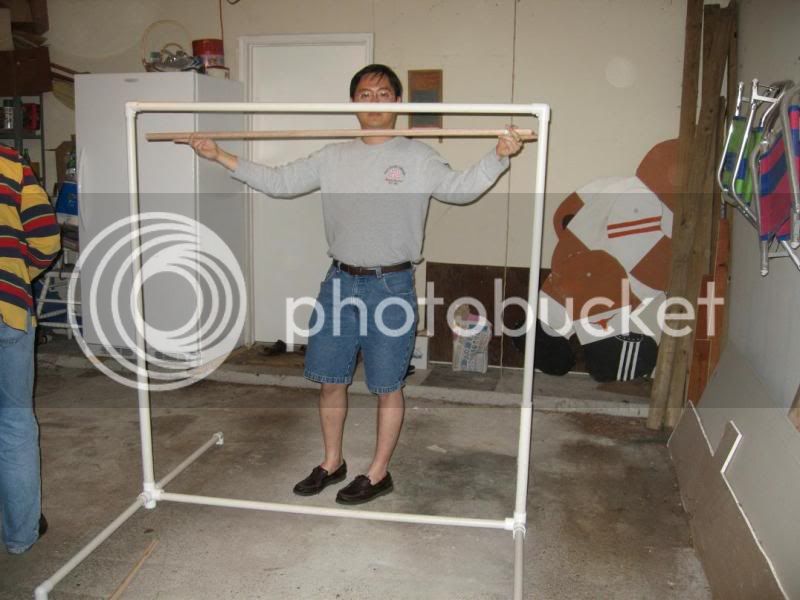
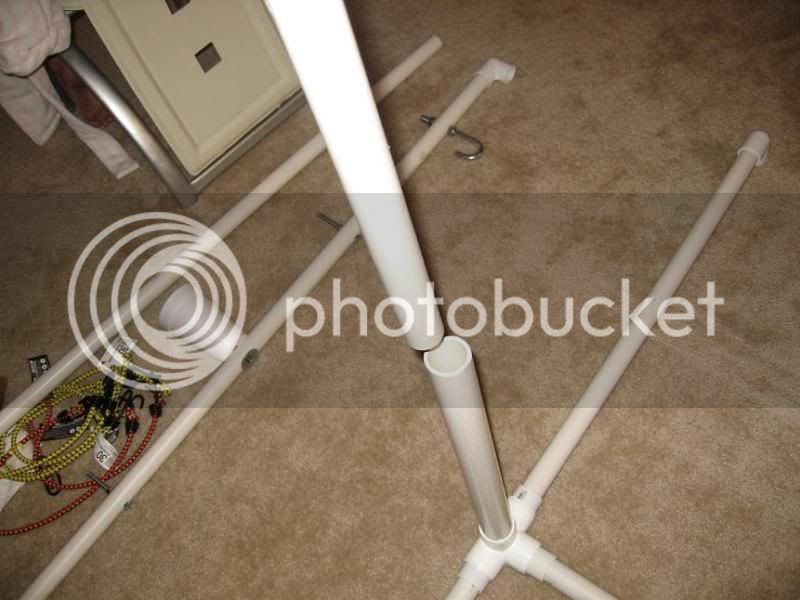
Step 6: Both parts in Step 5 now connected by one 1" x 5' pipe previously cut in Step 3 to form a bridge.
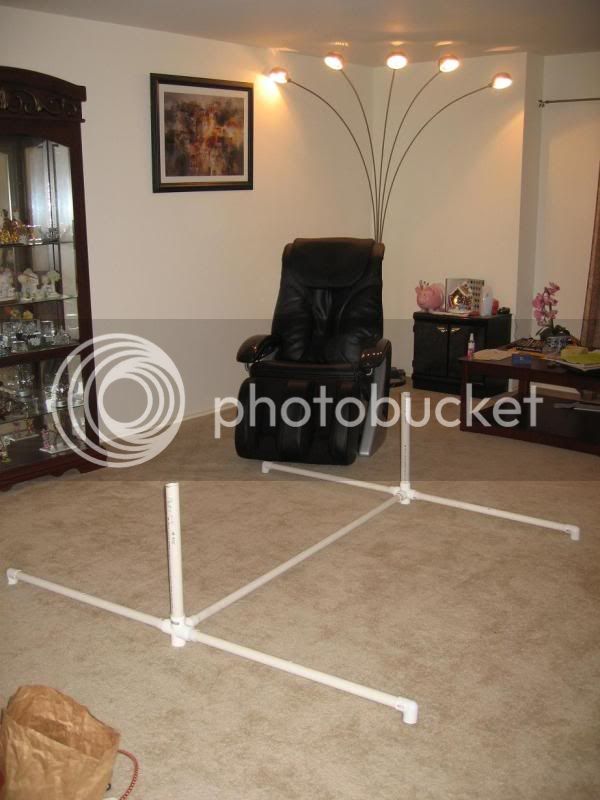
Step 7: Slide the two 1" x 5' pipe into the 1-¼” x 3’ pipe to form two vertical stands
See next page..... boy i am making this into a manual
Bought most of the set up from a hardware shop. You can basically get every part of the structure from Home Depo or Lowes if you livev in the USA.
Basic structure part
- 2 x 1-¼” 5-way cross
- 3 x 1” x 10’ sch.40 PVC pipe
- 6 x 1” sch.40 90D elbows
- 2 x 1-¼” x 3’ PVC sch.40
- 6 x 1” PVC sch.40 coupling
- 2 x threaded hex bolts and nuts
- 2 x threaded metal handle (Hook) + nuts
- 4 x hook bolts and nuts
- 6 x bungee cords (around 24"-30” long)
- 1 x hex bolt + 2 flat washers + bolt + metal cup
- 2 x wooden broom
- 2 x 5’ x 5’ white color fabrics
Electrical part
- Mercury vapor
- white blacklight + light fixture
- generator
Step 1: 1-¼” 5-way cross with three 1” PVC sch.40 coupling
Step 2: Connect 1-¼” x 3’ PVC sch.40 to the part in Step 1
Step 3: Cut all three 1” x 10’ sch.40 PVC pipe into half (you can request the hardware store to do it for a small fee), then cut another two 5' pieces into half (So you get four x 2.5' PVC 1" pipe). Drill a hole in the centr of each 2.5' pipe. Connect each 1” sch.40 90D elbows to the 2.5' pipe which formed one of the four legs.
Step 4: Connect two of the legs assembled in Step 3 to the the part from Step 2.
Step 5: Repeat Step 4 again to duplicate all four legs
Step 6: Both parts in Step 5 now connected by one 1" x 5' pipe previously cut in Step 3 to form a bridge.
Step 7: Slide the two 1" x 5' pipe into the 1-¼” x 3’ pipe to form two vertical stands
See next page..... boy i am making this into a manual
Last edited by a moderator: