lectricblueyes
Well-known member
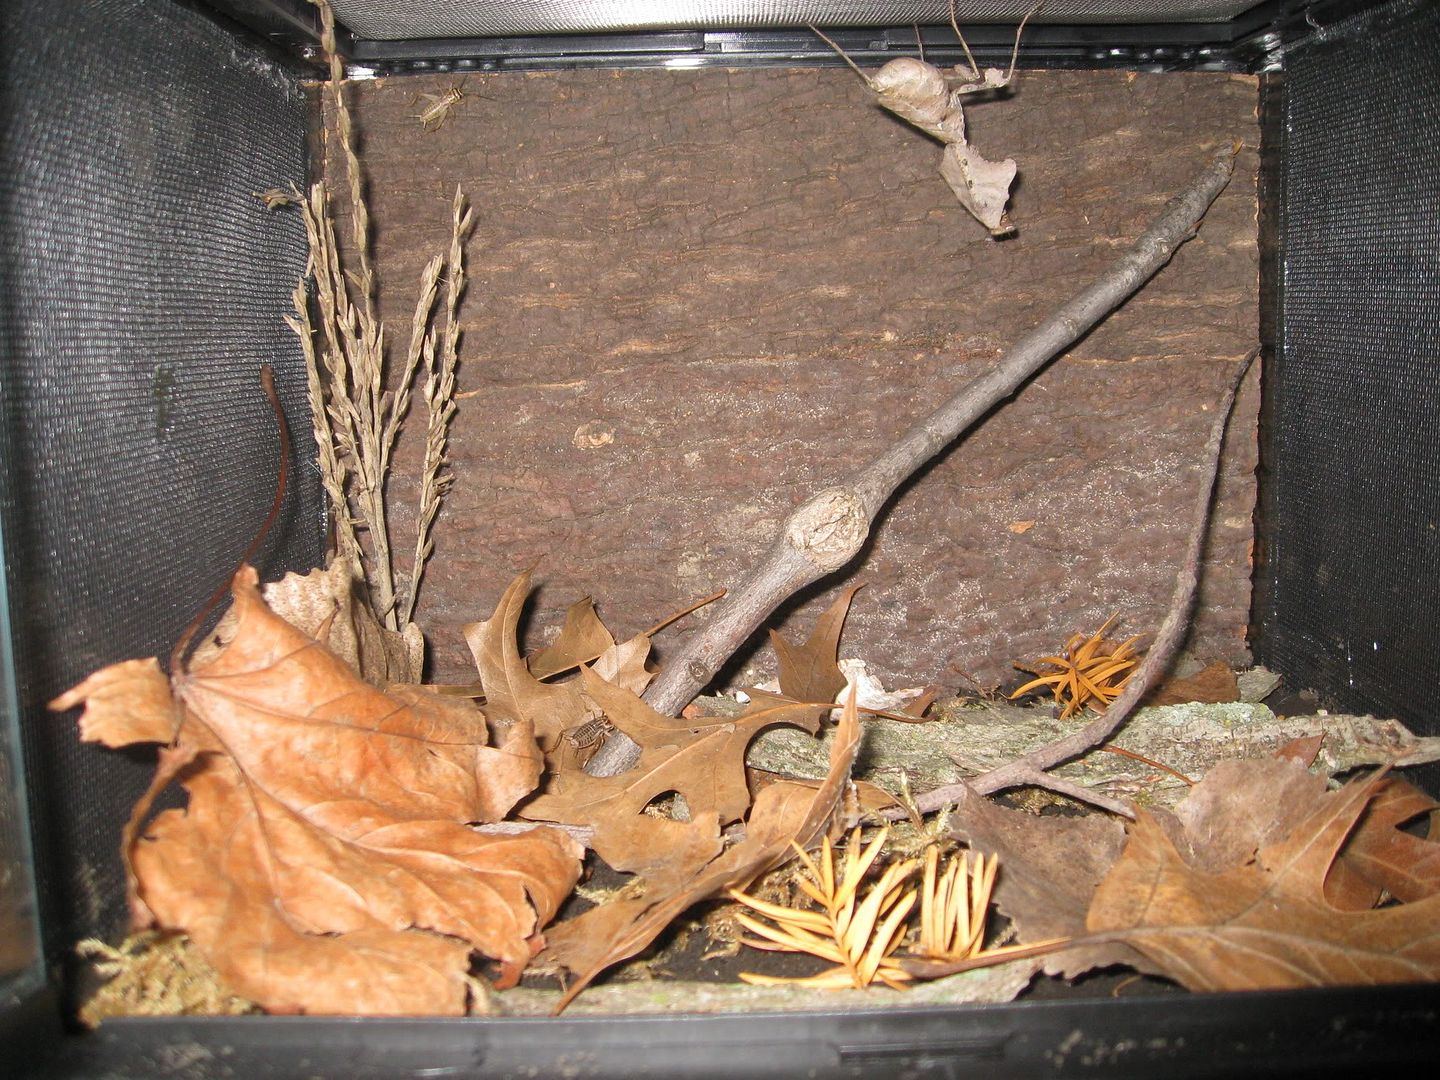
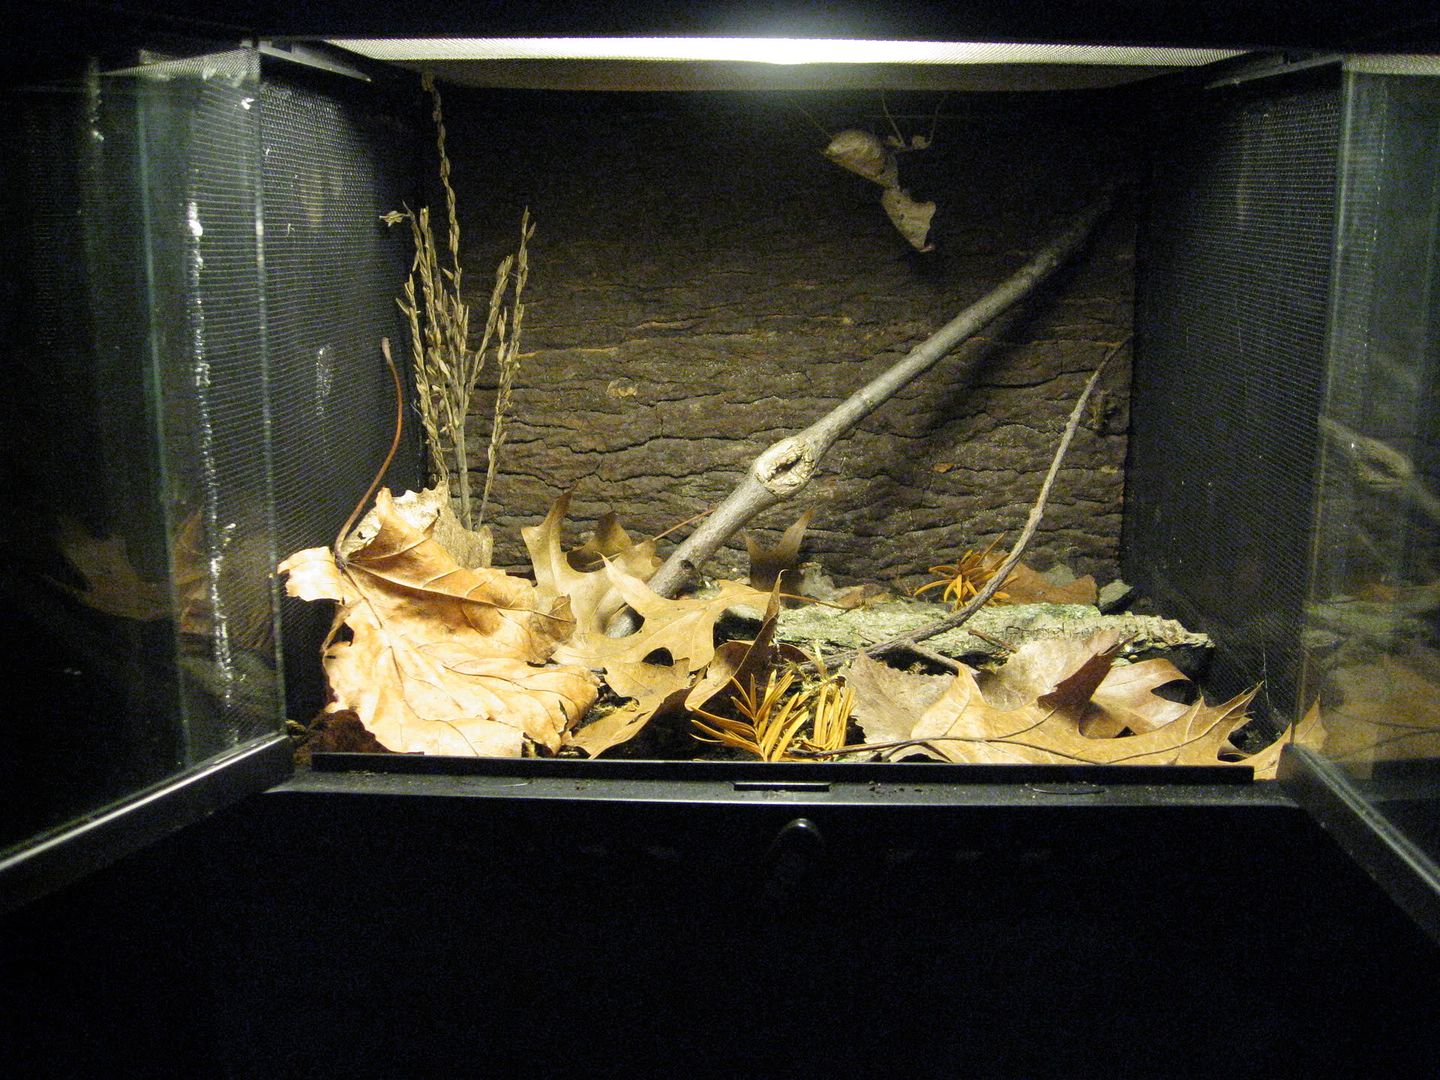
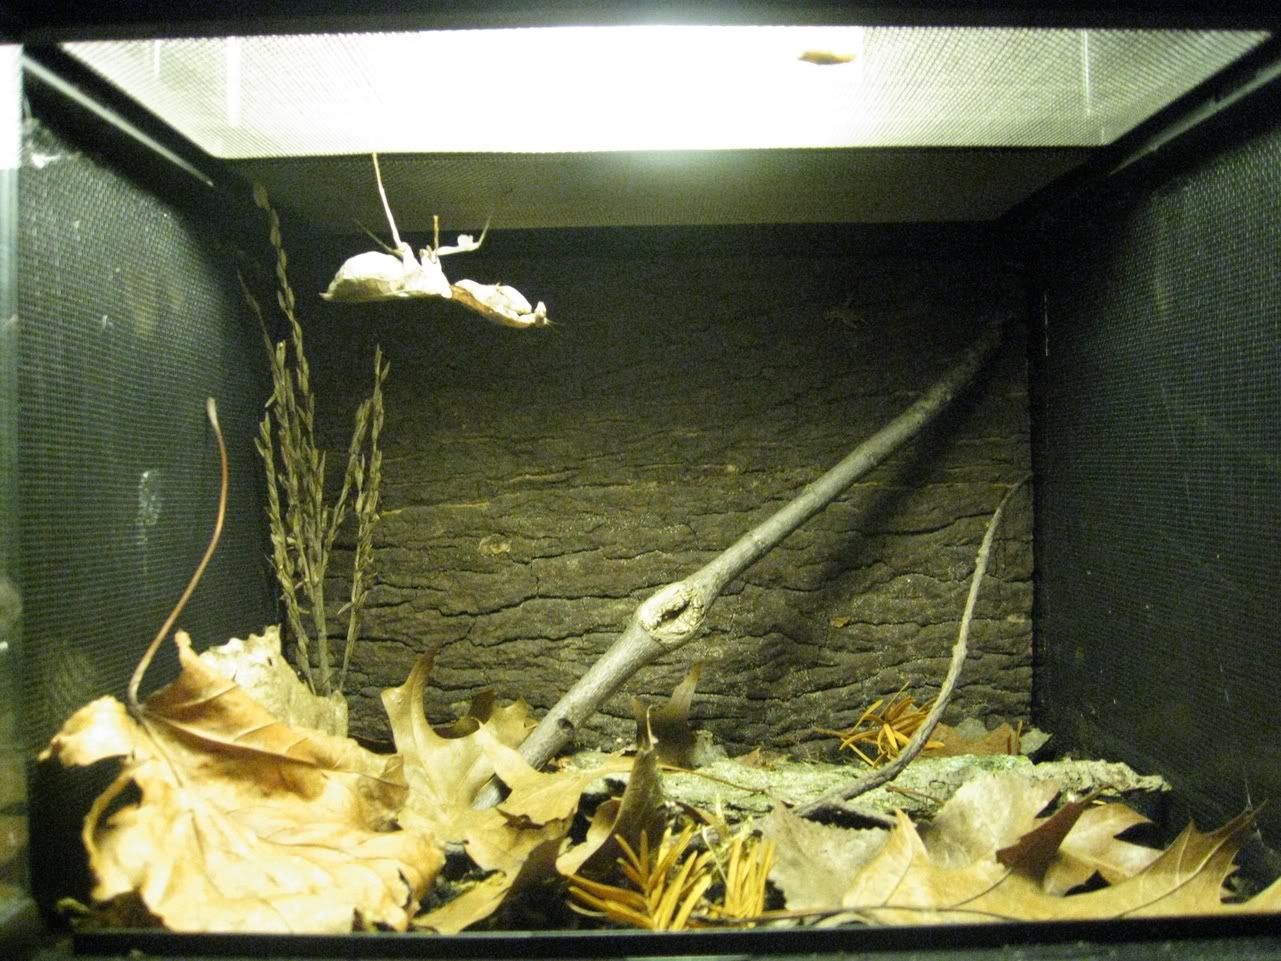
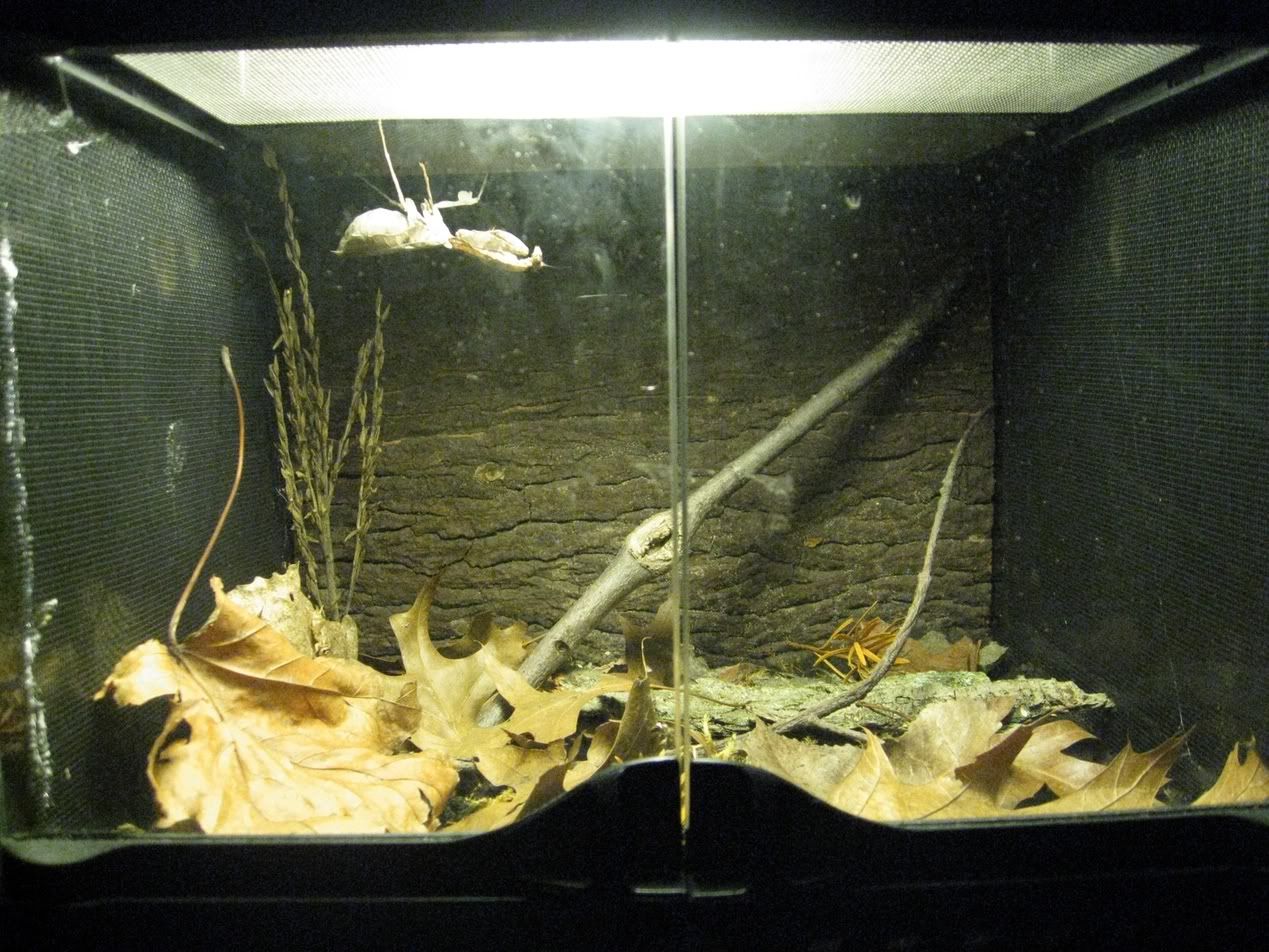
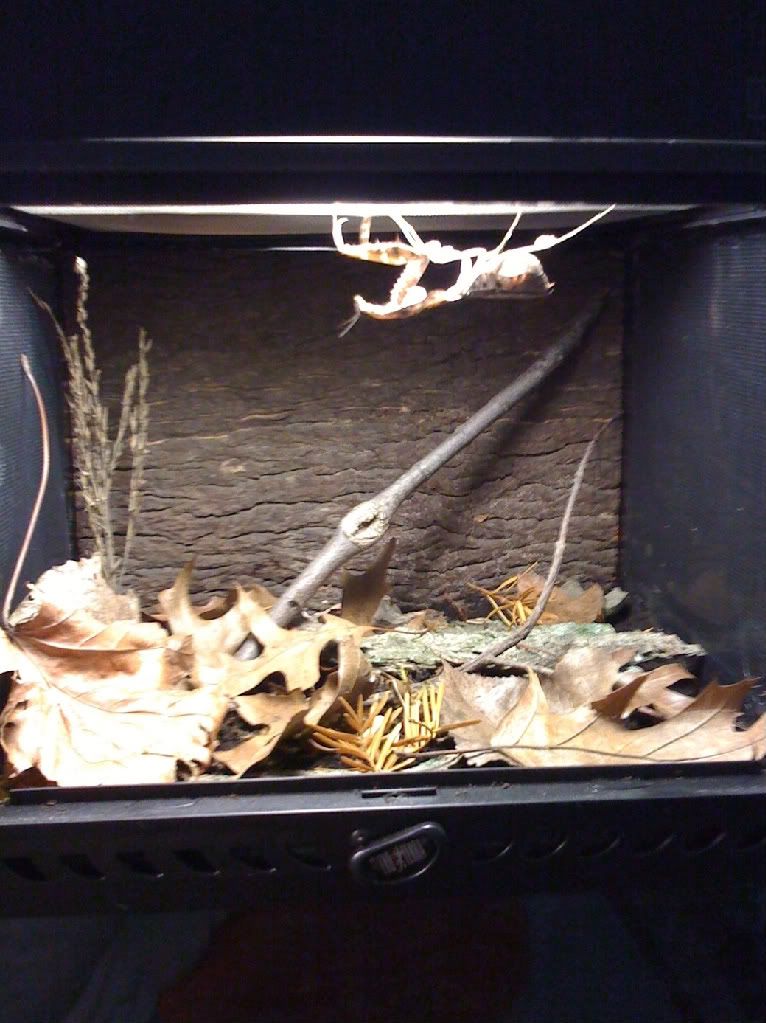
Using one of my 12x12x12 Exo-Terra enclosures, I managed to make a pretty cool little enclosure for my Dead Leaf mantis.
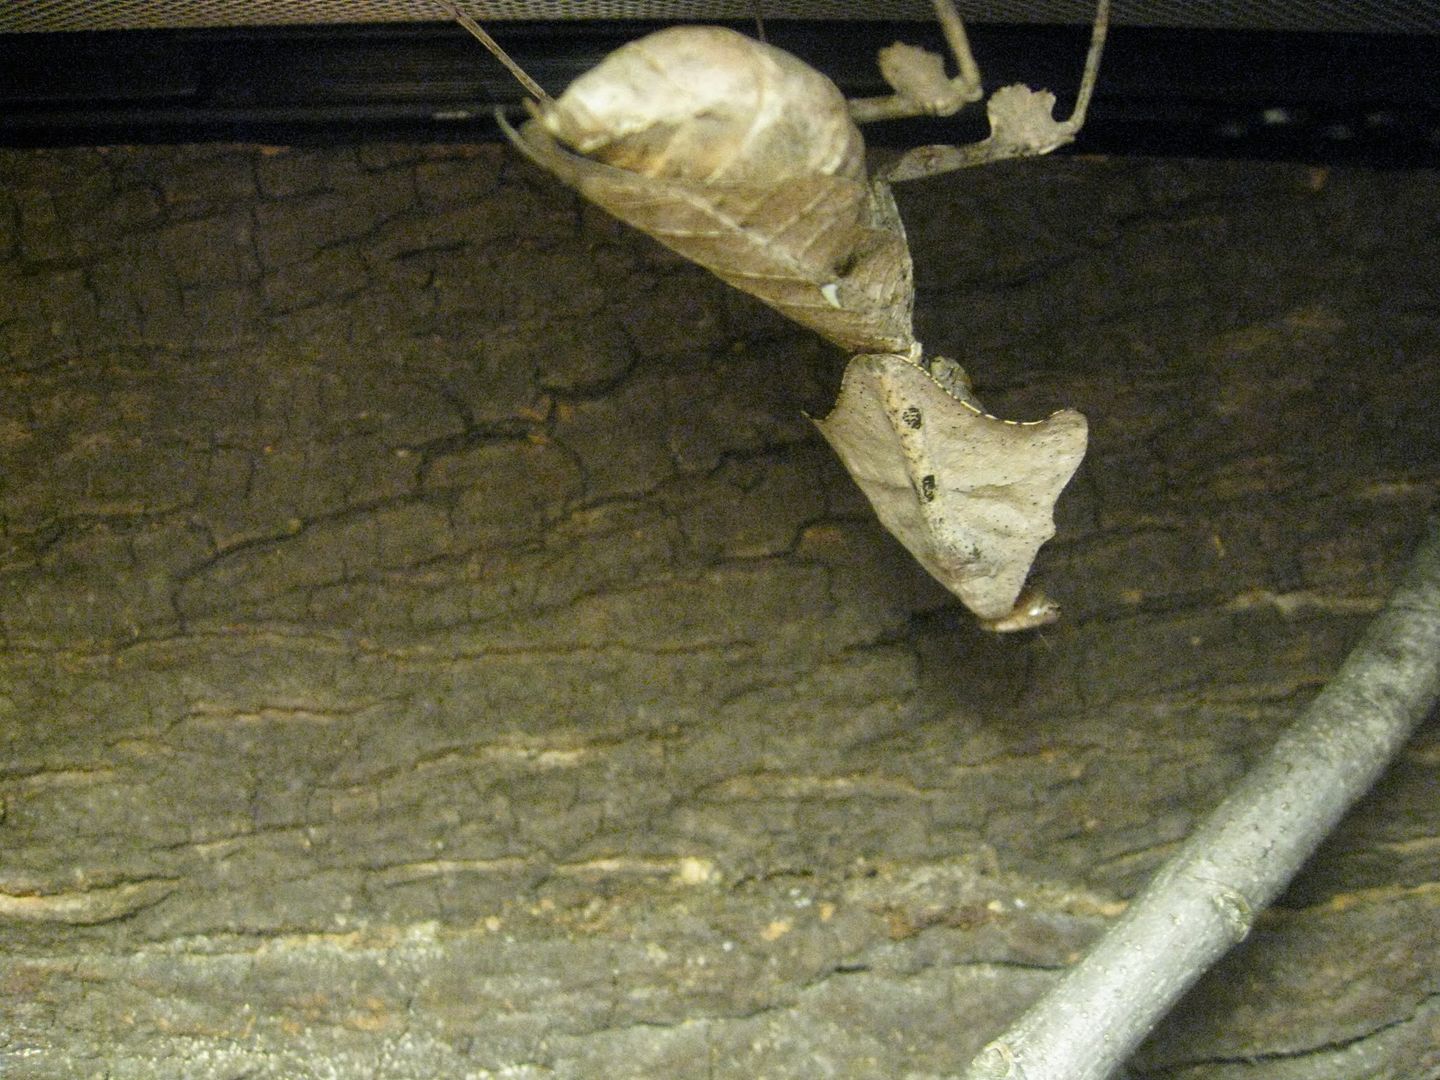
Kat, who is so incredibly generous gave me this pretty little beauty. Though she is large, using the full 12x12x12 enclosure seemed a bit much. I was concerned with having too much space which might make it difficult for her to find crickets which would be hiding everywhere anyhow. The solution was simple. .99 cent bag of black topsoil filled up to the middle of the enclosure was perfect. I filled it up with dirt for about 4 inches or until it meets the center divide in the front. This allows me to still open the front doors without dirt falling out. After that, it was very easy.
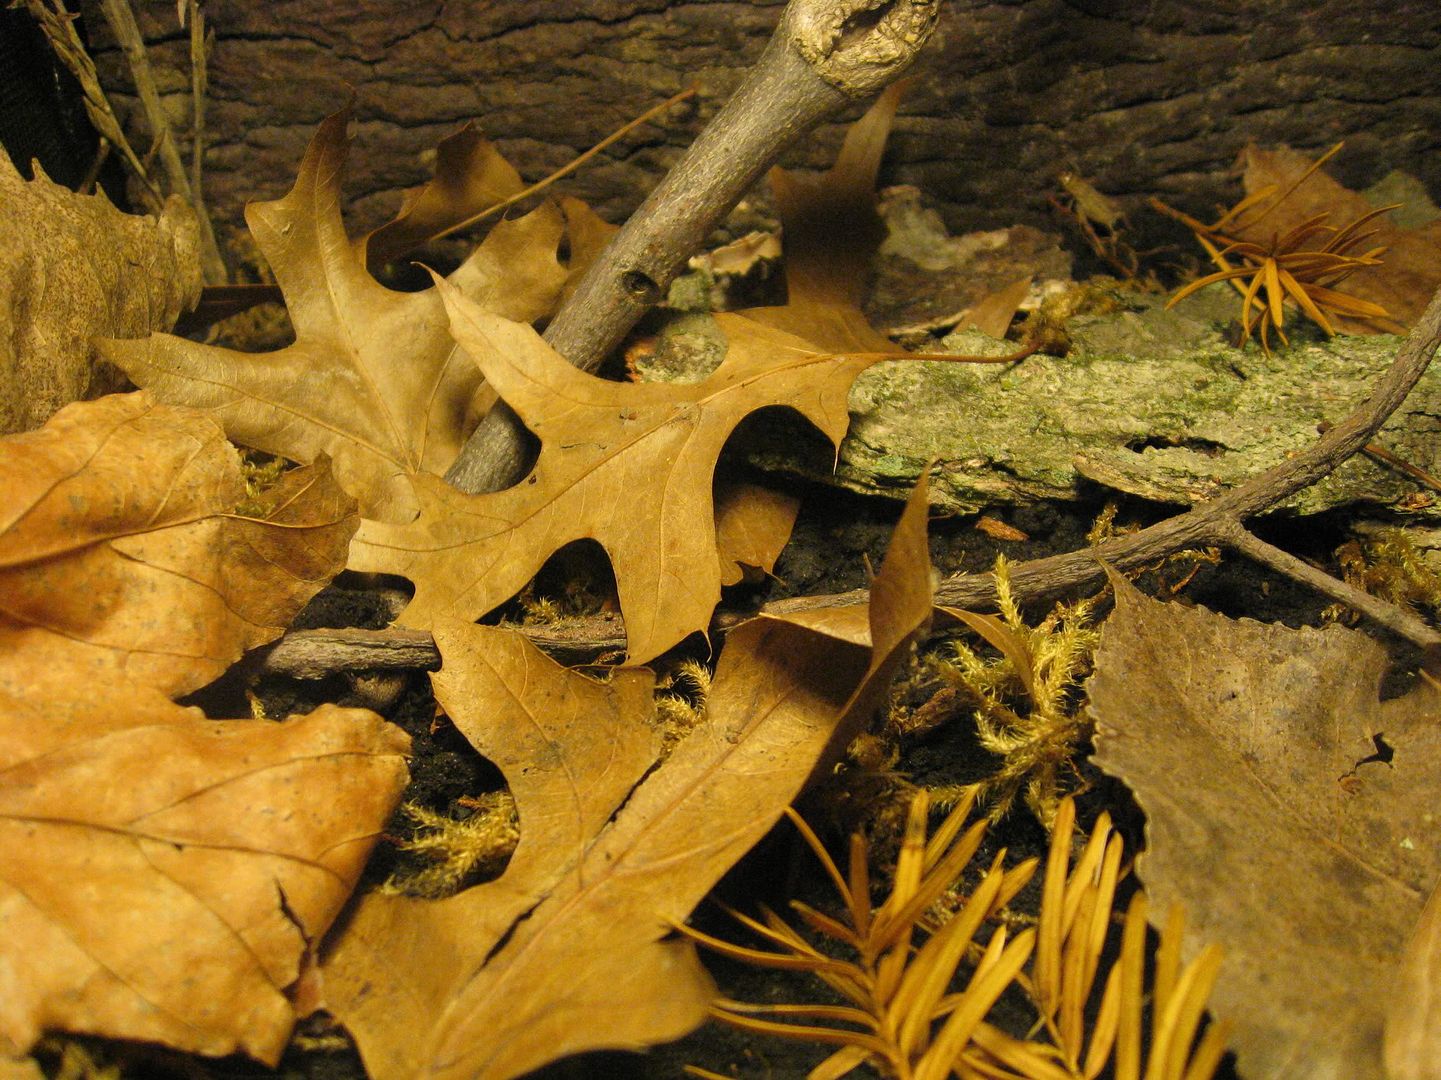
I grabbed a $10 12x12 tree bark-like background from the reptile shop which fit PERFECTLY against the back of the enclosure. I went with black dirt and covered some of the surface in moss which I soaked in water so that it would stick very closely to the ground. I did this to minimize hiding places for the crickets so that they couldn't burrow down into the ground and under the moss.
After that, I went to a local forest preserve and found plenty of beautiful dead leaves, sticks and other things. The wonderful thing about this enclosure is that everything inside is dead... nothing needs to be watered or given special light.
The Dead Leaf mantis would fit in perfectly with it's new surroundings. I feel so good looking in there and while I know mantids can't feel "happy", I sure do feel happy seeing her in something much closer to a natural environment. I had a blast hunting down pretty dead leaves, sticks, little acorns and other items. I even pealed some dead bark off of a tree and put that down on the bottom. It was so much fun and it looks great with the lighting. After 24 hours she ate 2/5 crickets I tossed in there.
My biggest concern was always having too many hiding places for the crickets under all those leaves and such but this is absolutely not the case. The crickets wander around and are constantly crawling up the bark and onto the ceiling. I'm assuming they prefer the warmth/light or are just wandering about. To increase the chances that crickets will crawl out from under the leaves, I added inexpensive fiberglass screening on the left and right walls of the enclosure. Though the material is a bit of an eyesore, I might find a way to "hide" this with some kind of... dead vines that I can weave in and out.. it's really not THAT bad considering the cabinet the enclosure sits in is black so... you don't see it too much.
Alrighty... so the cost right? $30 for the enclosure, $1.00 for dirt, big roll of screen $4.00 and that's it $35. Now, the lighting could be done very cheap but I went a step further. I bought the matching exo-terra light fixture and UVB bulb. That's another $25. So... with my lighting... total cost was $60. All the branches, leaves, and stuff in there was free.
Here are the images, they are HUGE which... I kept them that way so you can zoom in and check out the details
hope you like em!
Kat, who is so incredibly generous gave me this pretty little beauty. Though she is large, using the full 12x12x12 enclosure seemed a bit much. I was concerned with having too much space which might make it difficult for her to find crickets which would be hiding everywhere anyhow. The solution was simple. .99 cent bag of black topsoil filled up to the middle of the enclosure was perfect. I filled it up with dirt for about 4 inches or until it meets the center divide in the front. This allows me to still open the front doors without dirt falling out. After that, it was very easy.
I grabbed a $10 12x12 tree bark-like background from the reptile shop which fit PERFECTLY against the back of the enclosure. I went with black dirt and covered some of the surface in moss which I soaked in water so that it would stick very closely to the ground. I did this to minimize hiding places for the crickets so that they couldn't burrow down into the ground and under the moss.
After that, I went to a local forest preserve and found plenty of beautiful dead leaves, sticks and other things. The wonderful thing about this enclosure is that everything inside is dead... nothing needs to be watered or given special light.
The Dead Leaf mantis would fit in perfectly with it's new surroundings. I feel so good looking in there and while I know mantids can't feel "happy", I sure do feel happy seeing her in something much closer to a natural environment. I had a blast hunting down pretty dead leaves, sticks, little acorns and other items. I even pealed some dead bark off of a tree and put that down on the bottom. It was so much fun and it looks great with the lighting. After 24 hours she ate 2/5 crickets I tossed in there.
My biggest concern was always having too many hiding places for the crickets under all those leaves and such but this is absolutely not the case. The crickets wander around and are constantly crawling up the bark and onto the ceiling. I'm assuming they prefer the warmth/light or are just wandering about. To increase the chances that crickets will crawl out from under the leaves, I added inexpensive fiberglass screening on the left and right walls of the enclosure. Though the material is a bit of an eyesore, I might find a way to "hide" this with some kind of... dead vines that I can weave in and out.. it's really not THAT bad considering the cabinet the enclosure sits in is black so... you don't see it too much.
Alrighty... so the cost right? $30 for the enclosure, $1.00 for dirt, big roll of screen $4.00 and that's it
Here are the images, they are HUGE which... I kept them that way so you can zoom in and check out the details
hope you like em!


