glock34girl
Well-known member
Review of BugTrader’s Enclosure:
Let me start by saying I am new to the hobby, however; that might be a benefit to the reader since I am more inclined to scrutinize an enclosure to ensure the safety of mantids either out of naivety or ignorance. Also, spelling, grammar and punctuations… so not my thing.
Here, I will cover the following aspects of the enclosure:
1: Shipping
2: Packaging
3: Customer service
4: Structural design
5: Pros
6: Possible Improvements
1: Shipping
The ‘order’ for this enclosure was placed Feb 18th at 5:44pm. The package was placed in the mail the next day, Feb 19th and included an insurance to cover damage to the item. A tracking number was provided and the package arrived Feb 22nd. This was one day longer than it should have been, however; I want to be clear that this was NOT BugTrader’s fault. Rather, it was the result of my fat thumbs and an iPhone screen. I’d given him the wrong address via typo. BugTrader spent a fair amount of time trying to re-route the package and it eventually arrived on the 22nd. Still, very fast shipping in my opinion especially since it was not express.
2: Packaging
The enclosure arrived in a standard brown corregated cardboard box. The inside of the box was linned with a Styrofoam liner. Not the messy white stuff that gets all over your house either and kills your vaccum. The liner was placed on top, bottom and all four sides. The same material is used as the bottom of the enclosure. One could tell that BugTrader cares and takes pride in his work. There were even arrows on the box to indicate which direction the box should sit. He took every precaution to ensure the item was delivered safely.
3: Customer Service:
BugTrader ain’t no Wal-Mart. He’s fast, friendly and courteous. He responded to all messages in a tmely manner and respected me as a hobbyist without regard to time or experience within the hobby. This was particularly important to me because it encourages the new hobbyist to keep coming back for purchases, knowledge and support. Very well done BugTrader.
4. Structural Design:
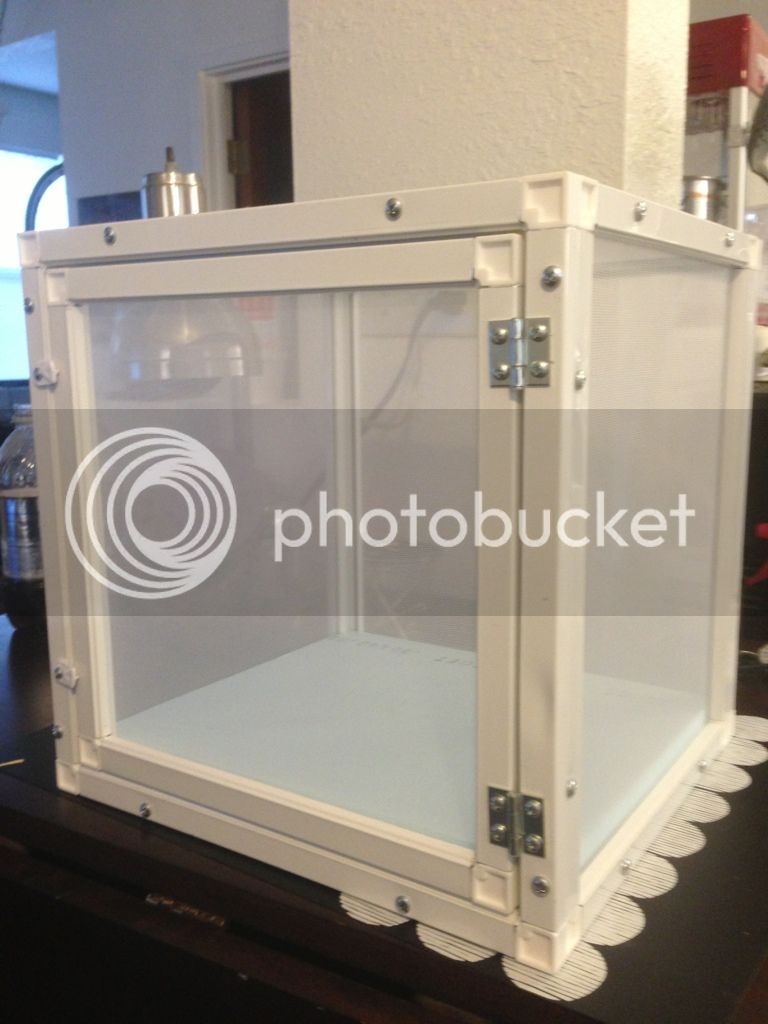
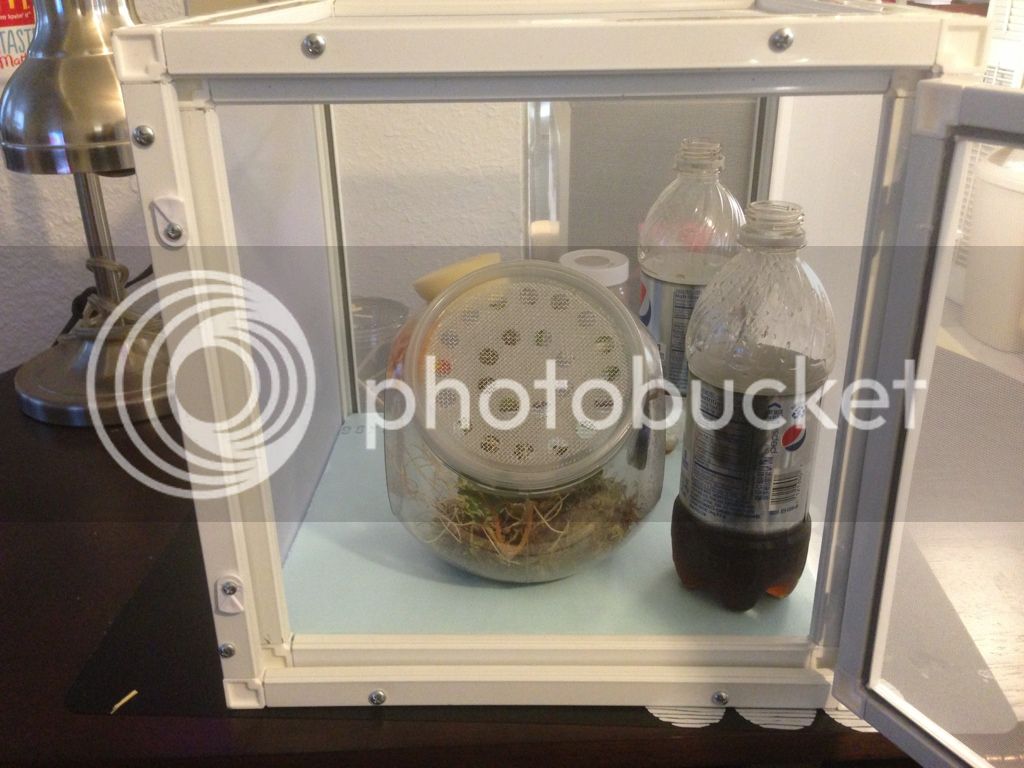
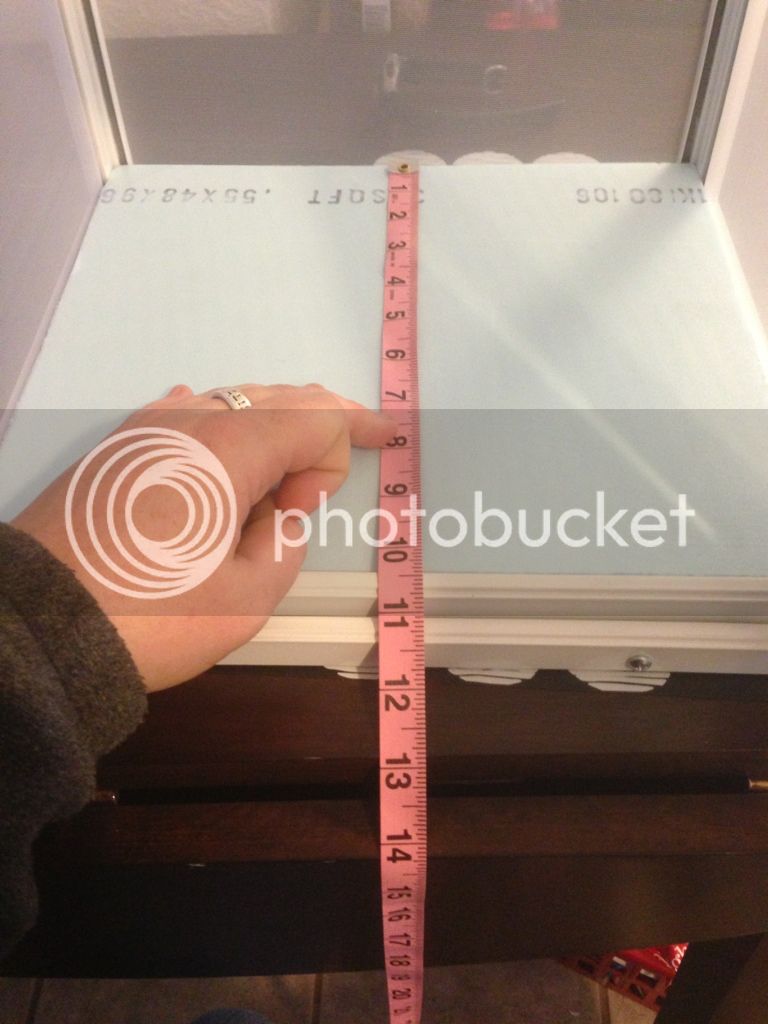
What you have actually been waiting for and likely scrolled over the first three sections, right? First, the photos BugTrader posted on www.mantidforum.net did not do this enclosure justice. Perhaps, I personally just didn’t put it all together when I looked at the photos online and the dimensions. It’s so much more impressive in person. The design its self is simple and consists of the following:
Photo 1:
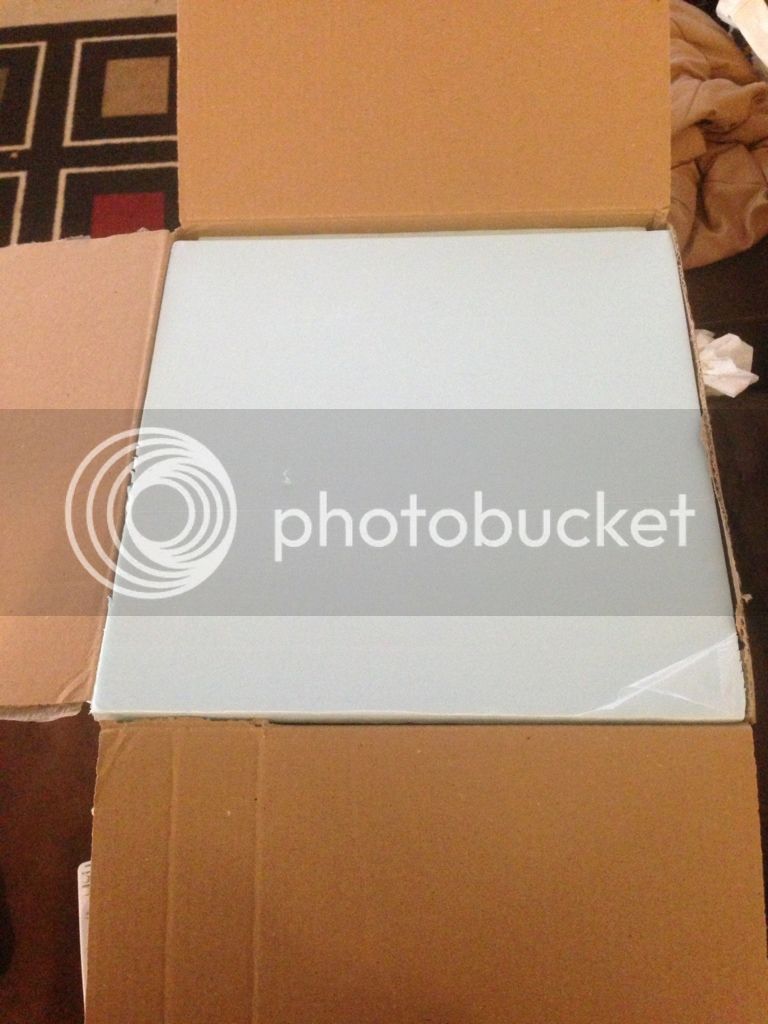
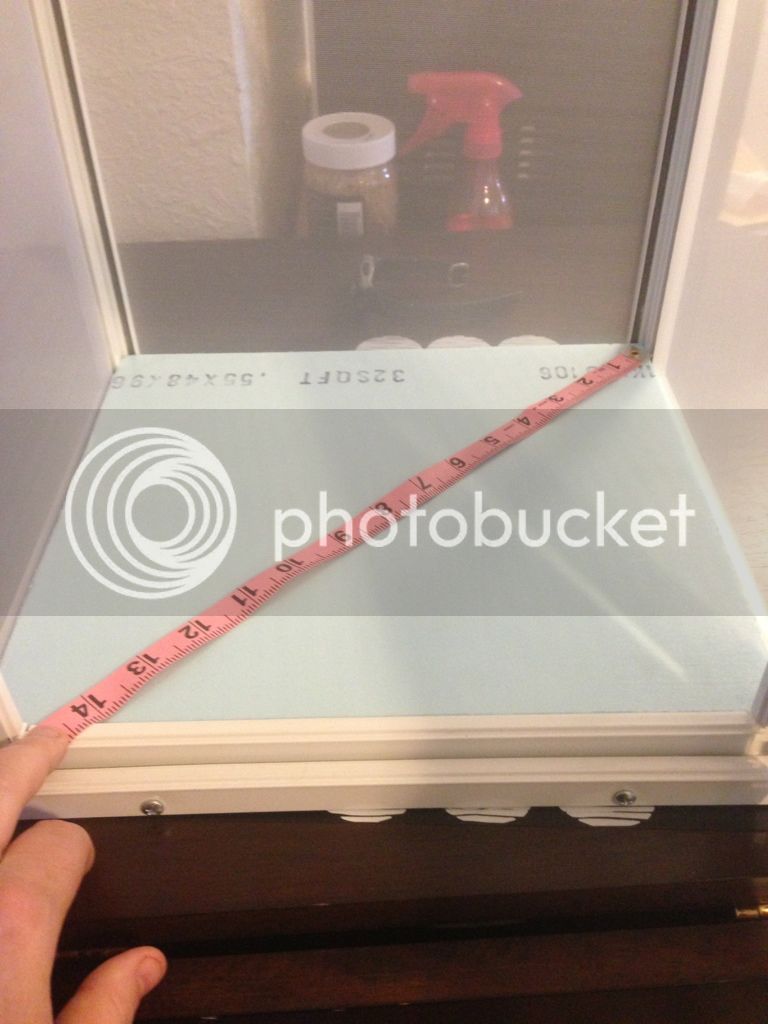
Photo 2:

Let me start by saying I am new to the hobby, however; that might be a benefit to the reader since I am more inclined to scrutinize an enclosure to ensure the safety of mantids either out of naivety or ignorance. Also, spelling, grammar and punctuations… so not my thing.
Here, I will cover the following aspects of the enclosure:
1: Shipping
2: Packaging
3: Customer service
4: Structural design
5: Pros
6: Possible Improvements
1: Shipping
The ‘order’ for this enclosure was placed Feb 18th at 5:44pm. The package was placed in the mail the next day, Feb 19th and included an insurance to cover damage to the item. A tracking number was provided and the package arrived Feb 22nd. This was one day longer than it should have been, however; I want to be clear that this was NOT BugTrader’s fault. Rather, it was the result of my fat thumbs and an iPhone screen. I’d given him the wrong address via typo. BugTrader spent a fair amount of time trying to re-route the package and it eventually arrived on the 22nd. Still, very fast shipping in my opinion especially since it was not express.
2: Packaging
The enclosure arrived in a standard brown corregated cardboard box. The inside of the box was linned with a Styrofoam liner. Not the messy white stuff that gets all over your house either and kills your vaccum. The liner was placed on top, bottom and all four sides. The same material is used as the bottom of the enclosure. One could tell that BugTrader cares and takes pride in his work. There were even arrows on the box to indicate which direction the box should sit. He took every precaution to ensure the item was delivered safely.
3: Customer Service:
BugTrader ain’t no Wal-Mart. He’s fast, friendly and courteous. He responded to all messages in a tmely manner and respected me as a hobbyist without regard to time or experience within the hobby. This was particularly important to me because it encourages the new hobbyist to keep coming back for purchases, knowledge and support. Very well done BugTrader.
4. Structural Design:
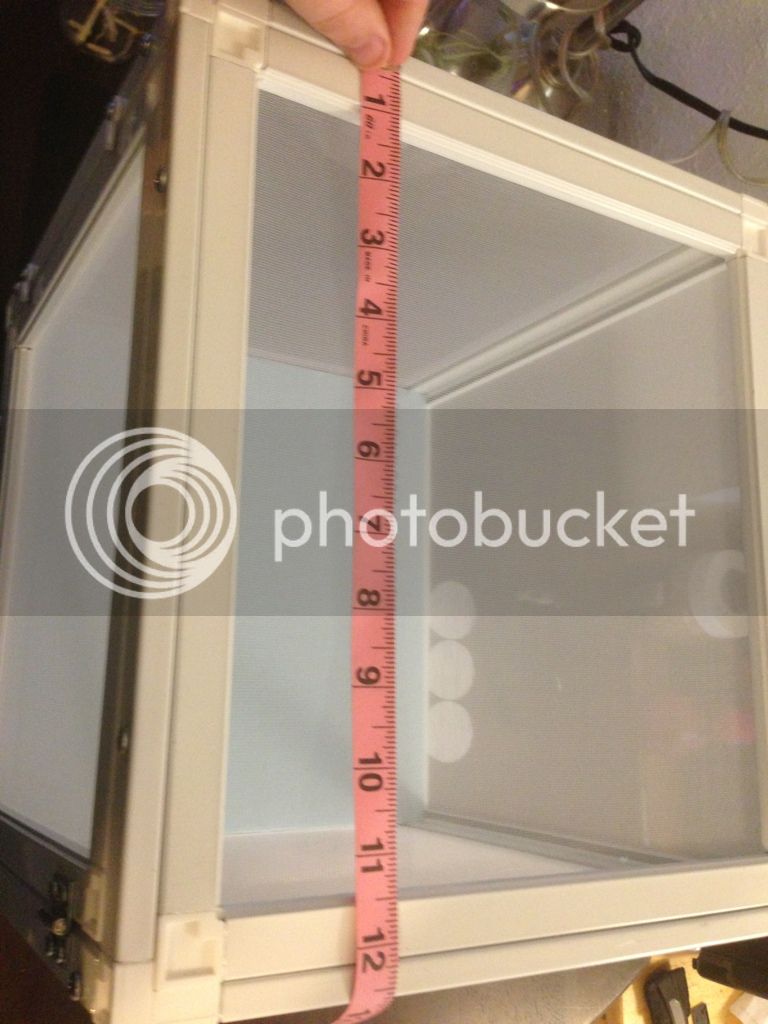
What you have actually been waiting for and likely scrolled over the first three sections, right? First, the photos BugTrader posted on www.mantidforum.net did not do this enclosure justice. Perhaps, I personally just didn’t put it all together when I looked at the photos online and the dimensions. It’s so much more impressive in person. The design its self is simple and consists of the following:
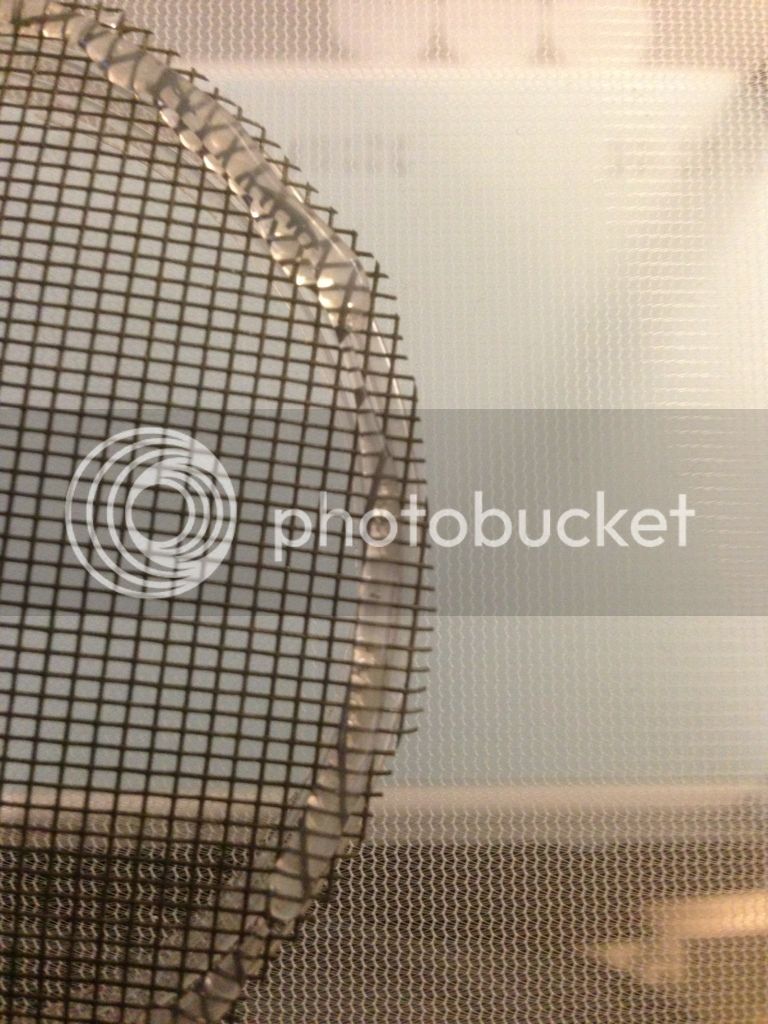
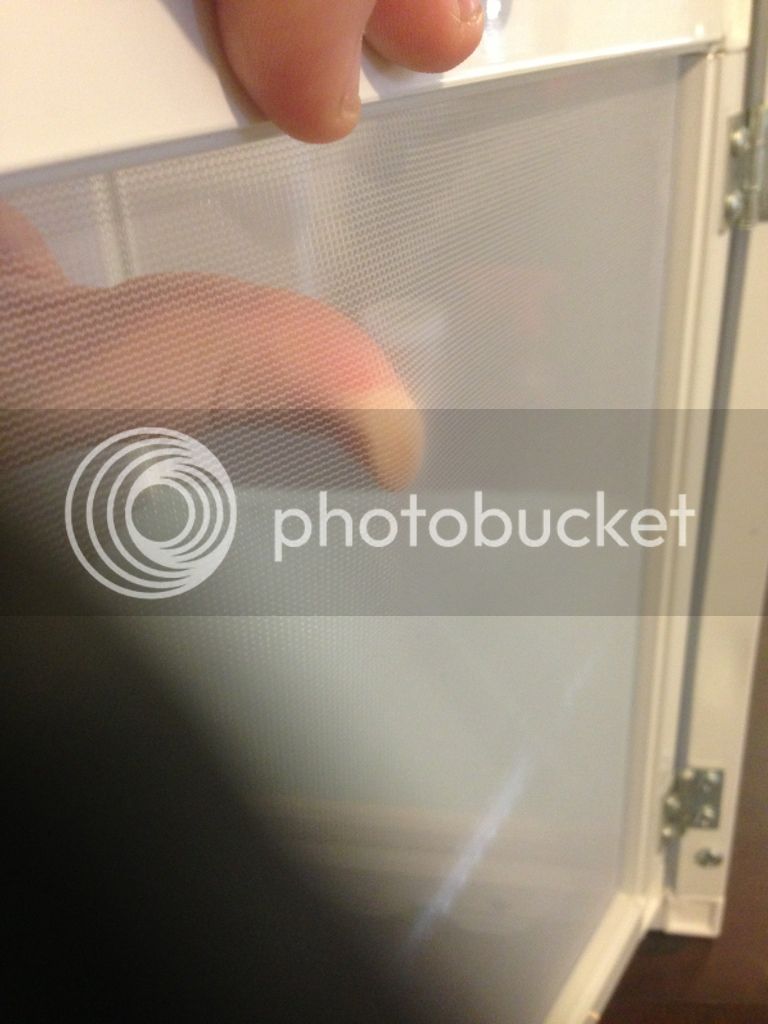
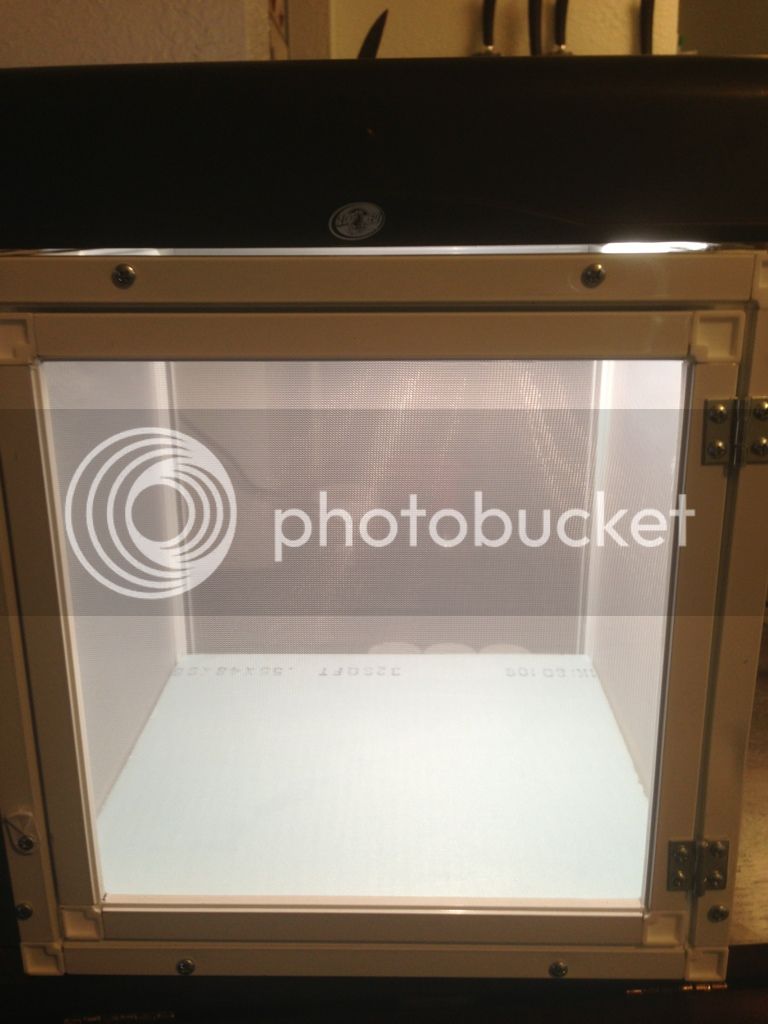
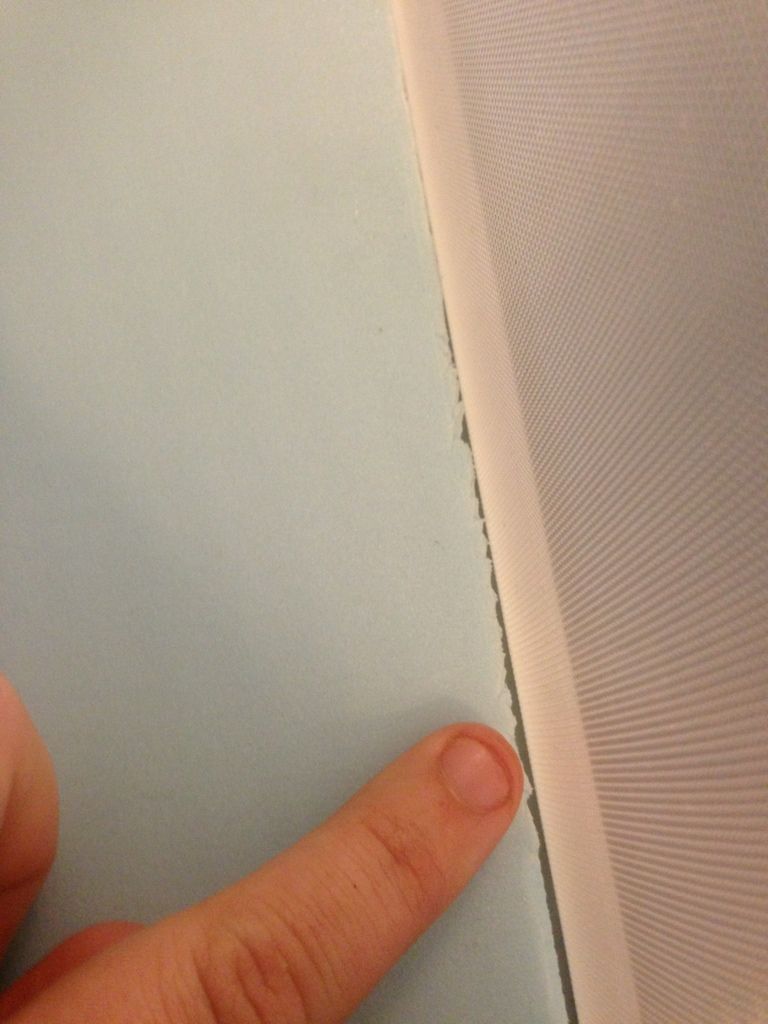
- Screen material
- Aluminum framing (this particular enclosure was white)
- Plastic connectors to hold framing together
- Metal screws
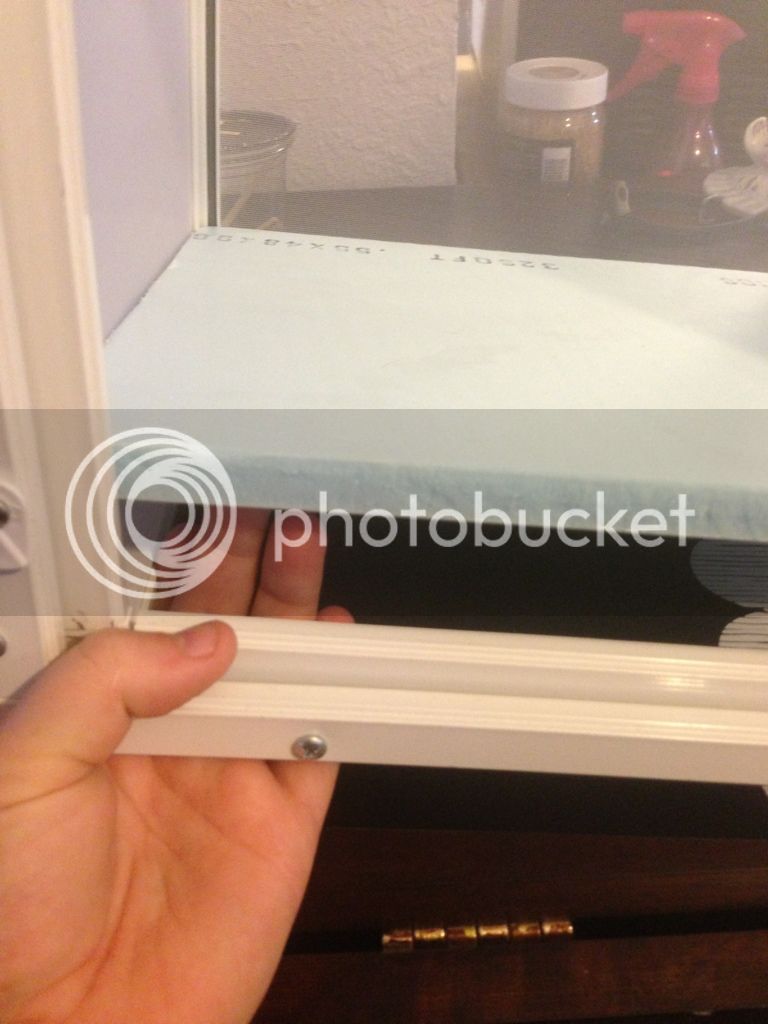
- Styrofoam for the removable bottom
- Rubber Material to secure screen material to Aluminum
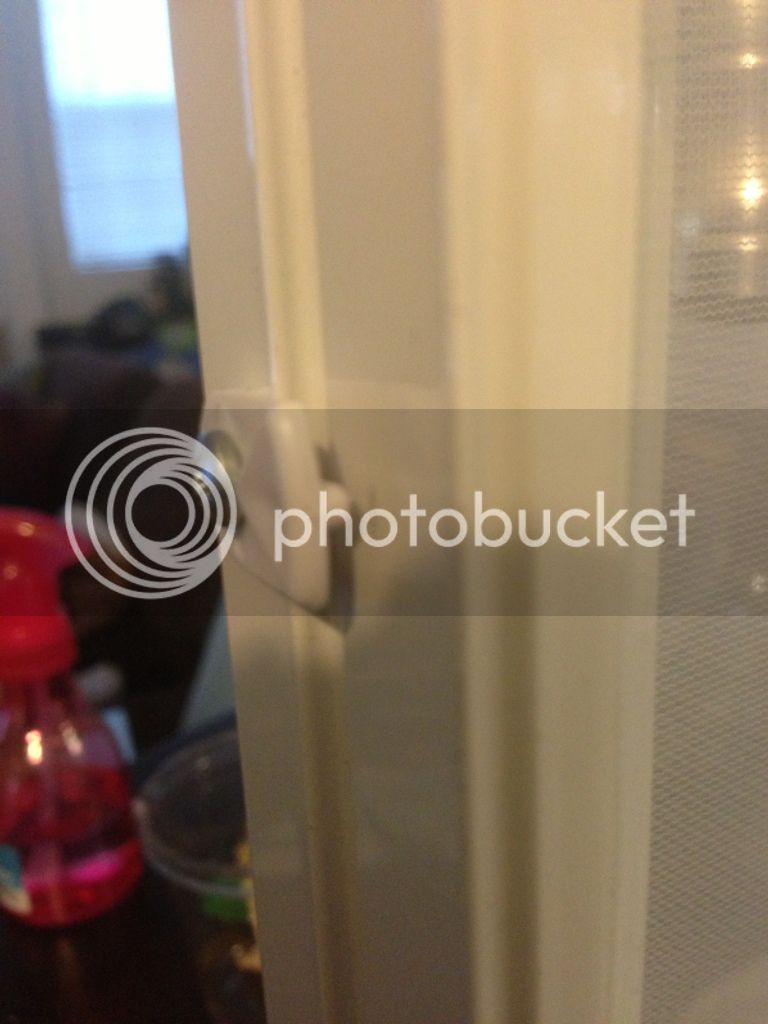
- Clasp to hold opening closed
- Metal Hinges
Photo 1:
Photo 2: