Ghostie
Well-known member
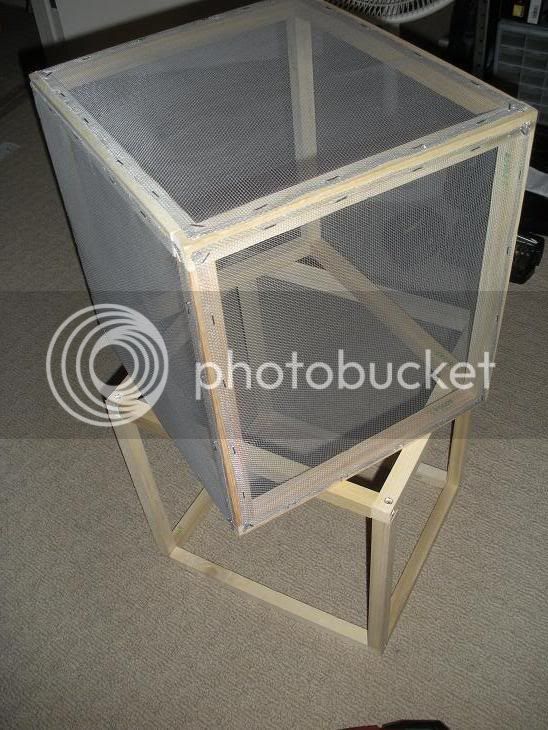
OK noticed the cube was popular. Figured I'd do a step by step DIY tutorial.
Here is how to build the cube. Next I will show how to install the screen.
Note, this isn't for the faint of heart. Some mechanical assembly experience necessary or you might drill a finger off.")
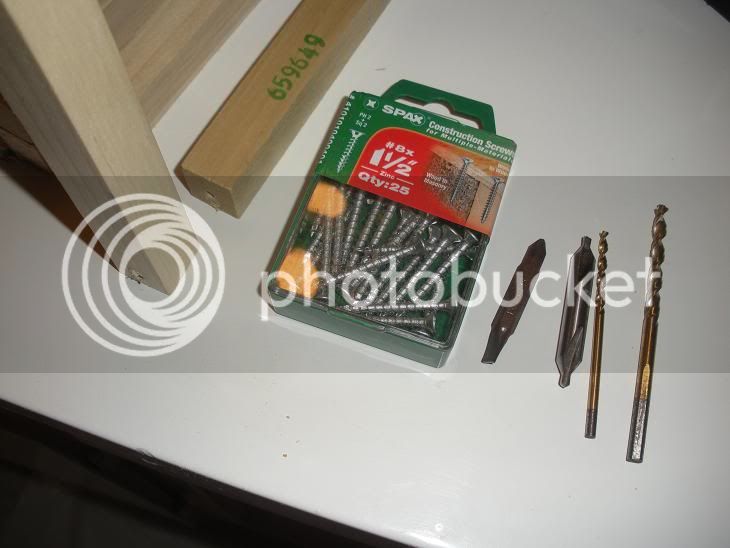
Let us begin by writing up bill of materials.
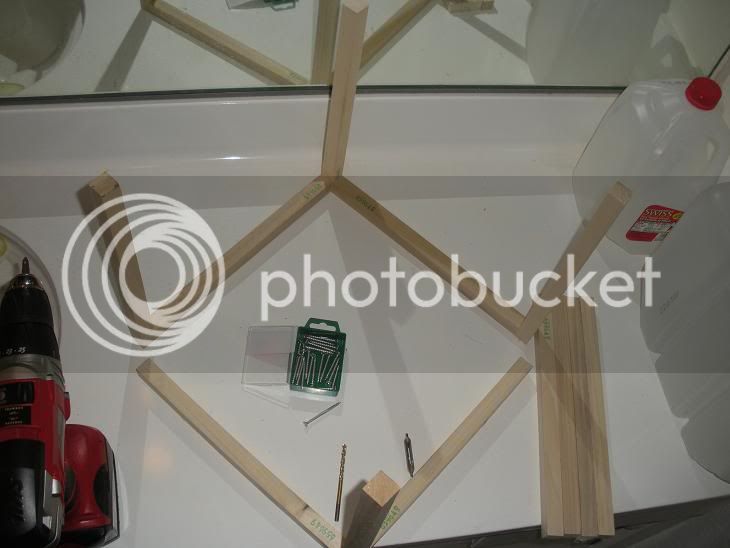
12 x wood dowels from Home Depot 12" long by 3/4" wide by 3/4" thick. part # 659649 - $0.69 ea
1.5" screws. (also called 1 1/2"). Galvanized or coated so they don't rust. Shown package of screws cost $2 and is overpriced, but worked nicely.
1/8" wood drill bit
3/16" wood drill bit
"Phillips" head screw driver bit to fit the screws
"Countersink" bit (in the pictures I am using a type of milling bit)
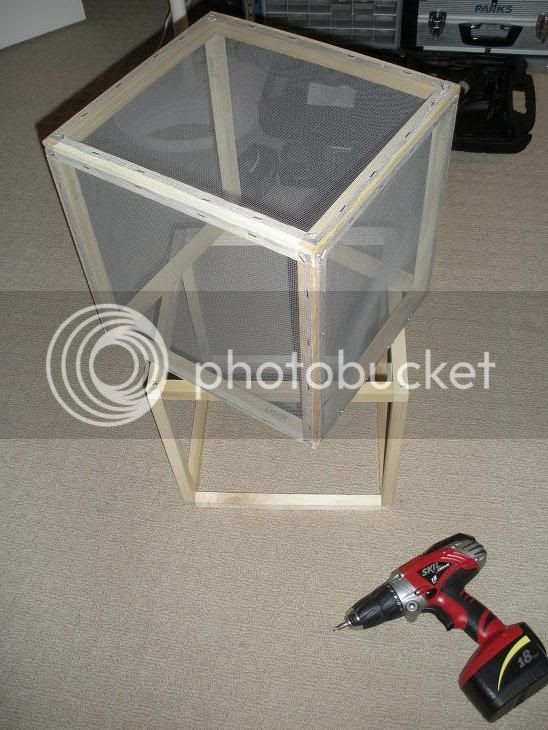
Electric drill motor or Rechargeable cordless drill
Heavy Duty Stapler.. will be discussed in the screen installation section when I get there.
Staples... size will be discussed in the screen installation section
Aluminum window screening roll cost about $10
__________________________________________________________________________________________
Now that we have that out of the way let's begin assembly.
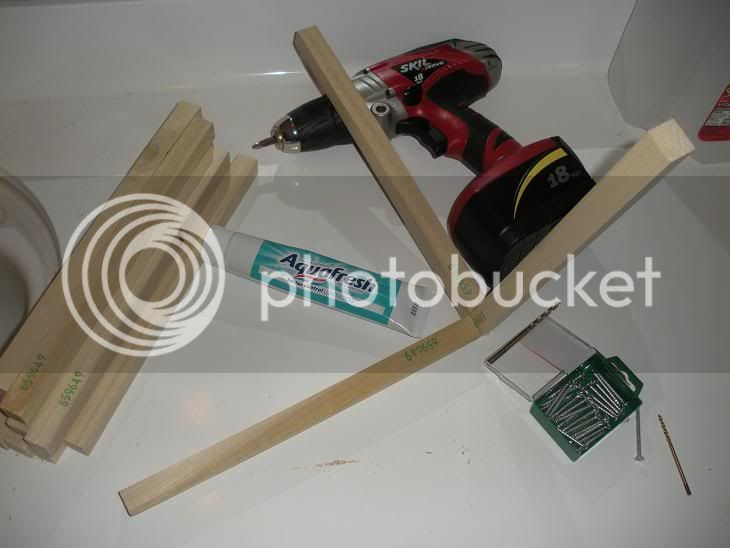
You will want to use a nice flat building surface to hopefully get the cage "squared up" proper so it's not leaning like the Piza Tower when you're done. :turned: I chose my bathroom sink since I am in a tiny one bedroom apartment. The neighbors should love me after all the noises I make. Might take a few bucks off the ol security deposit here and there too so be careful not to gouge the counter tops.
The first step will go something like this.
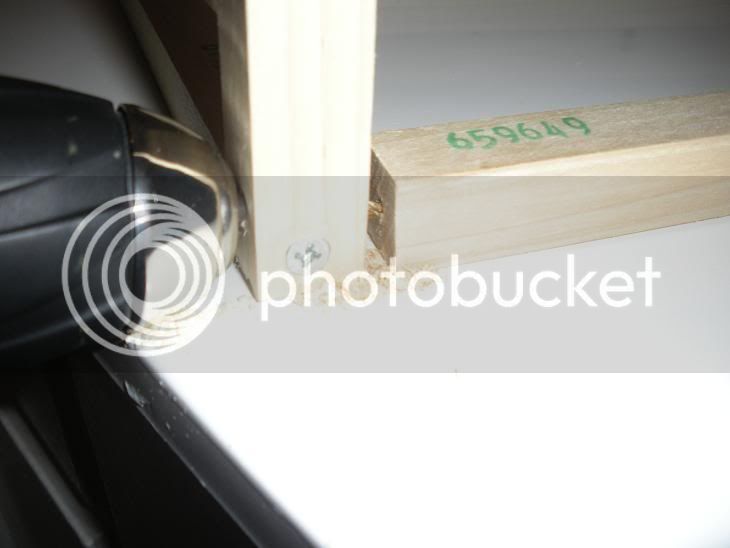
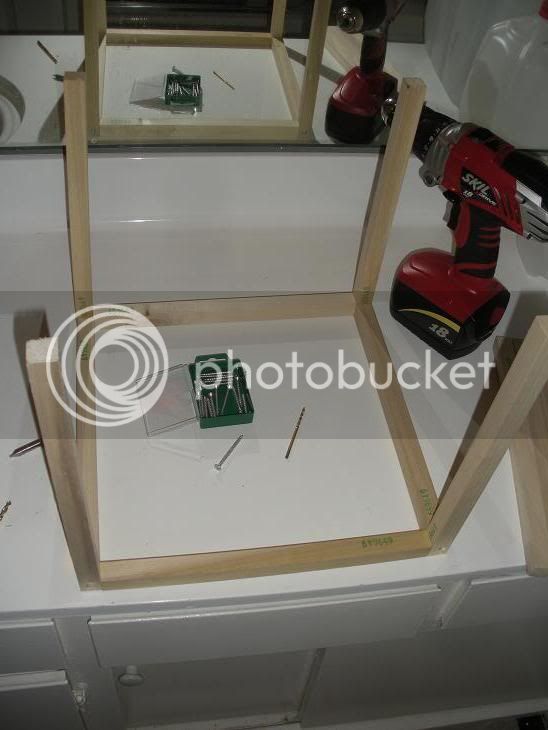
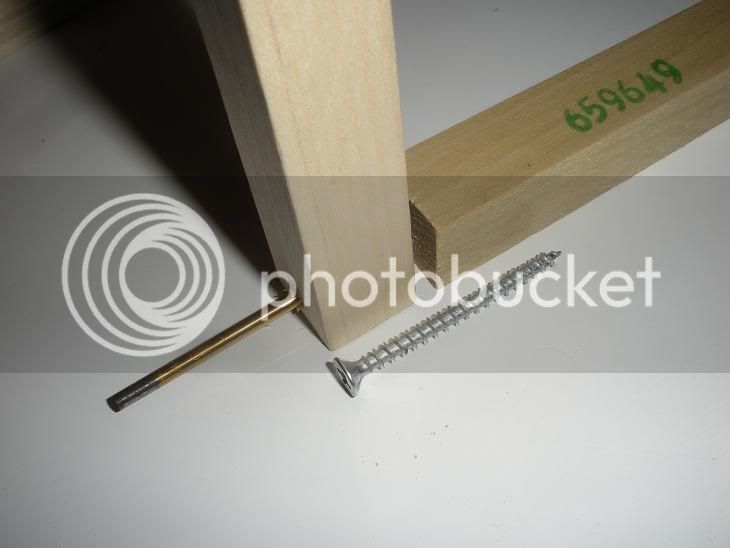
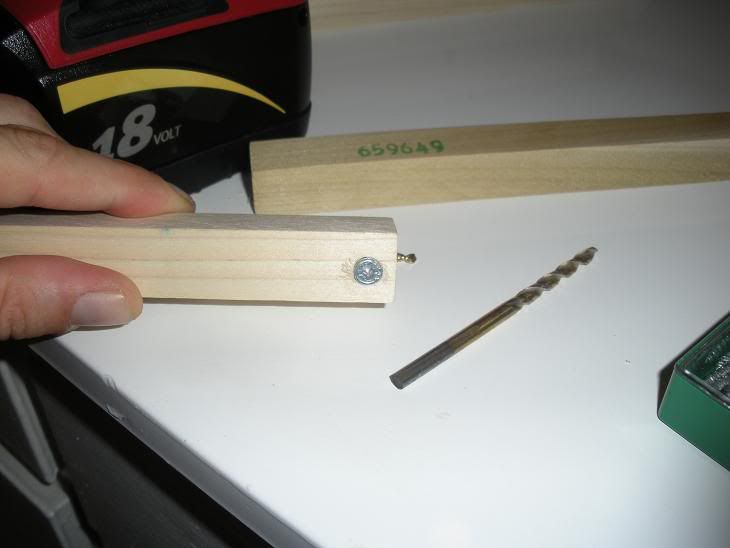
Take your 1/8th inch drill bit and set it up in your drill chuck. Hold one square dowel to the other as shown in the picture and drill through one and into the other. Note the screw I have placed in the picture. You are drilling this first hole as a "pilot hole" so you do not crack the wood when you insert the screw and the wood expands. This drill can be a bit tricky and you really need to watch your angles and fingers etc etc.
You go through the first board and all the way into the second board with as long as you need to match the screw length for the right depth hole. In the photo that is a two inch screw but we will be using 1.5". It's ok to drill a bit deeper or whatever as long as you get it deep enough.
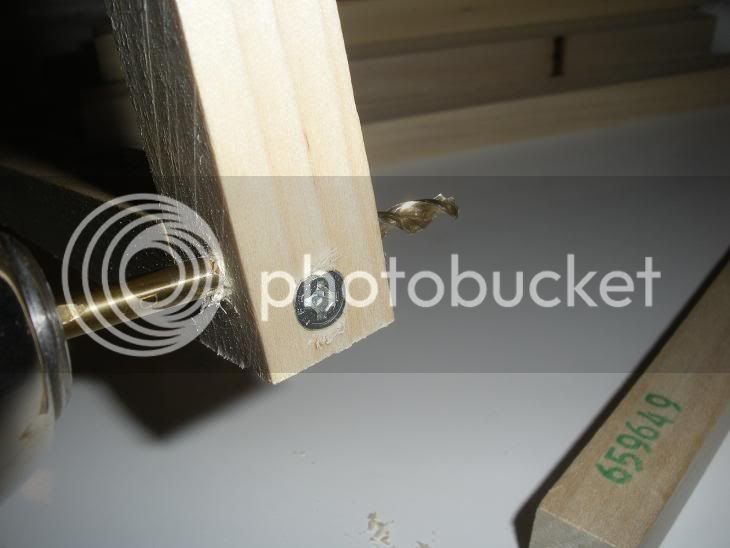
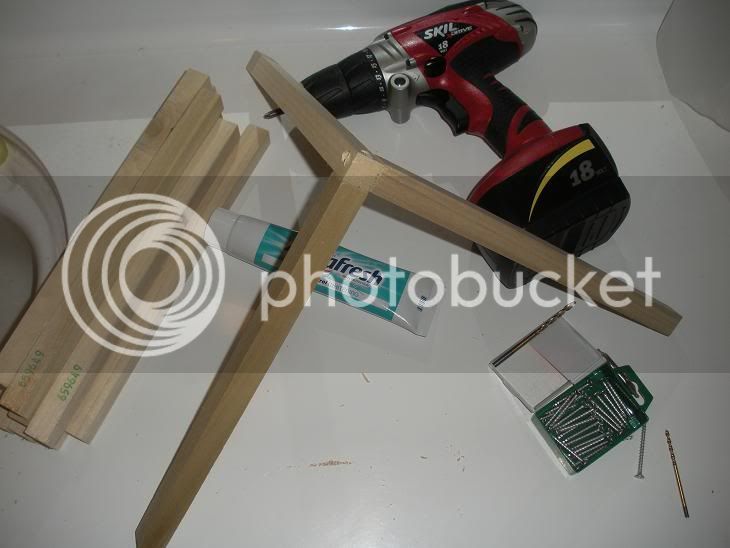
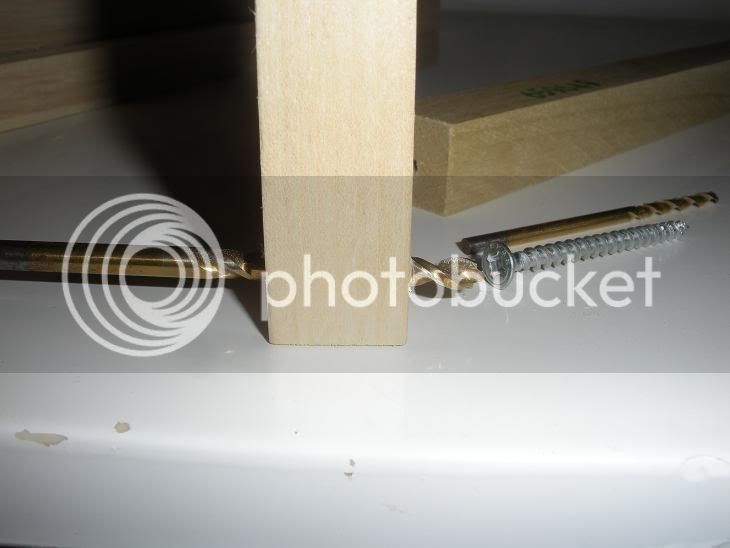
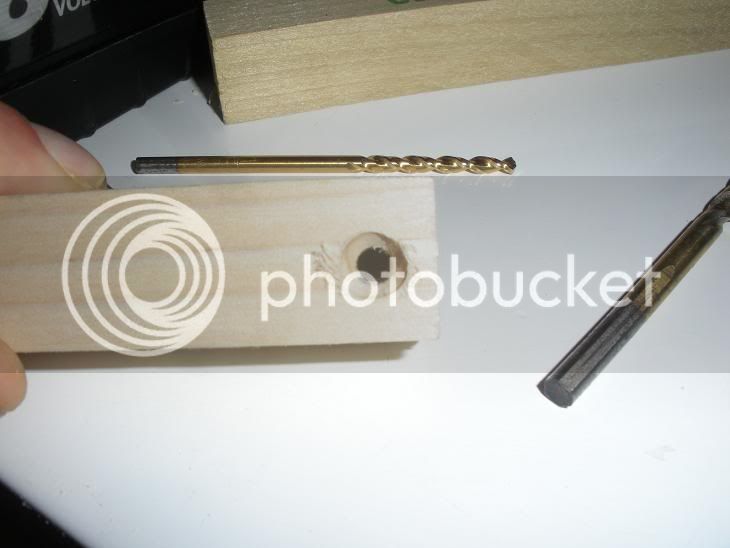
Now you will need to remove the 1/8th inch drill bit from your drill and install the 3/16's inch bit. Take the 3/16" and run it through the first dowel you drilled through. This enlarges only the hole in the first dowel and not the second. I do this to create a "clearance hole" so the screw will slide easily through this dowel and screw into the next.
See the larger bit through the first dowel?
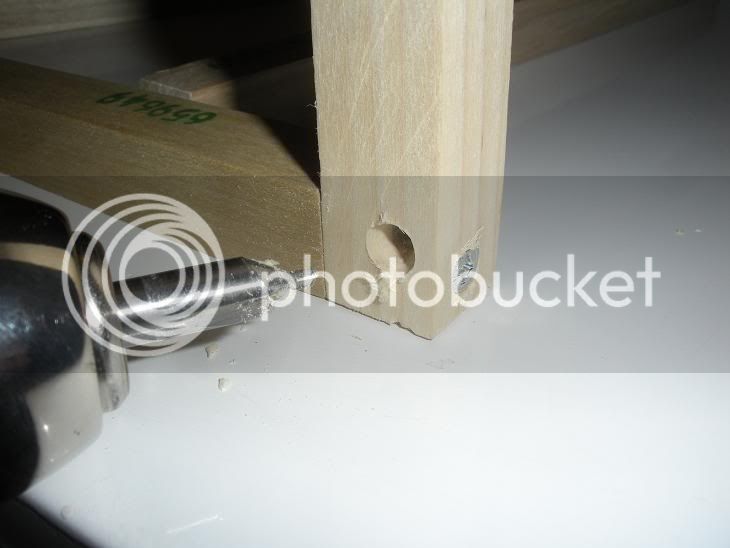
Now you will need to countersink your clearance hole you just drilled. This creates a pocket or a seat for the screw head with the correct angle. You can either recess the screws or just get them flush with the surface of the wood depending on how deep you drill the countersink bit. Here's a fuzzy before photo.
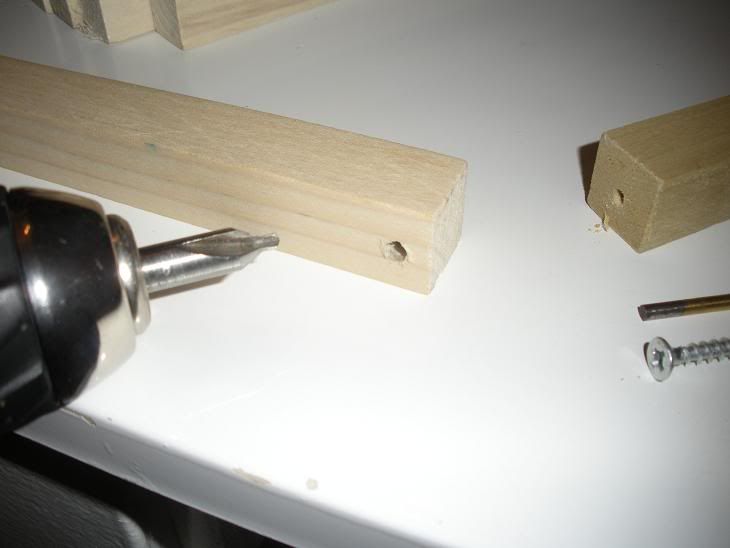
...and here's how it looks after being countersunk.
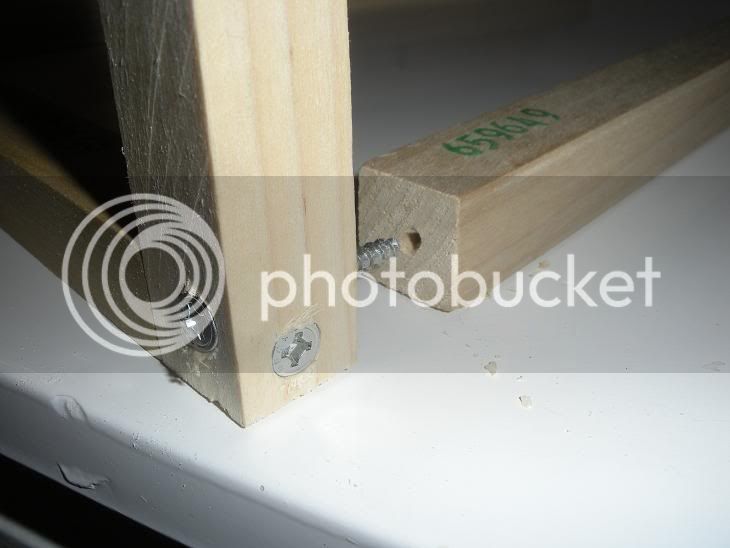
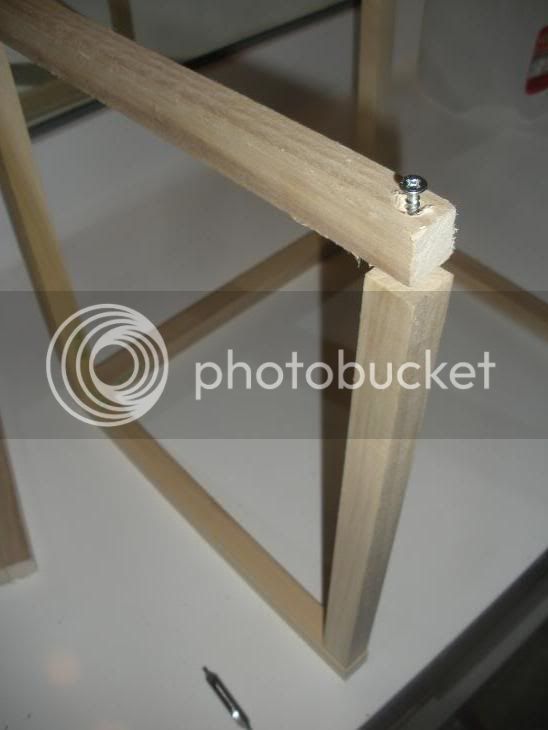
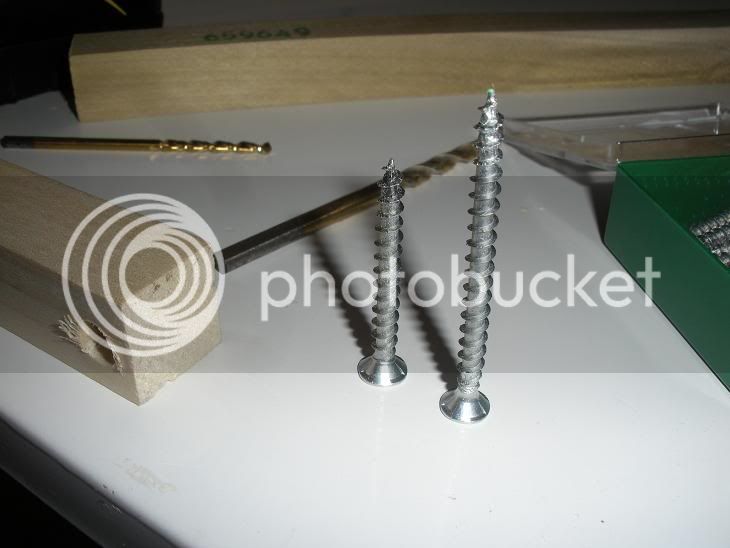
Here's some examples of screws installed and the reason we countersunk. So no screw heads stick out of the cage.

Now I will grab a 1.5" screw (was using the 2" screw for reference since it's nice and big and easy to see)
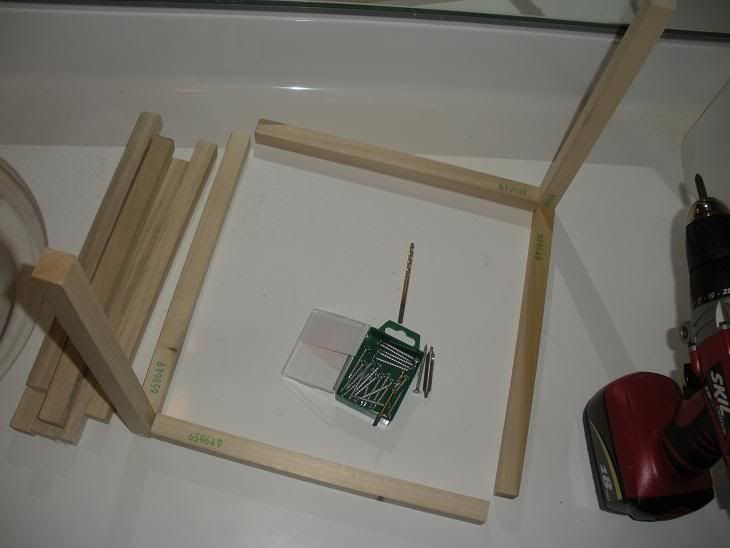
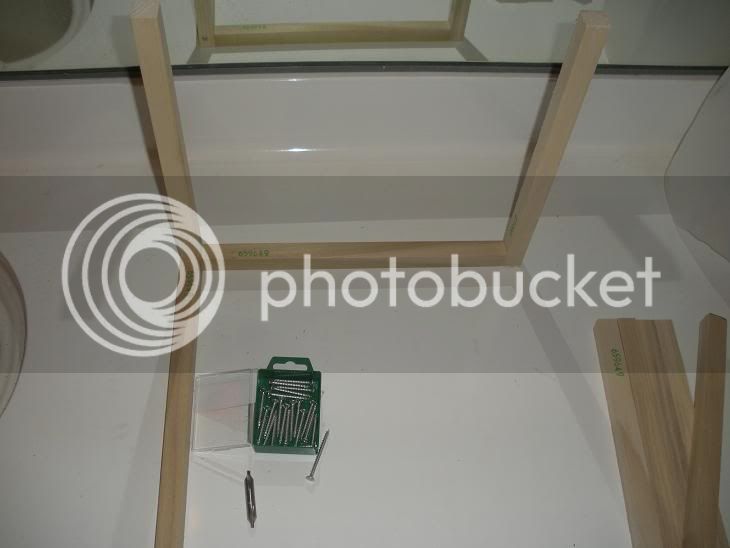
... and screw the first dowel with the countersunk clearance hole into the second with the 1/8th inch pilot hole as shown.
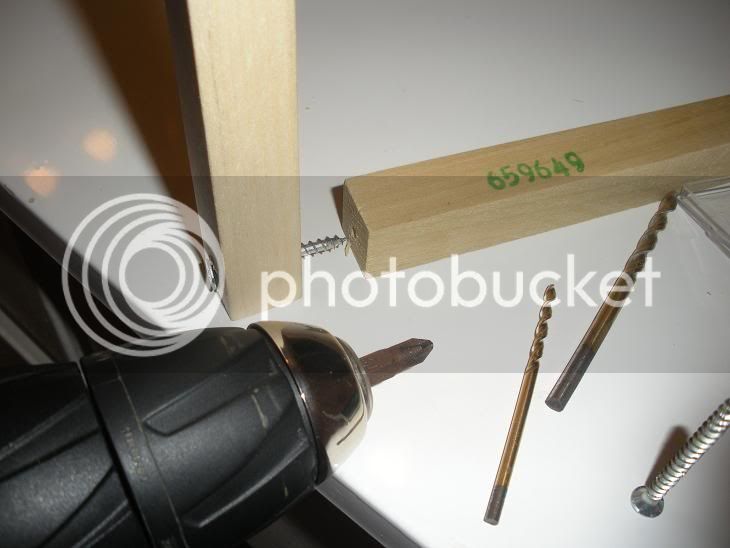
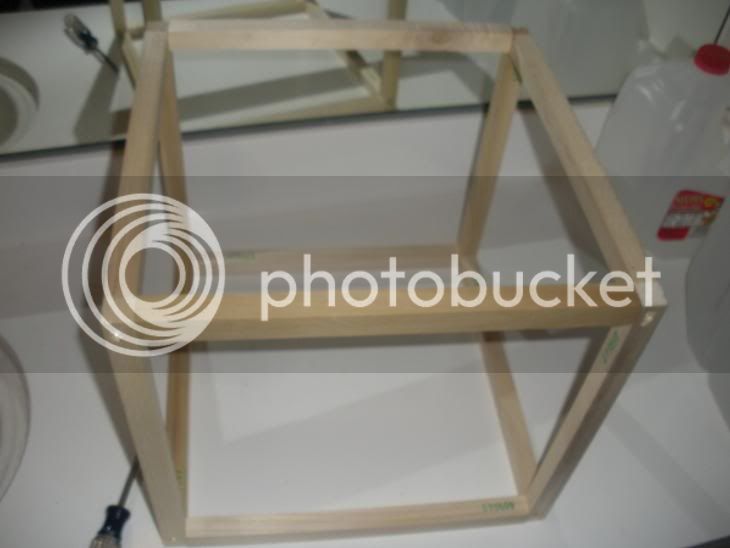
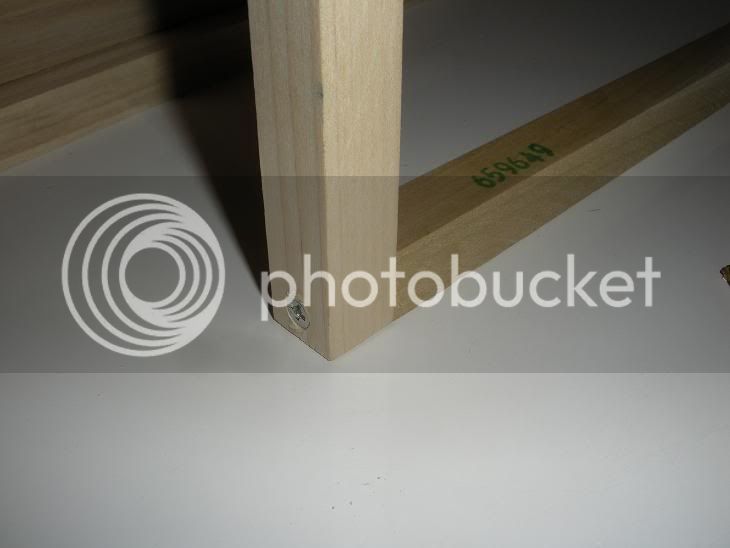
Just get it "finger tight" for now as we will be tightening all the screws down later to keep the cage square. Here is what you should be left with if you followed along closely.
Here is how to build the cube. Next I will show how to install the screen.
Note, this isn't for the faint of heart. Some mechanical assembly experience necessary or you might drill a finger off.
Let us begin by writing up bill of materials.
12 x wood dowels from Home Depot 12" long by 3/4" wide by 3/4" thick. part # 659649 - $0.69 ea
1.5" screws. (also called 1 1/2"). Galvanized or coated so they don't rust. Shown package of screws cost $2 and is overpriced, but worked nicely.
1/8" wood drill bit
3/16" wood drill bit
"Phillips" head screw driver bit to fit the screws
"Countersink" bit (in the pictures I am using a type of milling bit)
Electric drill motor or Rechargeable cordless drill
Heavy Duty Stapler.. will be discussed in the screen installation section when I get there.
Staples... size will be discussed in the screen installation section
Aluminum window screening roll cost about $10
__________________________________________________________________________________________
Now that we have that out of the way let's begin assembly.
You will want to use a nice flat building surface to hopefully get the cage "squared up" proper so it's not leaning like the Piza Tower when you're done. :turned:
I chose my bathroom sink since I am in a tiny one bedroom apartment. The neighbors should love me after all the noises I make. Might take a few bucks off the ol security deposit here and there too so be careful not to gouge the counter tops.The first step will go something like this.
Take your 1/8th inch drill bit and set it up in your drill chuck. Hold one square dowel to the other as shown in the picture and drill through one and into the other. Note the screw I have placed in the picture. You are drilling this first hole as a "pilot hole" so you do not crack the wood when you insert the screw and the wood expands. This drill can be a bit tricky and you really need to watch your angles and fingers etc etc.
You go through the first board and all the way into the second board with as long as you need to match the screw length for the right depth hole. In the photo that is a two inch screw but we will be using 1.5". It's ok to drill a bit deeper or whatever as long as you get it deep enough.
Now you will need to remove the 1/8th inch drill bit from your drill and install the 3/16's inch bit. Take the 3/16" and run it through the first dowel you drilled through. This enlarges only the hole in the first dowel and not the second. I do this to create a "clearance hole" so the screw will slide easily through this dowel and screw into the next.
See the larger bit through the first dowel?
Now you will need to countersink your clearance hole you just drilled. This creates a pocket or a seat for the screw head with the correct angle. You can either recess the screws or just get them flush with the surface of the wood depending on how deep you drill the countersink bit. Here's a fuzzy before photo.
...and here's how it looks after being countersunk.
Here's some examples of screws installed and the reason we countersunk. So no screw heads stick out of the cage.
Now I will grab a 1.5" screw (was using the 2" screw for reference since it's nice and big and easy to see)
... and screw the first dowel with the countersunk clearance hole into the second with the 1/8th inch pilot hole as shown.
Just get it "finger tight" for now as we will be tightening all the screws down later to keep the cage square. Here is what you should be left with if you followed along closely.
Last edited by a moderator: