lectricblueyes
Well-known member
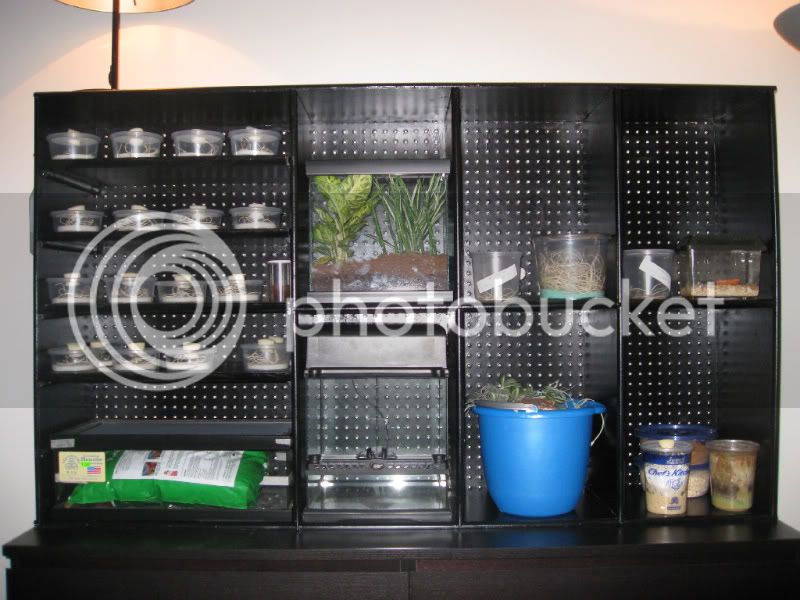
Creating a hand-made cabinet to hold enclosures, nyph cups, small adults and supplies.
[SIZE=14pt]PHASE I: Planning[/SIZE]
Final Draft
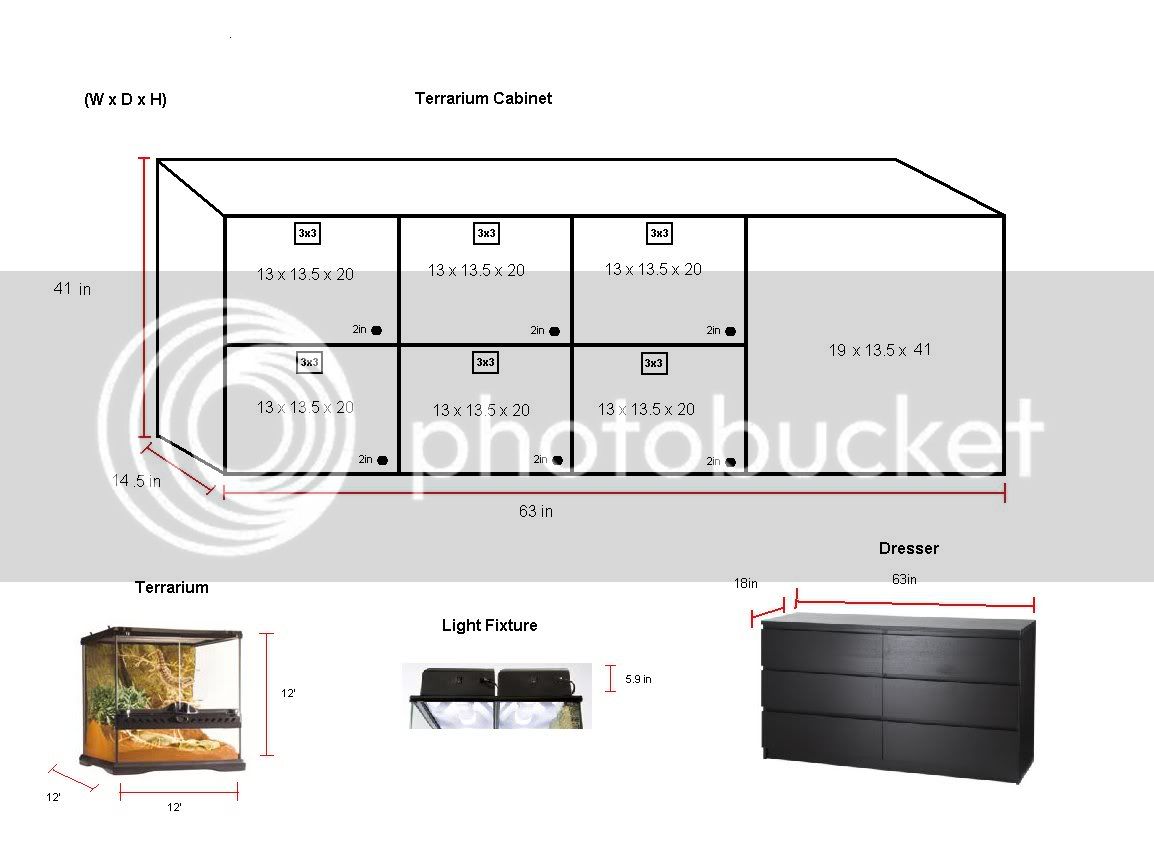
CABINET
Cost: TBA
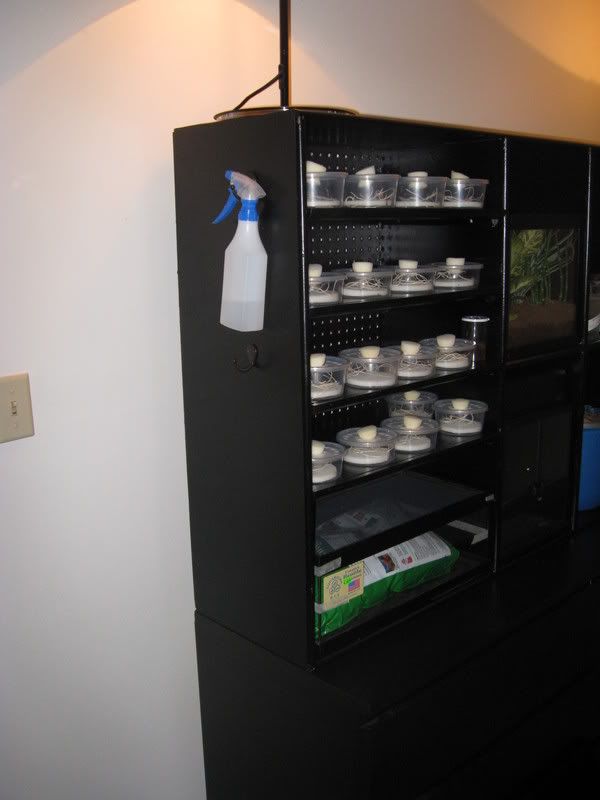
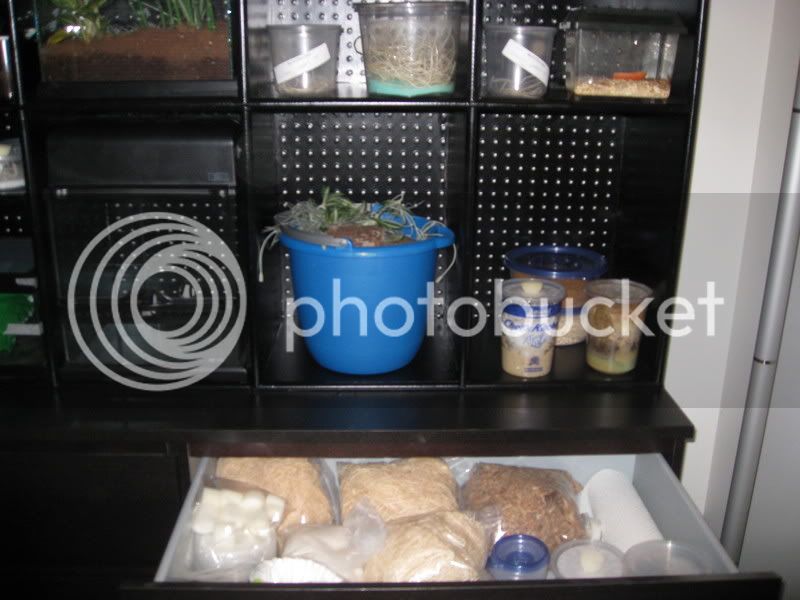
Description: The cabinet will have 6 spaces for enclosures and the right side of the cabinet will be completely adjustable for adding small nymph nurseries, smaller species, and feeder insects. Each of the six spaces for enclosures will have a 3in hole bore out near the bottom for cables and a 3x3 square hole for a small fan which will increase airflow. The Mantid cabinet will be sitting up on top of my dresser. Which is 63"Wide x 18" 3/4 Deep x 30" Tall. (Dresser Image Link)
ENCLOSURES
Cost: $44.95 (Each) x6
Size will be variable. Though they are 12x12x12, they can be greatly altered based on the height of the substrate, the use of clear fiberglass dividers and the thickness of background wall. Here are the 6 enclosures I'm going to place inside <PT-2600>
(Image Link)
LIGHTING
Cost: $14.95 (Each) x6
Each enclosure will have a Compact Top Light Fixtures adhered to the roof of the cabinet and not on the roof of the actual enclosure. This will allow 3in of space between the fixture and the roof of the cage. Providing air flow and keeping the mantids safe from the heat.
(Image Link)
Thanks for reading!!!
David
[SIZE=14pt]PHASE II: Building[/SIZE]
Well, I've bought the wood and to resolve the air flow problem, I'm not going with solid Birch to cover the back. I"m going with peg board which has plenty of holes for air flow. As you can see from my draft plan, I've also taken everyone's advice and I have raised the height between the tops of the enclosures, and the roof of each area to get the lights off of the top of the enclosures and to allow more space for air flow.
Here it is so far (Excuse the messy garage lol)
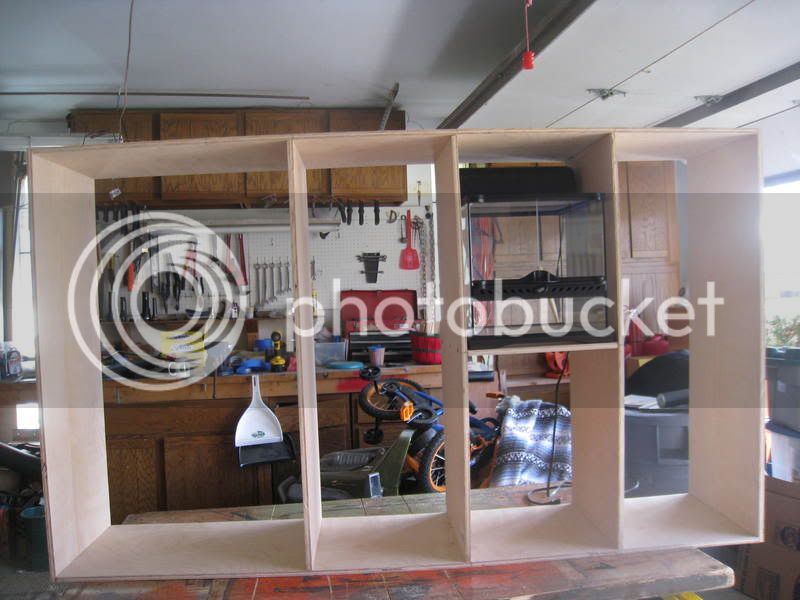
4/8/2009
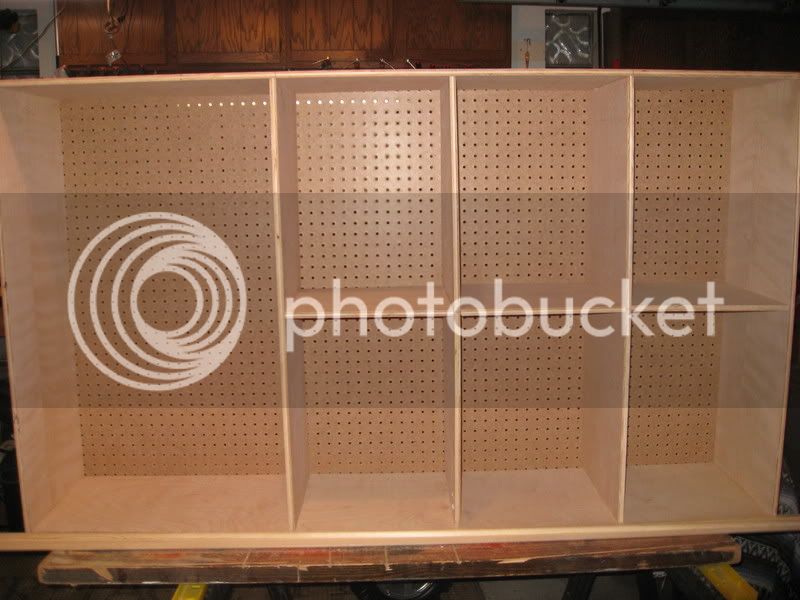
[SIZE=14pt]PHASE III: Detailing[/SIZE]
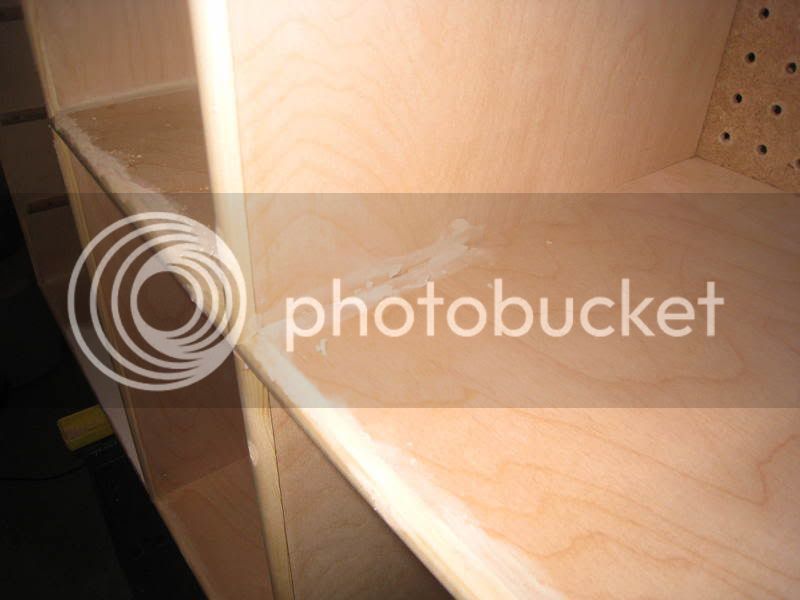
4/9/2009 - Installed the trimming and used wood putty to cover nail holes and other blemishes.
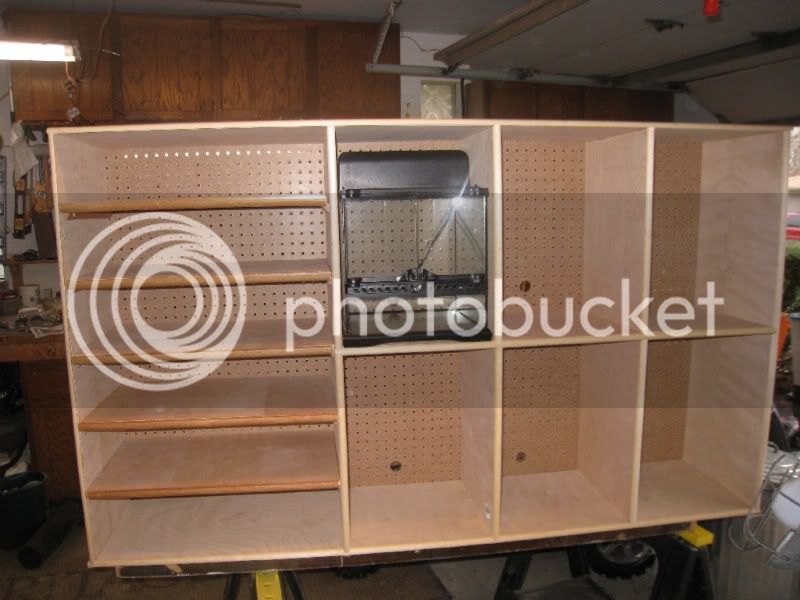
[SIZE=14pt]Phase IV: Painting[/SIZE]
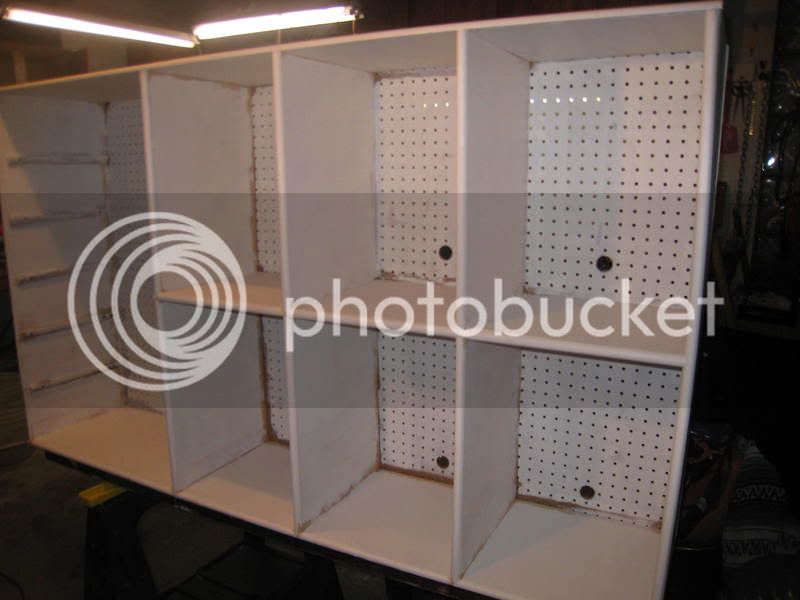
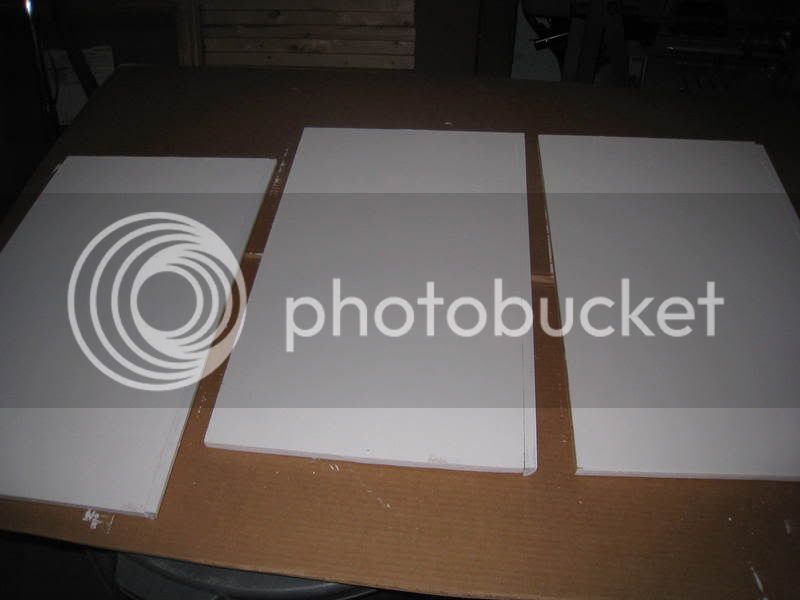
4/9/2009 Painted on the primer and I'm just exhausted, will pick up painting tomorrow night.
[SIZE=14pt]Phase V: *Top Secret*[/SIZE]
::COMING SOON::
COST CALCULATOR
Cabinet:
(2) 4x8 Birch 1/2in sheets of plywood: $81
(1) 4x8 Peg Board $12
2-Piece Brush kit $4
Pack of 2 hooks for water bottles $2
Pack of brass shelf clips $2
Primer Paint $9
Paint $14
Wood putty (for blemishes and to fill in gaps) $8
Sub: $132
Enclosures:
(1) Exo-Terra 12x12x12 Terrarium: $45
(1) Exo-Terra Compact Light (sm): $15
Sub: $60
[SIZE=14pt]GRAND TOTAL: $192[/SIZE]
[SIZE=14pt]PHASE I: Planning[/SIZE]
Final Draft

CABINET
Cost: TBA
Description: The cabinet will have 6 spaces for enclosures and the right side of the cabinet will be completely adjustable for adding small nymph nurseries, smaller species, and feeder insects. Each of the six spaces for enclosures will have a 3in hole bore out near the bottom for cables and a 3x3 square hole for a small fan which will increase airflow. The Mantid cabinet will be sitting up on top of my dresser. Which is 63"Wide x 18" 3/4 Deep x 30" Tall. (Dresser Image Link)
ENCLOSURES
Cost: $44.95 (Each) x6
Size will be variable. Though they are 12x12x12, they can be greatly altered based on the height of the substrate, the use of clear fiberglass dividers and the thickness of background wall. Here are the 6 enclosures I'm going to place inside <PT-2600>
(Image Link)
LIGHTING
Cost: $14.95 (Each) x6
Each enclosure will have a Compact Top Light Fixtures adhered to the roof of the cabinet and not on the roof of the actual enclosure. This will allow 3in of space between the fixture and the roof of the cage. Providing air flow and keeping the mantids safe from the heat.
(Image Link)
Thanks for reading!!!
David
[SIZE=14pt]PHASE II: Building[/SIZE]
Well, I've bought the wood and to resolve the air flow problem, I'm not going with solid Birch to cover the back. I"m going with peg board which has plenty of holes for air flow. As you can see from my draft plan, I've also taken everyone's advice and I have raised the height between the tops of the enclosures, and the roof of each area to get the lights off of the top of the enclosures and to allow more space for air flow.
Here it is so far (Excuse the messy garage lol)

4/8/2009

[SIZE=14pt]PHASE III: Detailing[/SIZE]
4/9/2009 - Installed the trimming and used wood putty to cover nail holes and other blemishes.


[SIZE=14pt]Phase IV: Painting[/SIZE]
4/9/2009 Painted on the primer and I'm just exhausted, will pick up painting tomorrow night.


[SIZE=14pt]Phase V: *Top Secret*[/SIZE]
::COMING SOON::
COST CALCULATOR
Cabinet:
(2) 4x8 Birch 1/2in sheets of plywood: $81
(1) 4x8 Peg Board $12
2-Piece Brush kit $4
Pack of 2 hooks for water bottles $2
Pack of brass shelf clips $2
Primer Paint $9
Paint $14
Wood putty (for blemishes and to fill in gaps) $8
Sub: $132
Enclosures:
(1) Exo-Terra 12x12x12 Terrarium: $45
(1) Exo-Terra Compact Light (sm): $15
Sub: $60
[SIZE=14pt]GRAND TOTAL: $192[/SIZE]
Last edited by a moderator:


